
How to Make a Photo Collage in GIMP
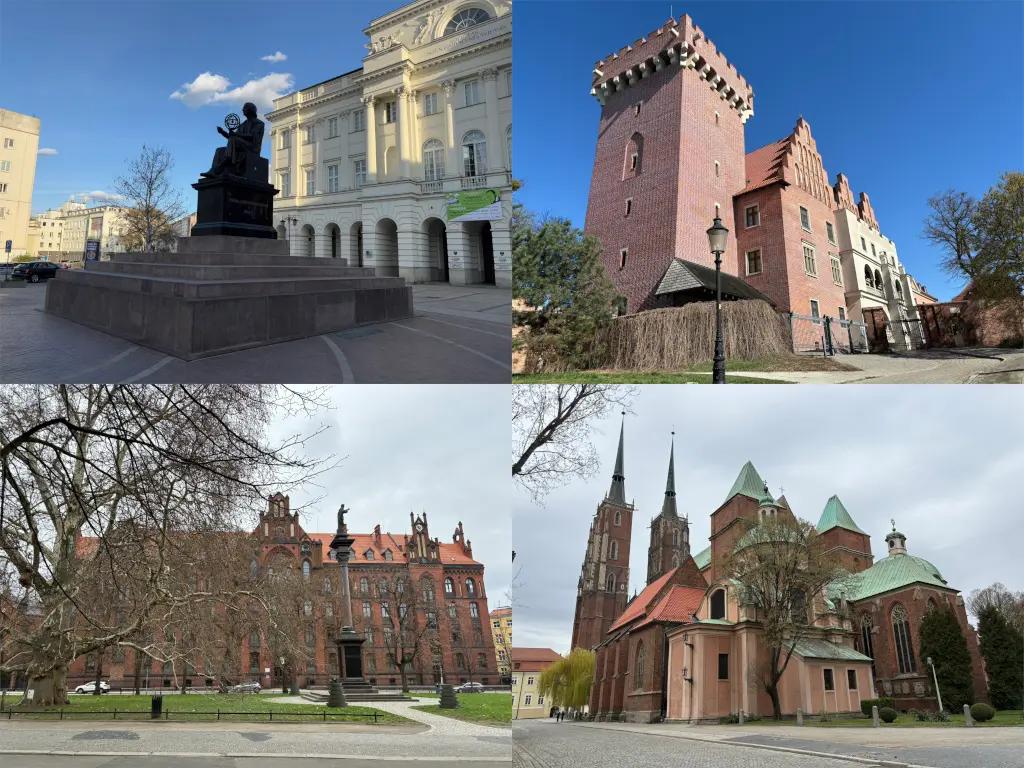
What We Will Make
In this post, I will explain how to make a simple photo collage in GIMP.
Project details:
- We have 4 images. Each image is in landscape orientation and has a 4:3 aspect ratio.
- We want to create a 2 × 2 horizontal collage, also with a 4:3 aspect ratio.
- The collage resolution is 1024×768.
- There are no borders or spaces between the images.
Steps
Step 1: Create the Canvas and Define the Size
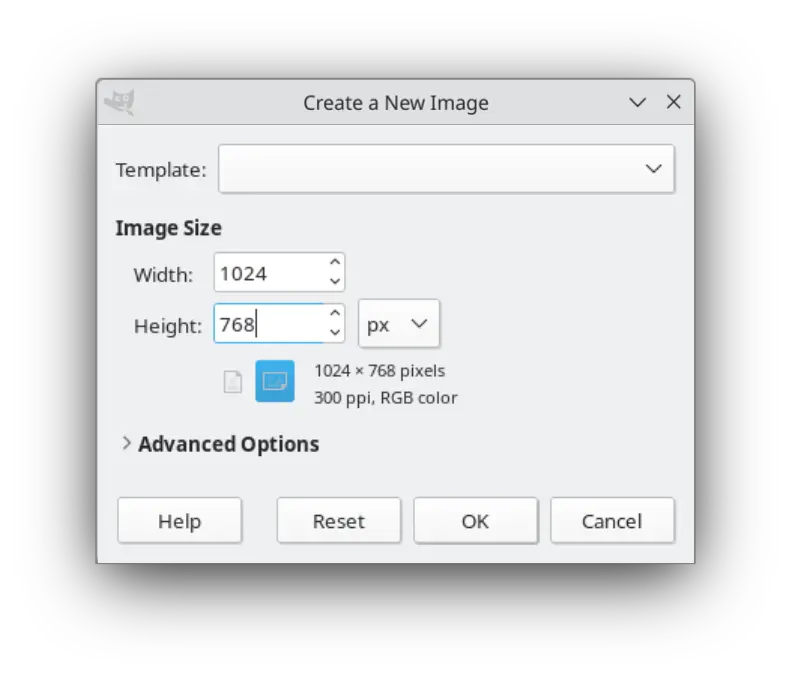
- Click on File -> New…
- A window called Create a New Image will appear.
- Enter the dimensions in the Image Size section: 1024 for Width and 768 for Height.
- Click the OK button.
Step 2: Create Guidelines
- Click on Image -> Guides -> New Guide (by Percent)…
- A window called Script-Fu: New Guide (by Percent) will appear.
- Set Direction to Horizontal and Position (in %) to 50.00. These are the default values, so just click the OK button.
- A horizontal dashed line dividing the canvas in half will appear.
- Click on Image -> Guides -> New Guide (by Percent)… again.
- The Script-Fu: New Guide (by Percent) window will appear again.
- Set Direction to Vertical and keep Position (in %) at 50.00. Click the OK button.
- A vertical dashed line dividing the canvas in half will appear.
- Make sure View -> Snap to Guides is enabled.
Step 3: Open Images
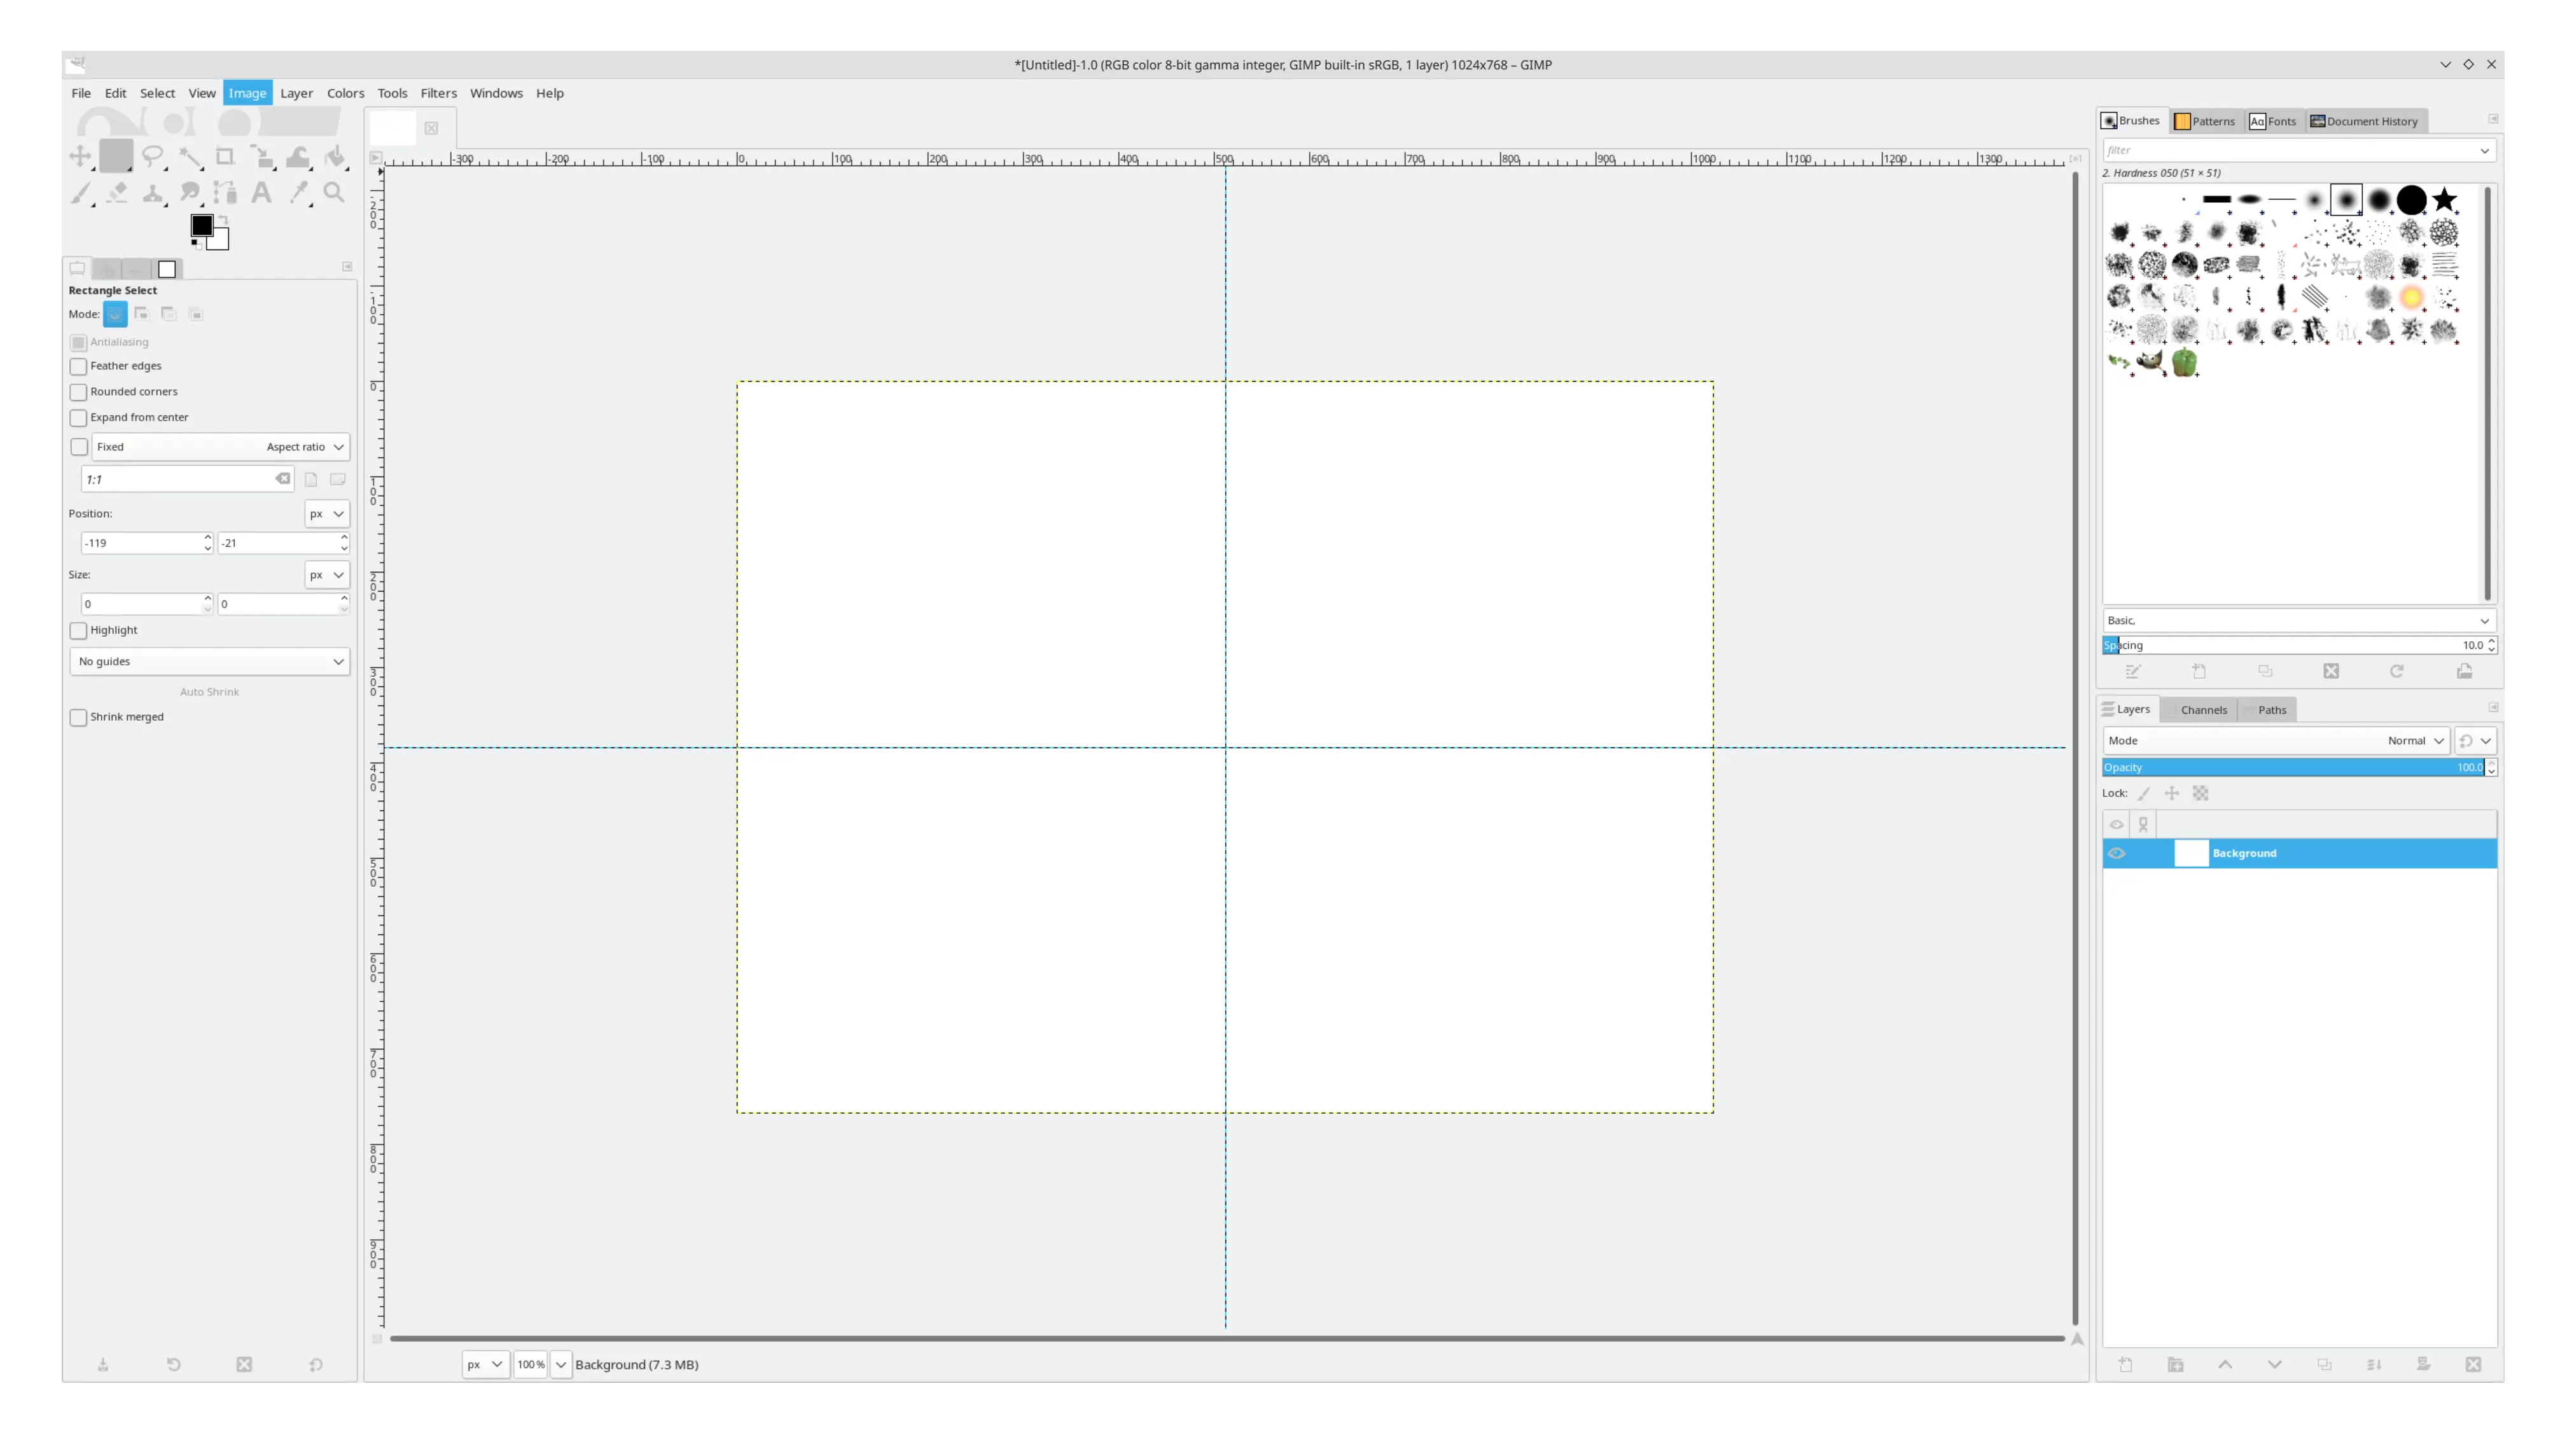
- Click on File -> Open as Layers…
- A window called Open Image as Layers will appear. Select your images and click the Open button.
- Each image will appear as a layer in the Layers panel.
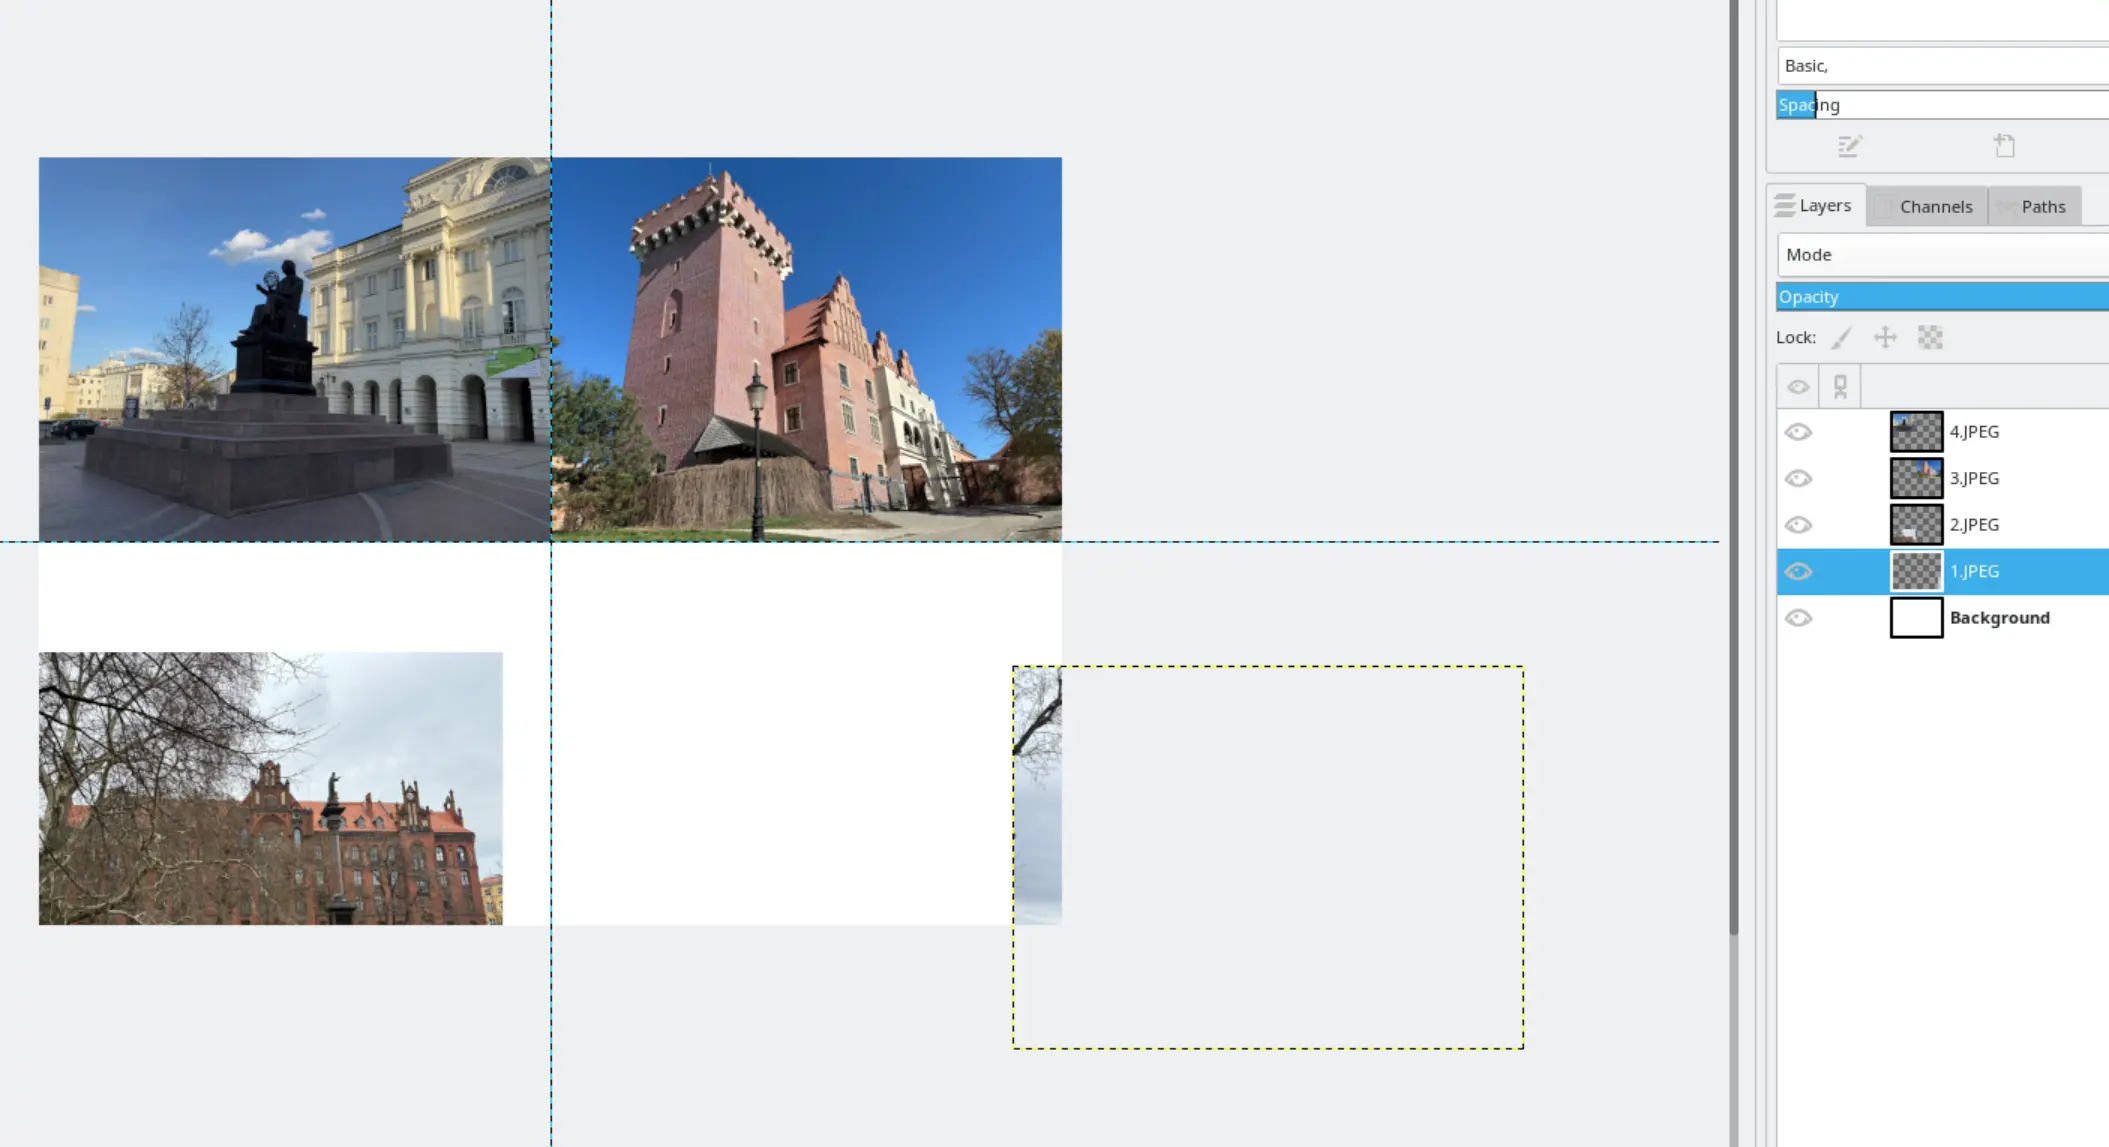
Step 4: Arrange the Images
- Click on the layer containing an image. Press Shift+S to scale.
- A Scale window will appear.
- Enter 512 in the Width field and press Enter. The Height will adjust automatically to maintain the aspect ratio. Press the Scale button to confirm.
- Repeat steps 1–3 for the remaining three images.
- Use the Move Tool to arrange the images so they align with the guidelines.
- If an image is outside the canvas boundaries, it can still be selected using the Move Tool. It will appear as a yellow outline, as shown in the screenshot below.

Step 5: Export the Collage
- Click on File -> Export As…
- An Export Image window will appear.
- Expand Select File Type (By Extension) and choose the desired format (e.g., PNG, JPEG).
- Enter a file name, choose a location, and click the Export button.
- Depending on the format, an additional window may appear with format-specific settings.
- Click the Export button again. You’re done!
Notes
These guidelines were written and tested using GIMP 2.10.34.