Introduction
In this post, I’ll describe how I fixed one of my PSOne consoles. I got this console as part of a larger lot consisting of five PSX and two PSOne consoles. They came as “untested,” “broken,” or “for parts.” I paid £53 for the entire lot, including international shipping, which breaks down to around £7.50 per console.
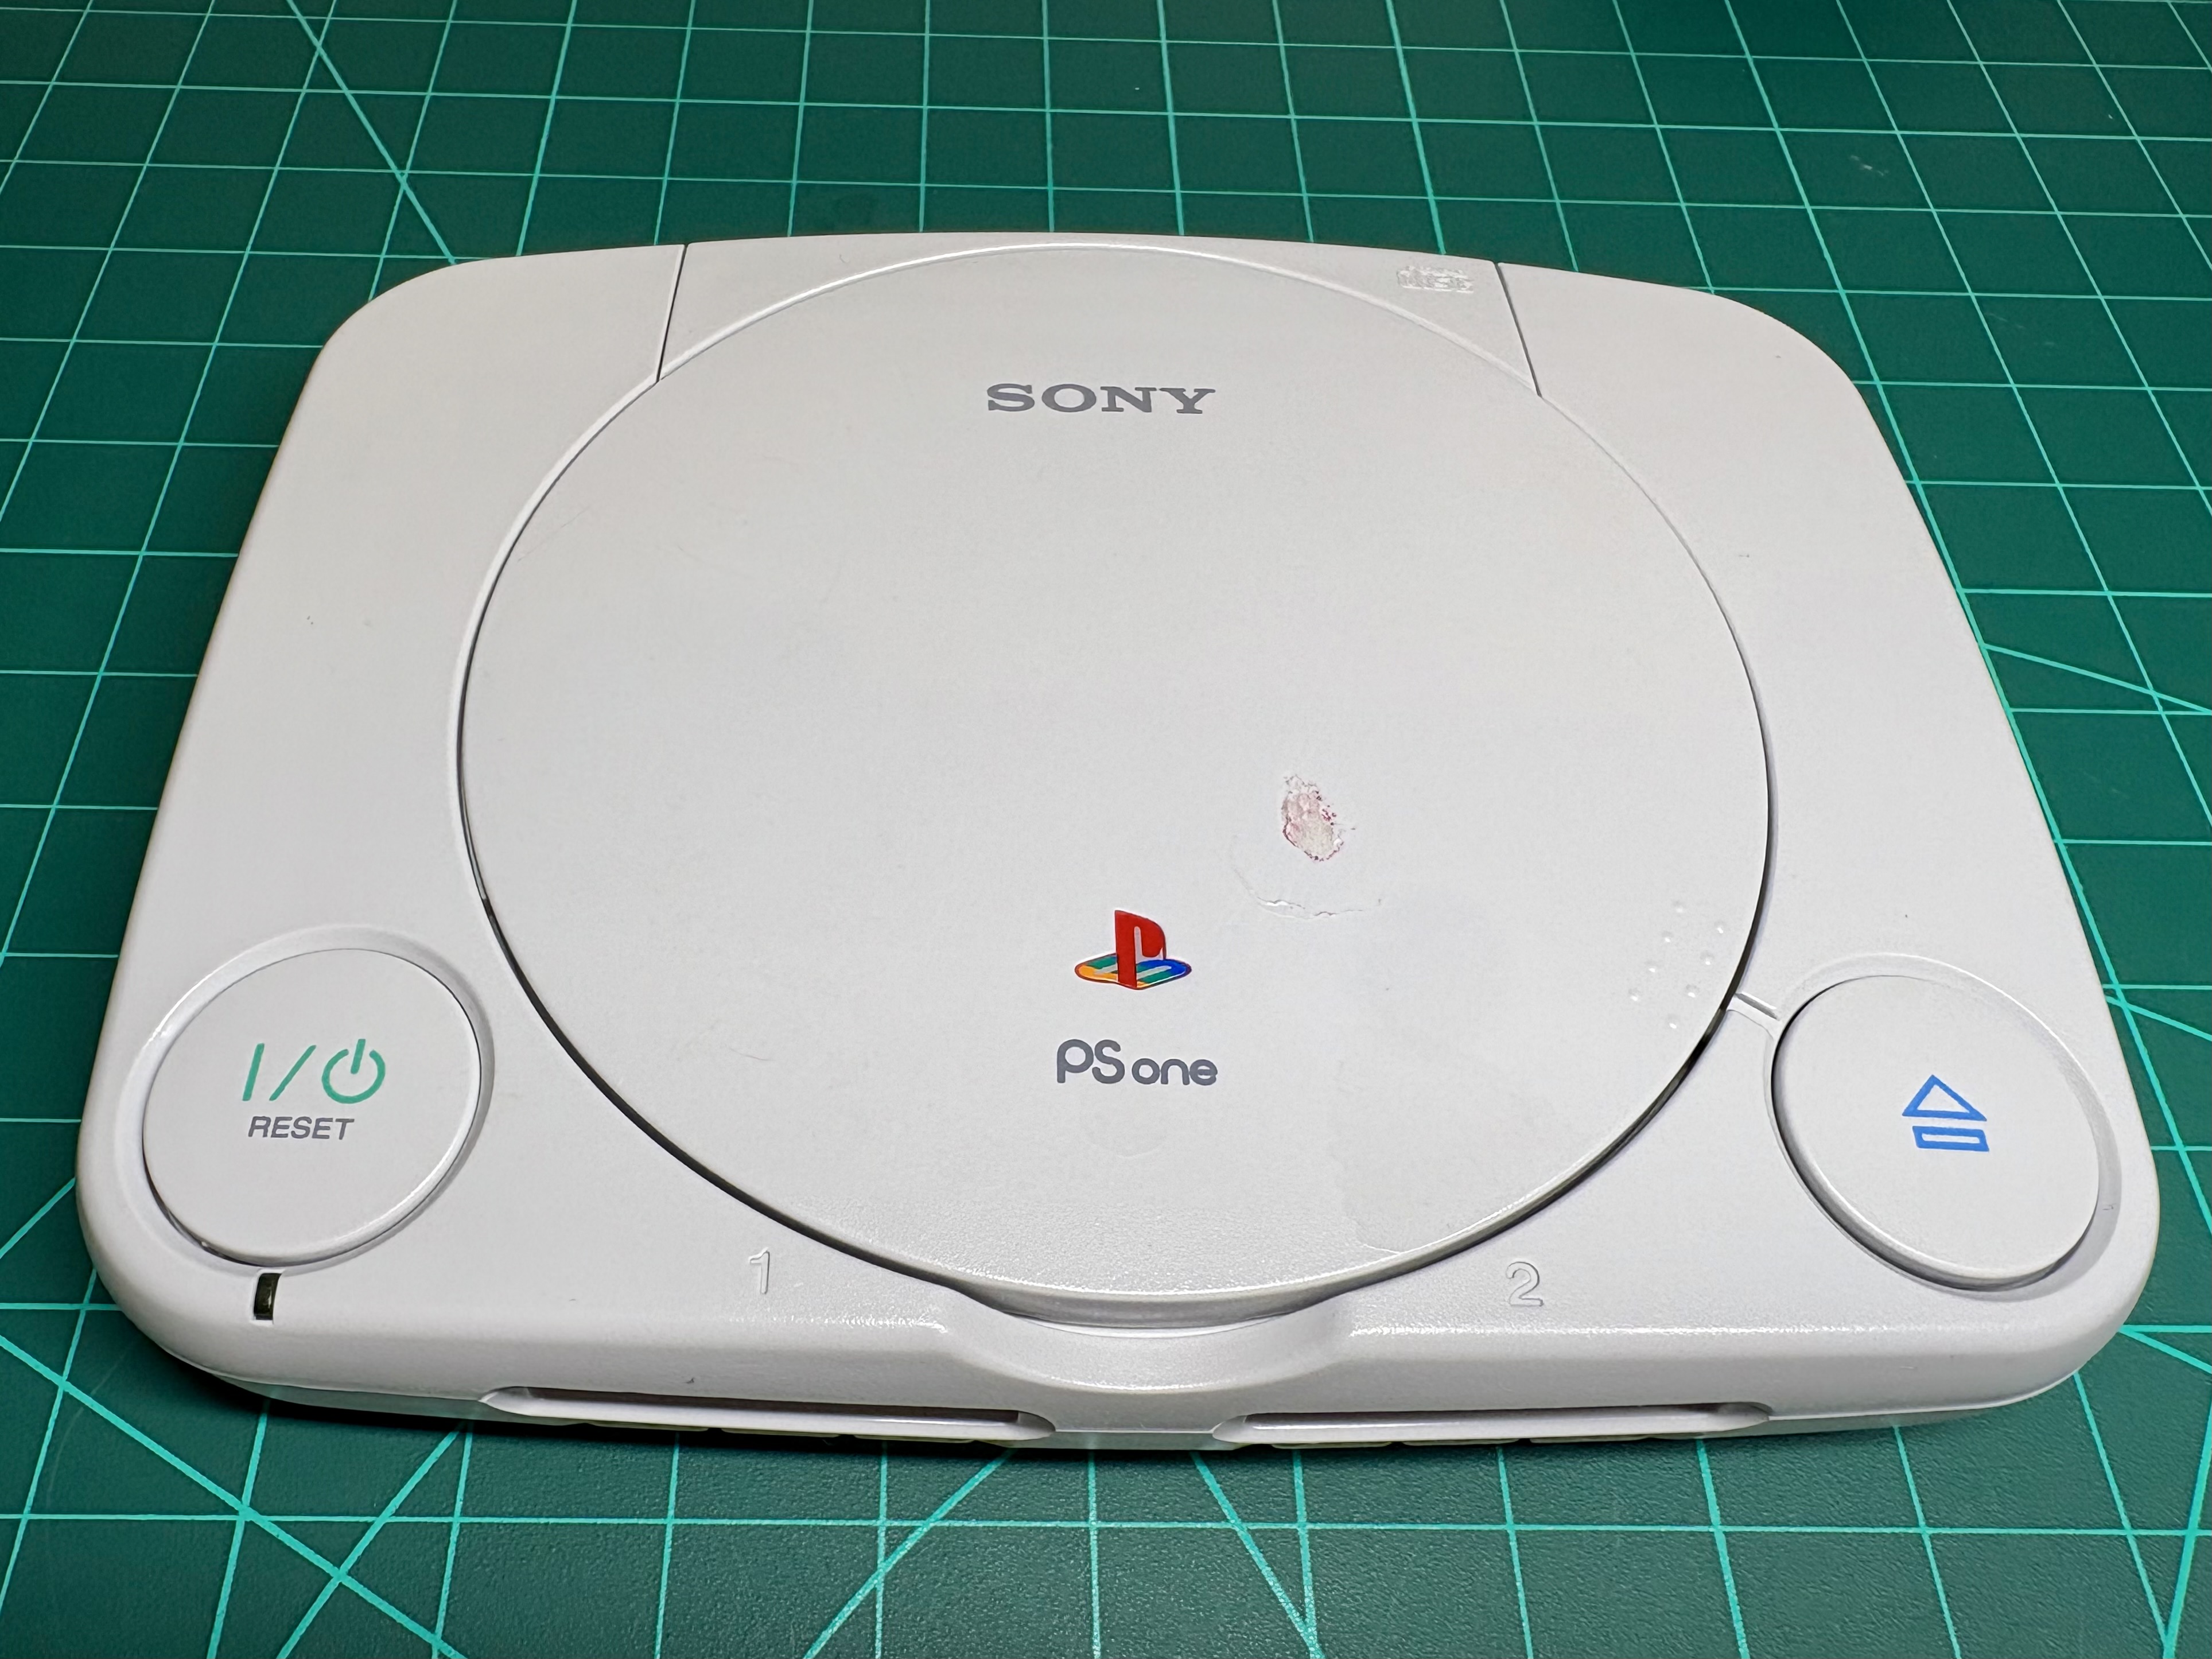
The Patient
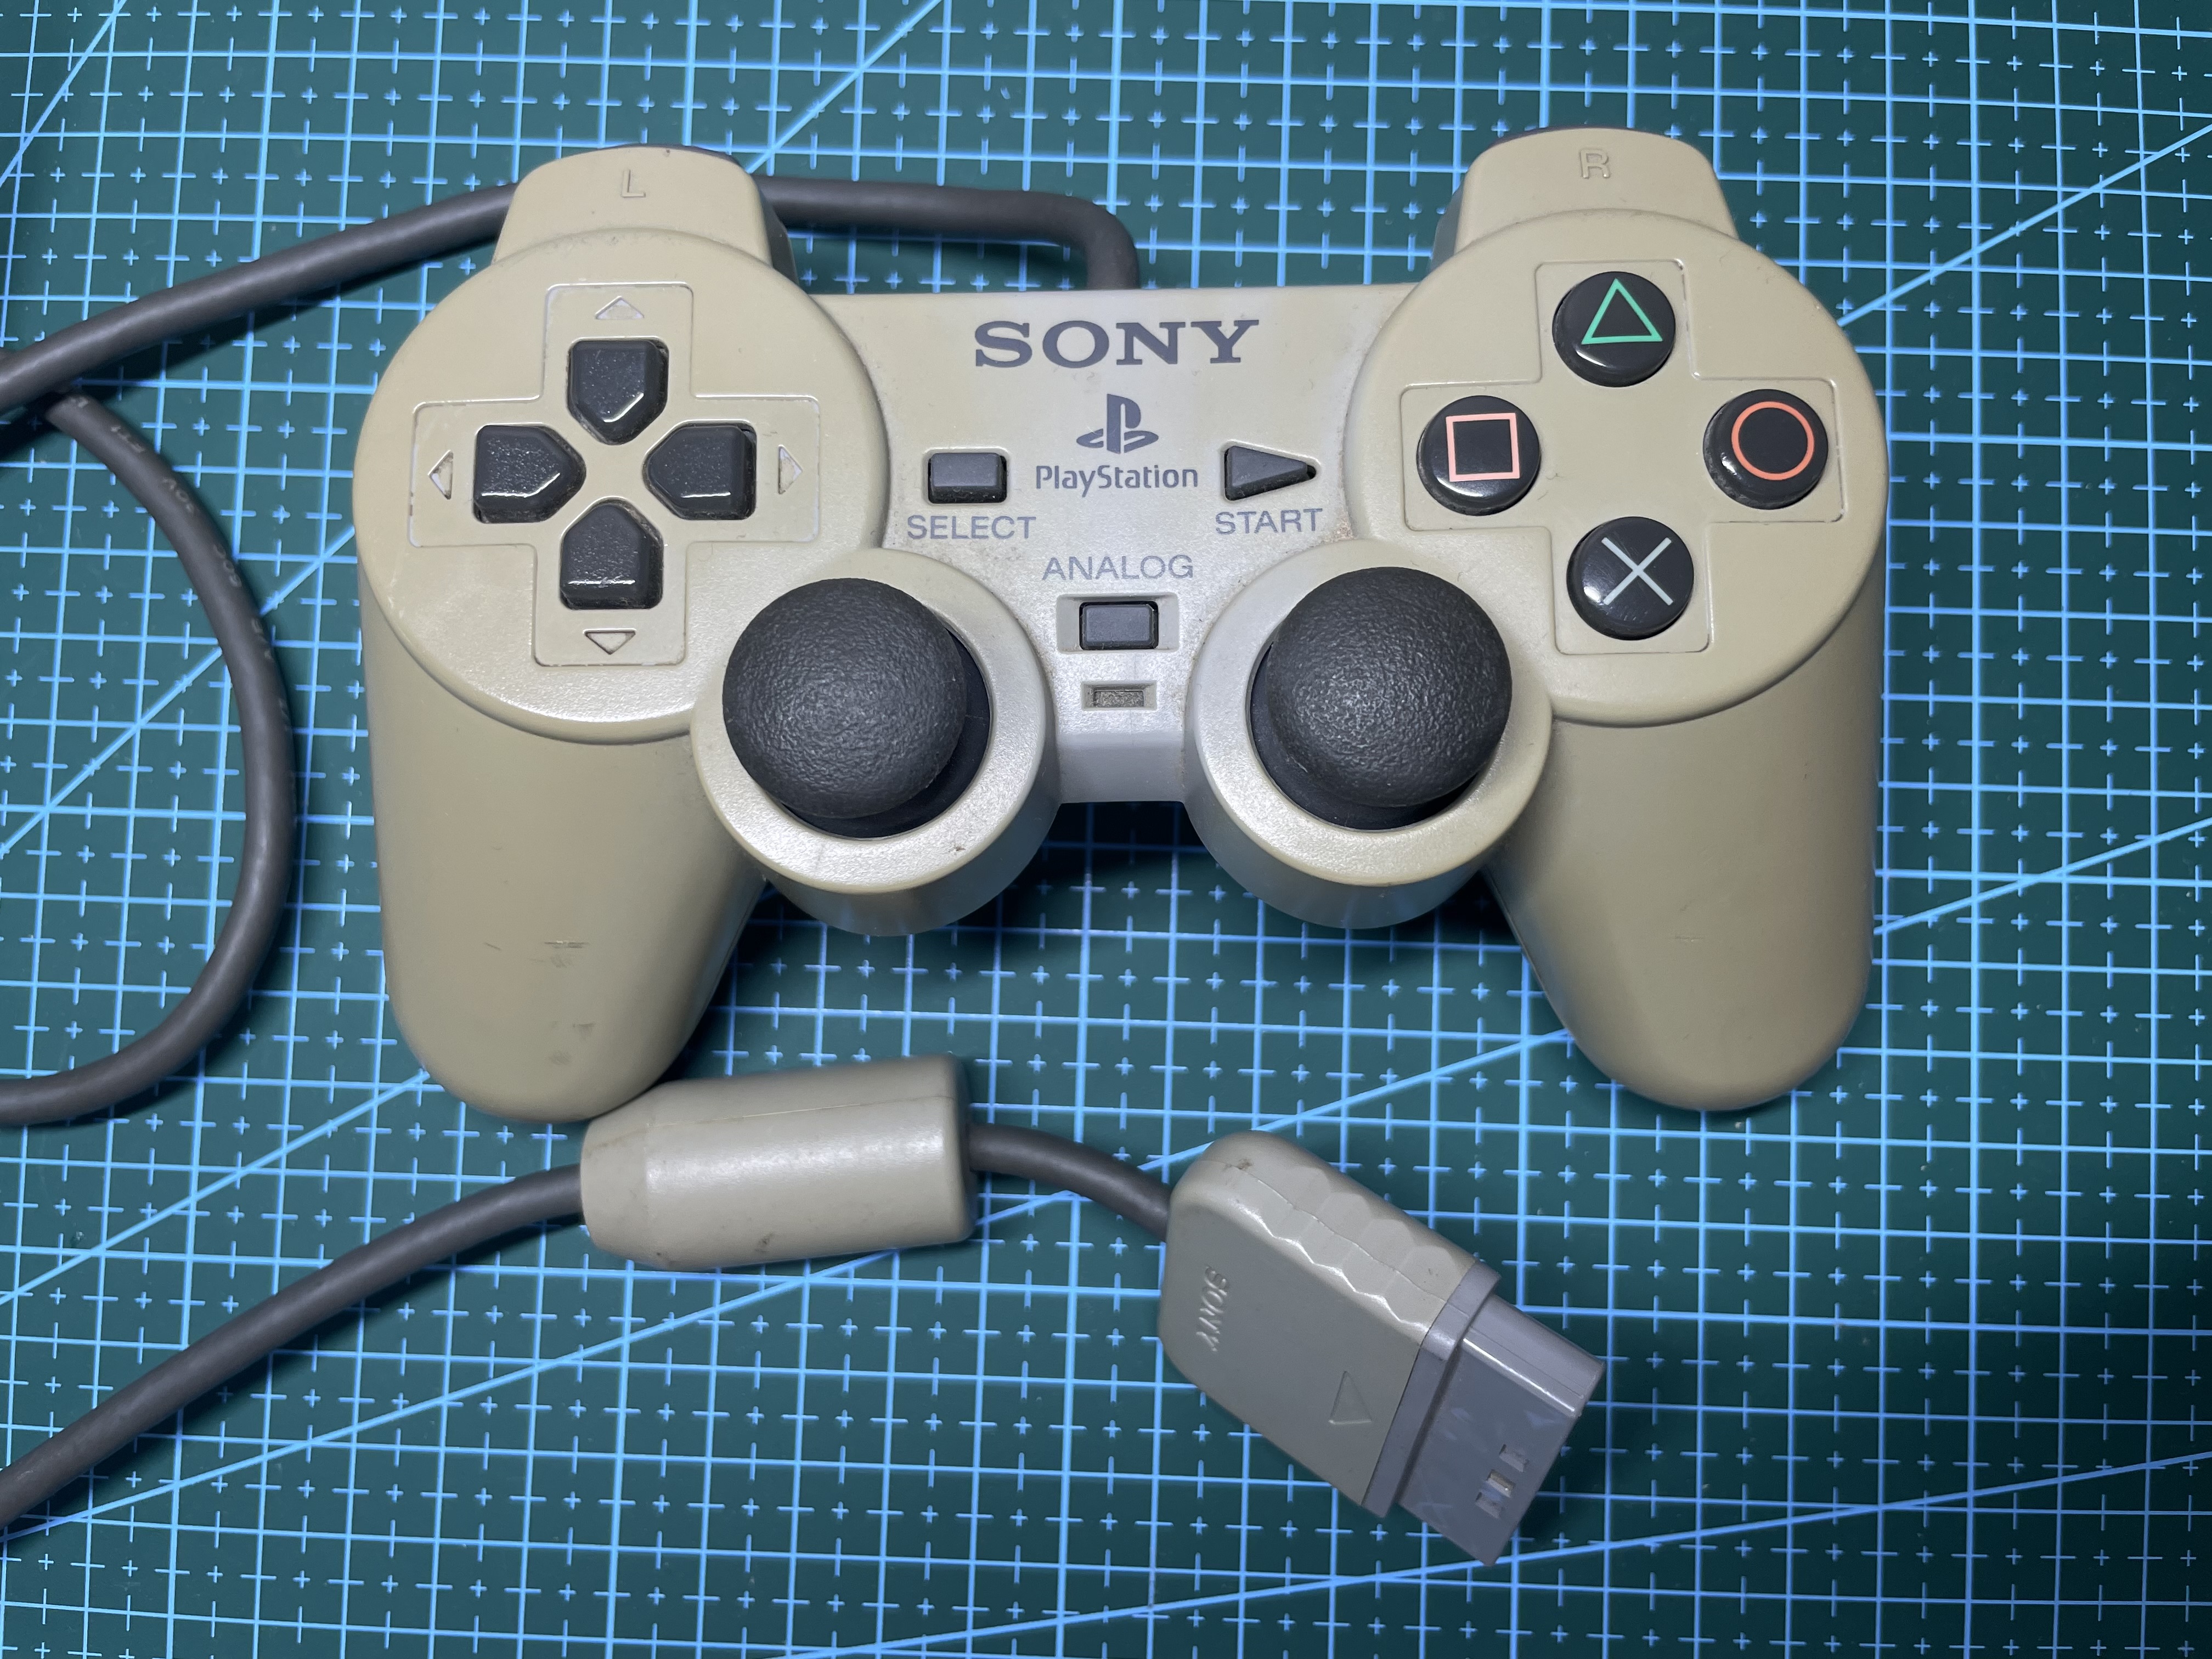
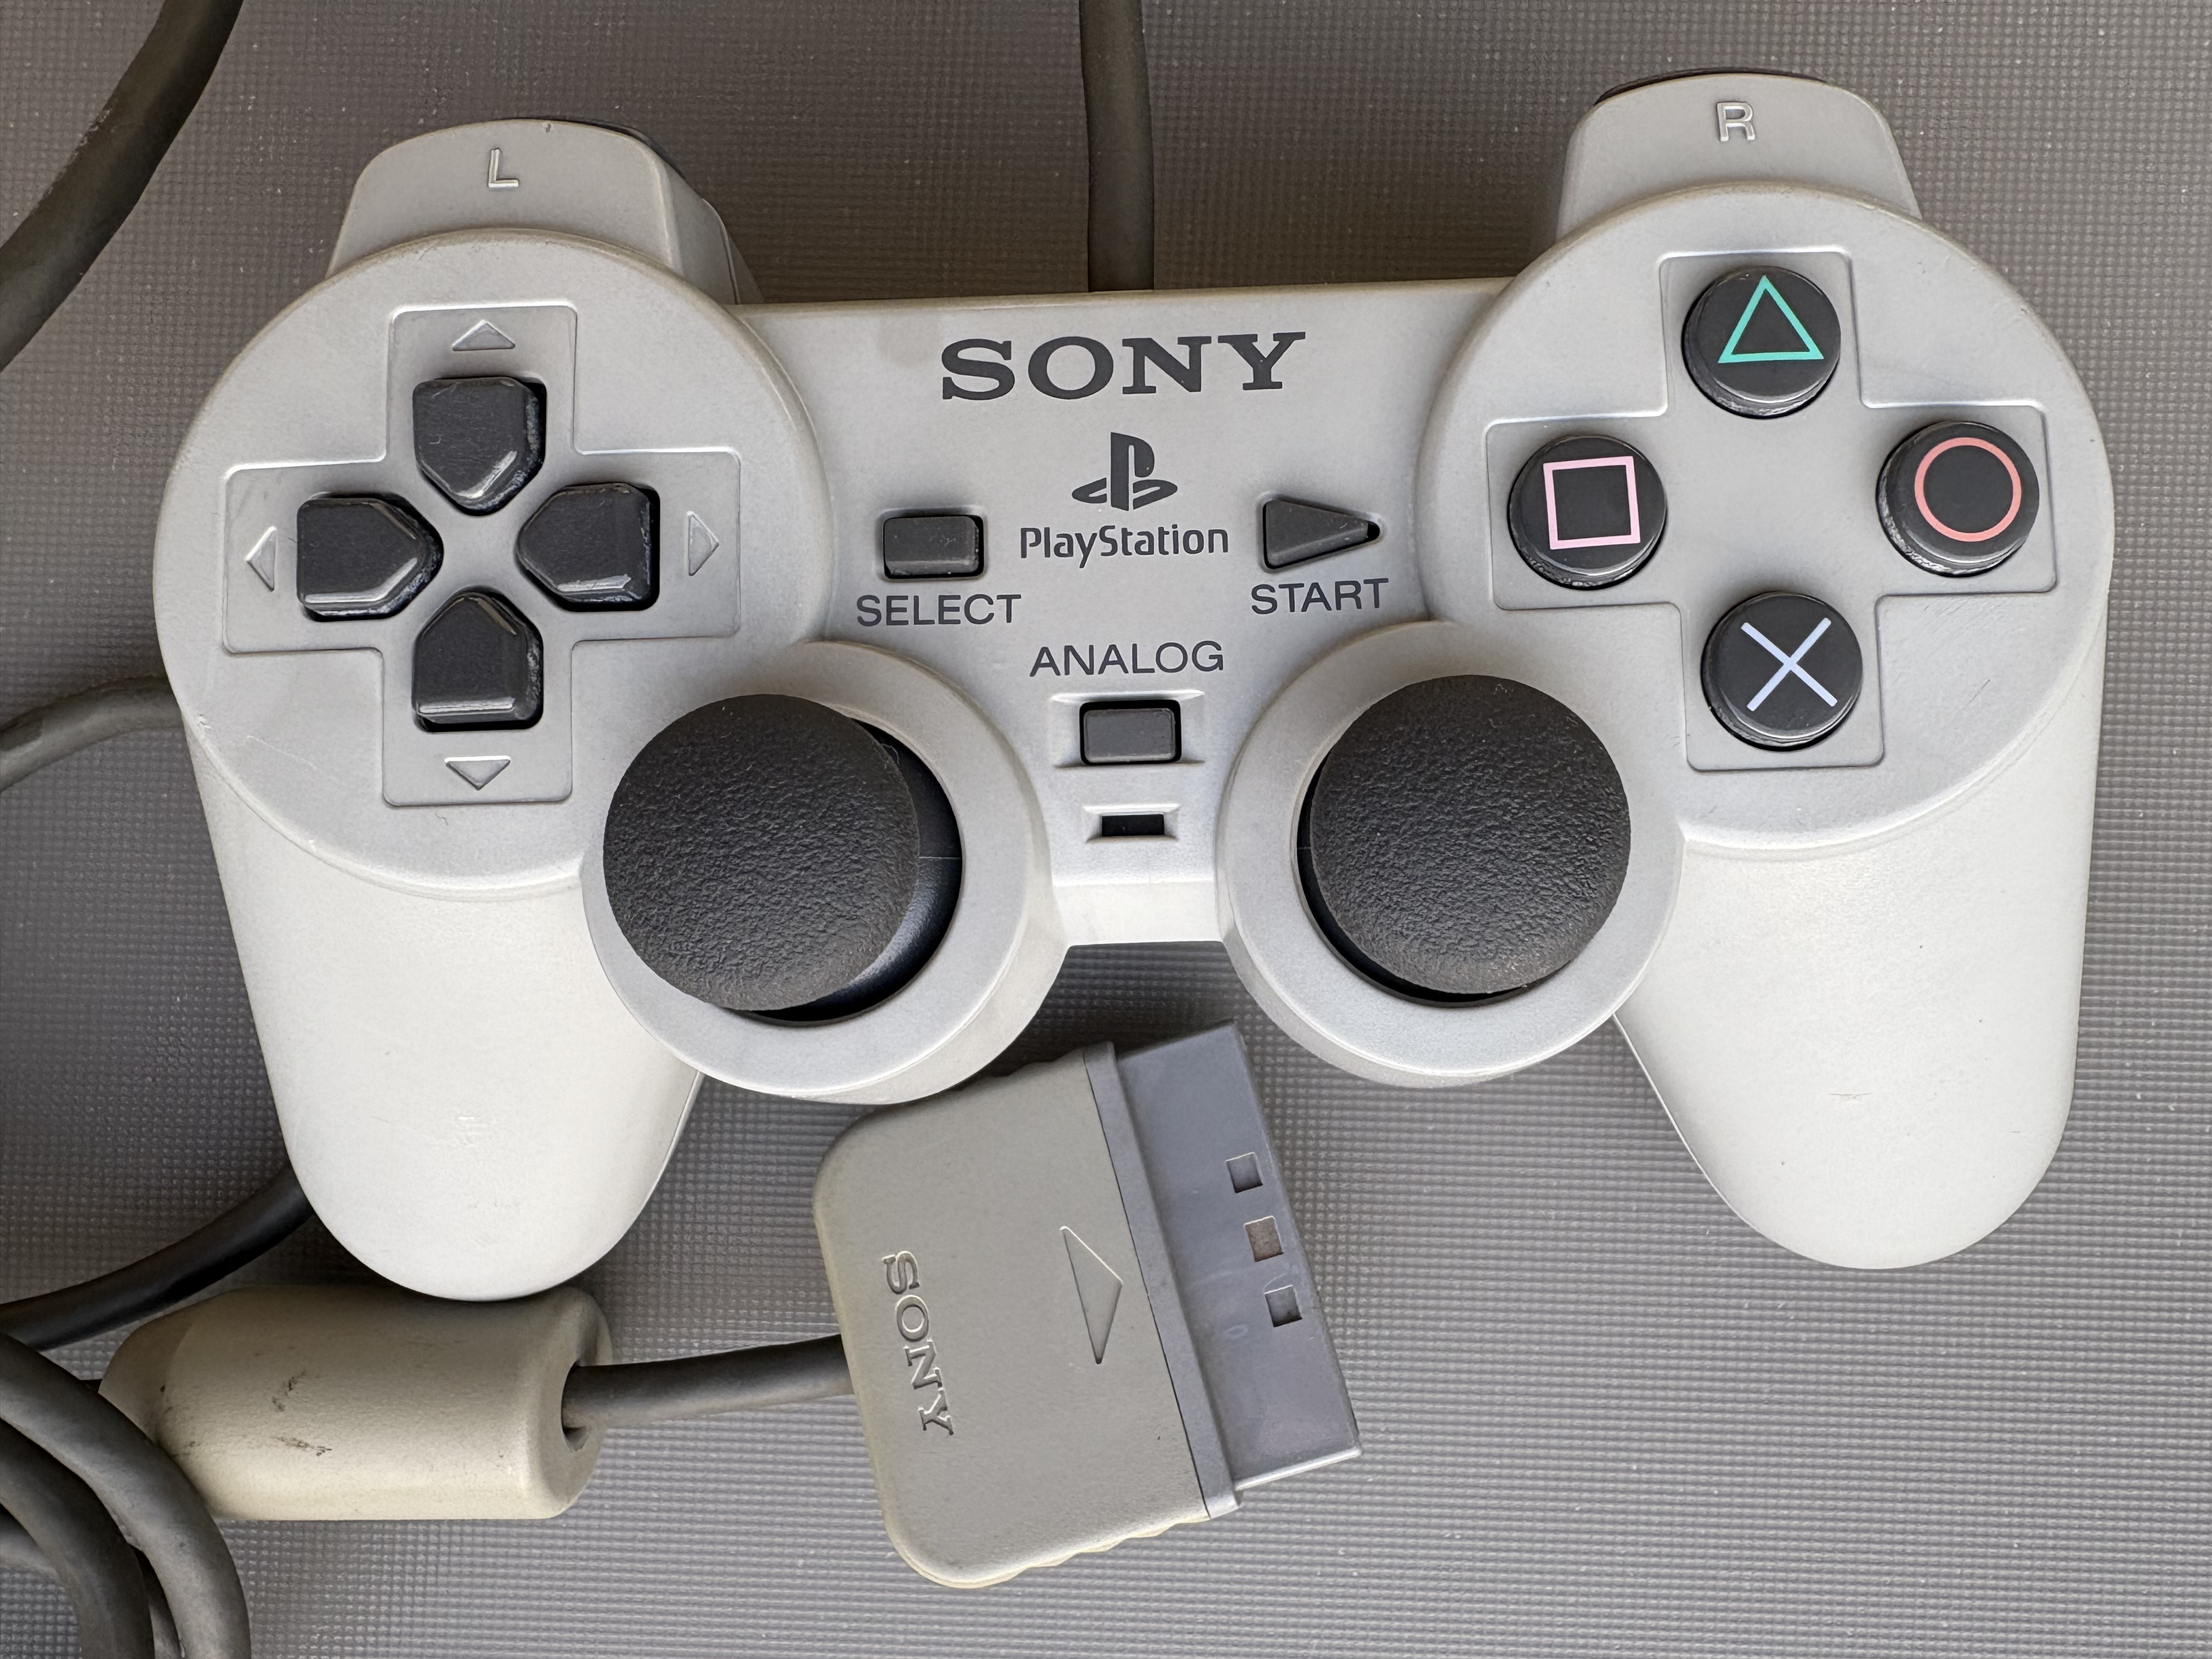
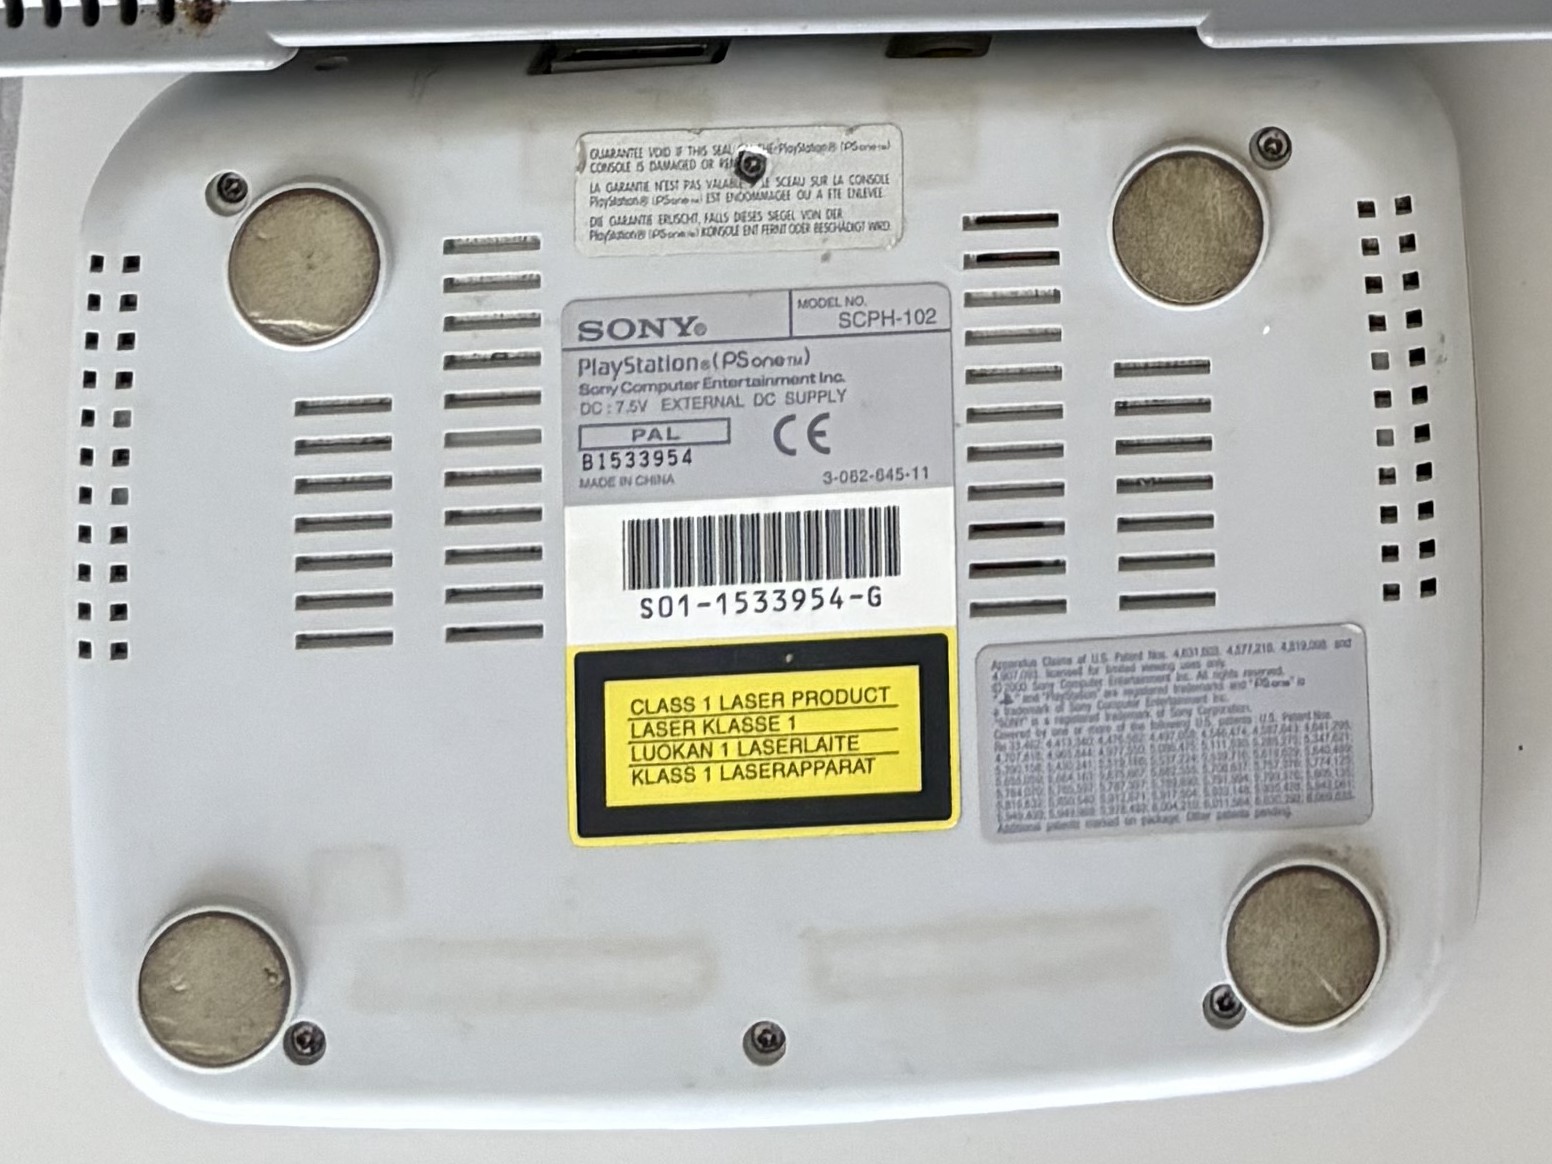
Today’s patient is a PSOne — the smaller variant of the original PlayStation (PSX).
- Model No: SCPH-102
- Region: PAL
- Serial Number: B1533954
- Made in China — the other PSOne from this lot is marked “Made in Japan,” so I think it’s worth documenting the difference.
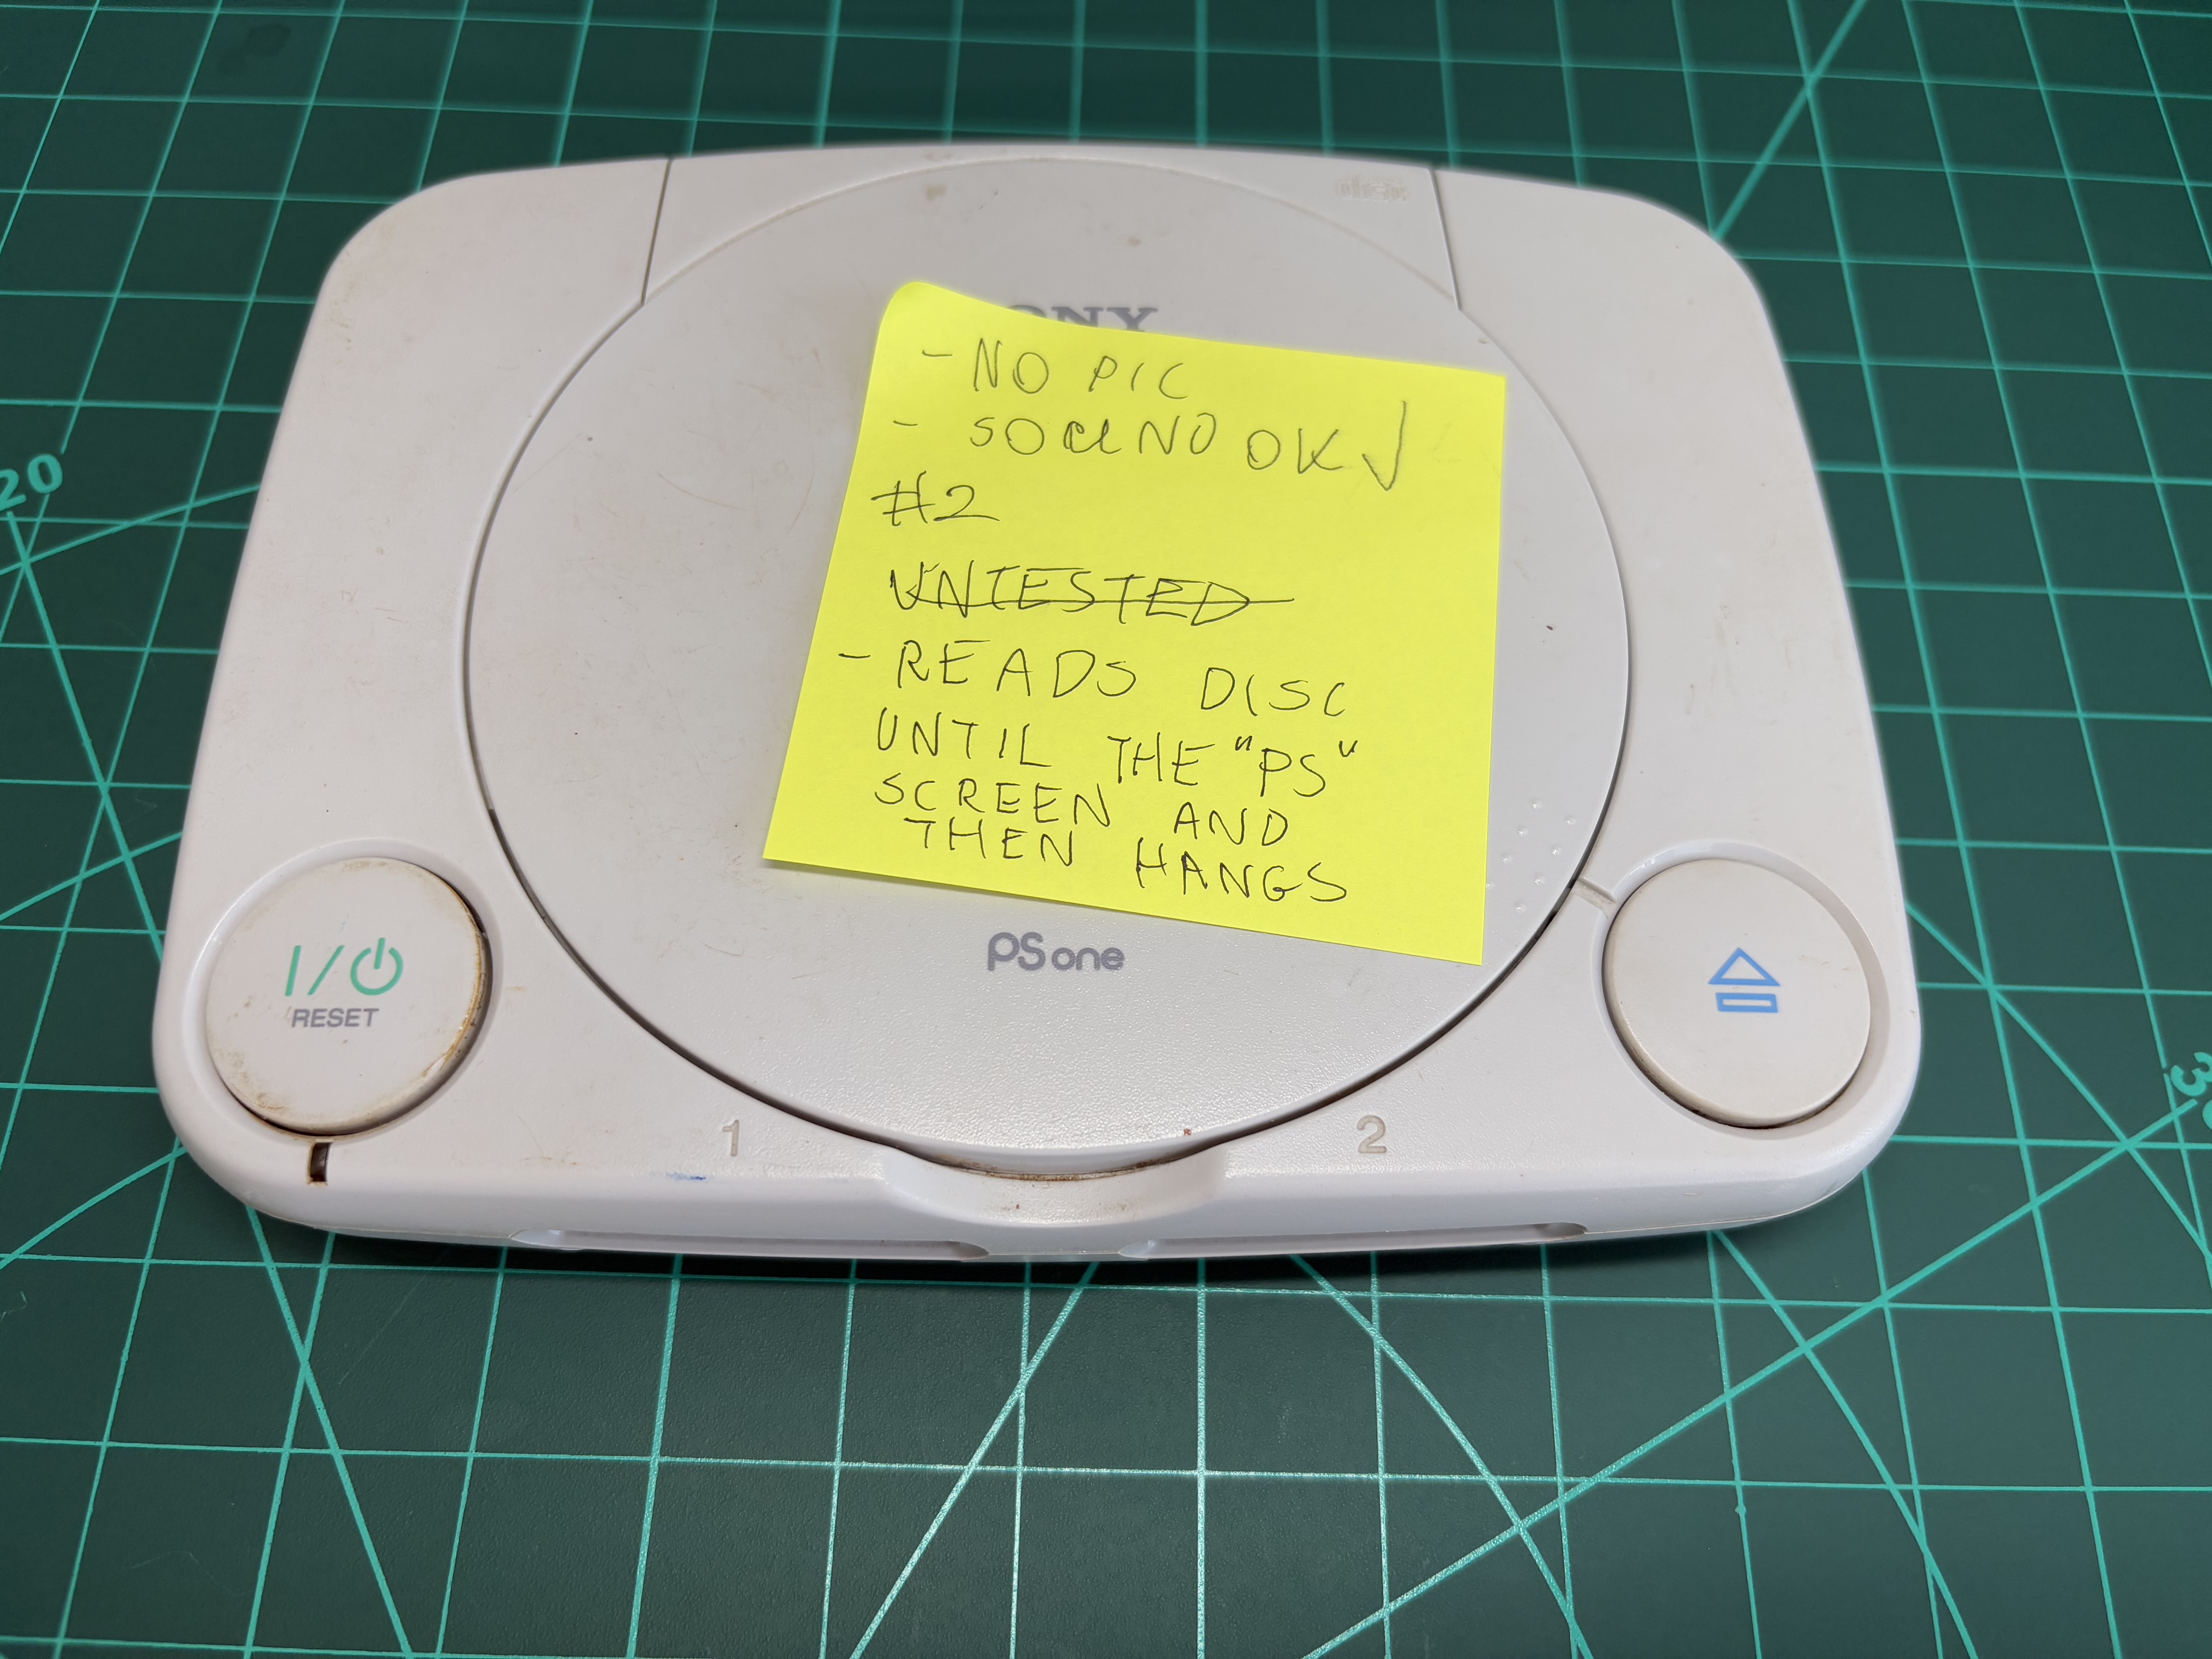
Problem #1: No Video Output
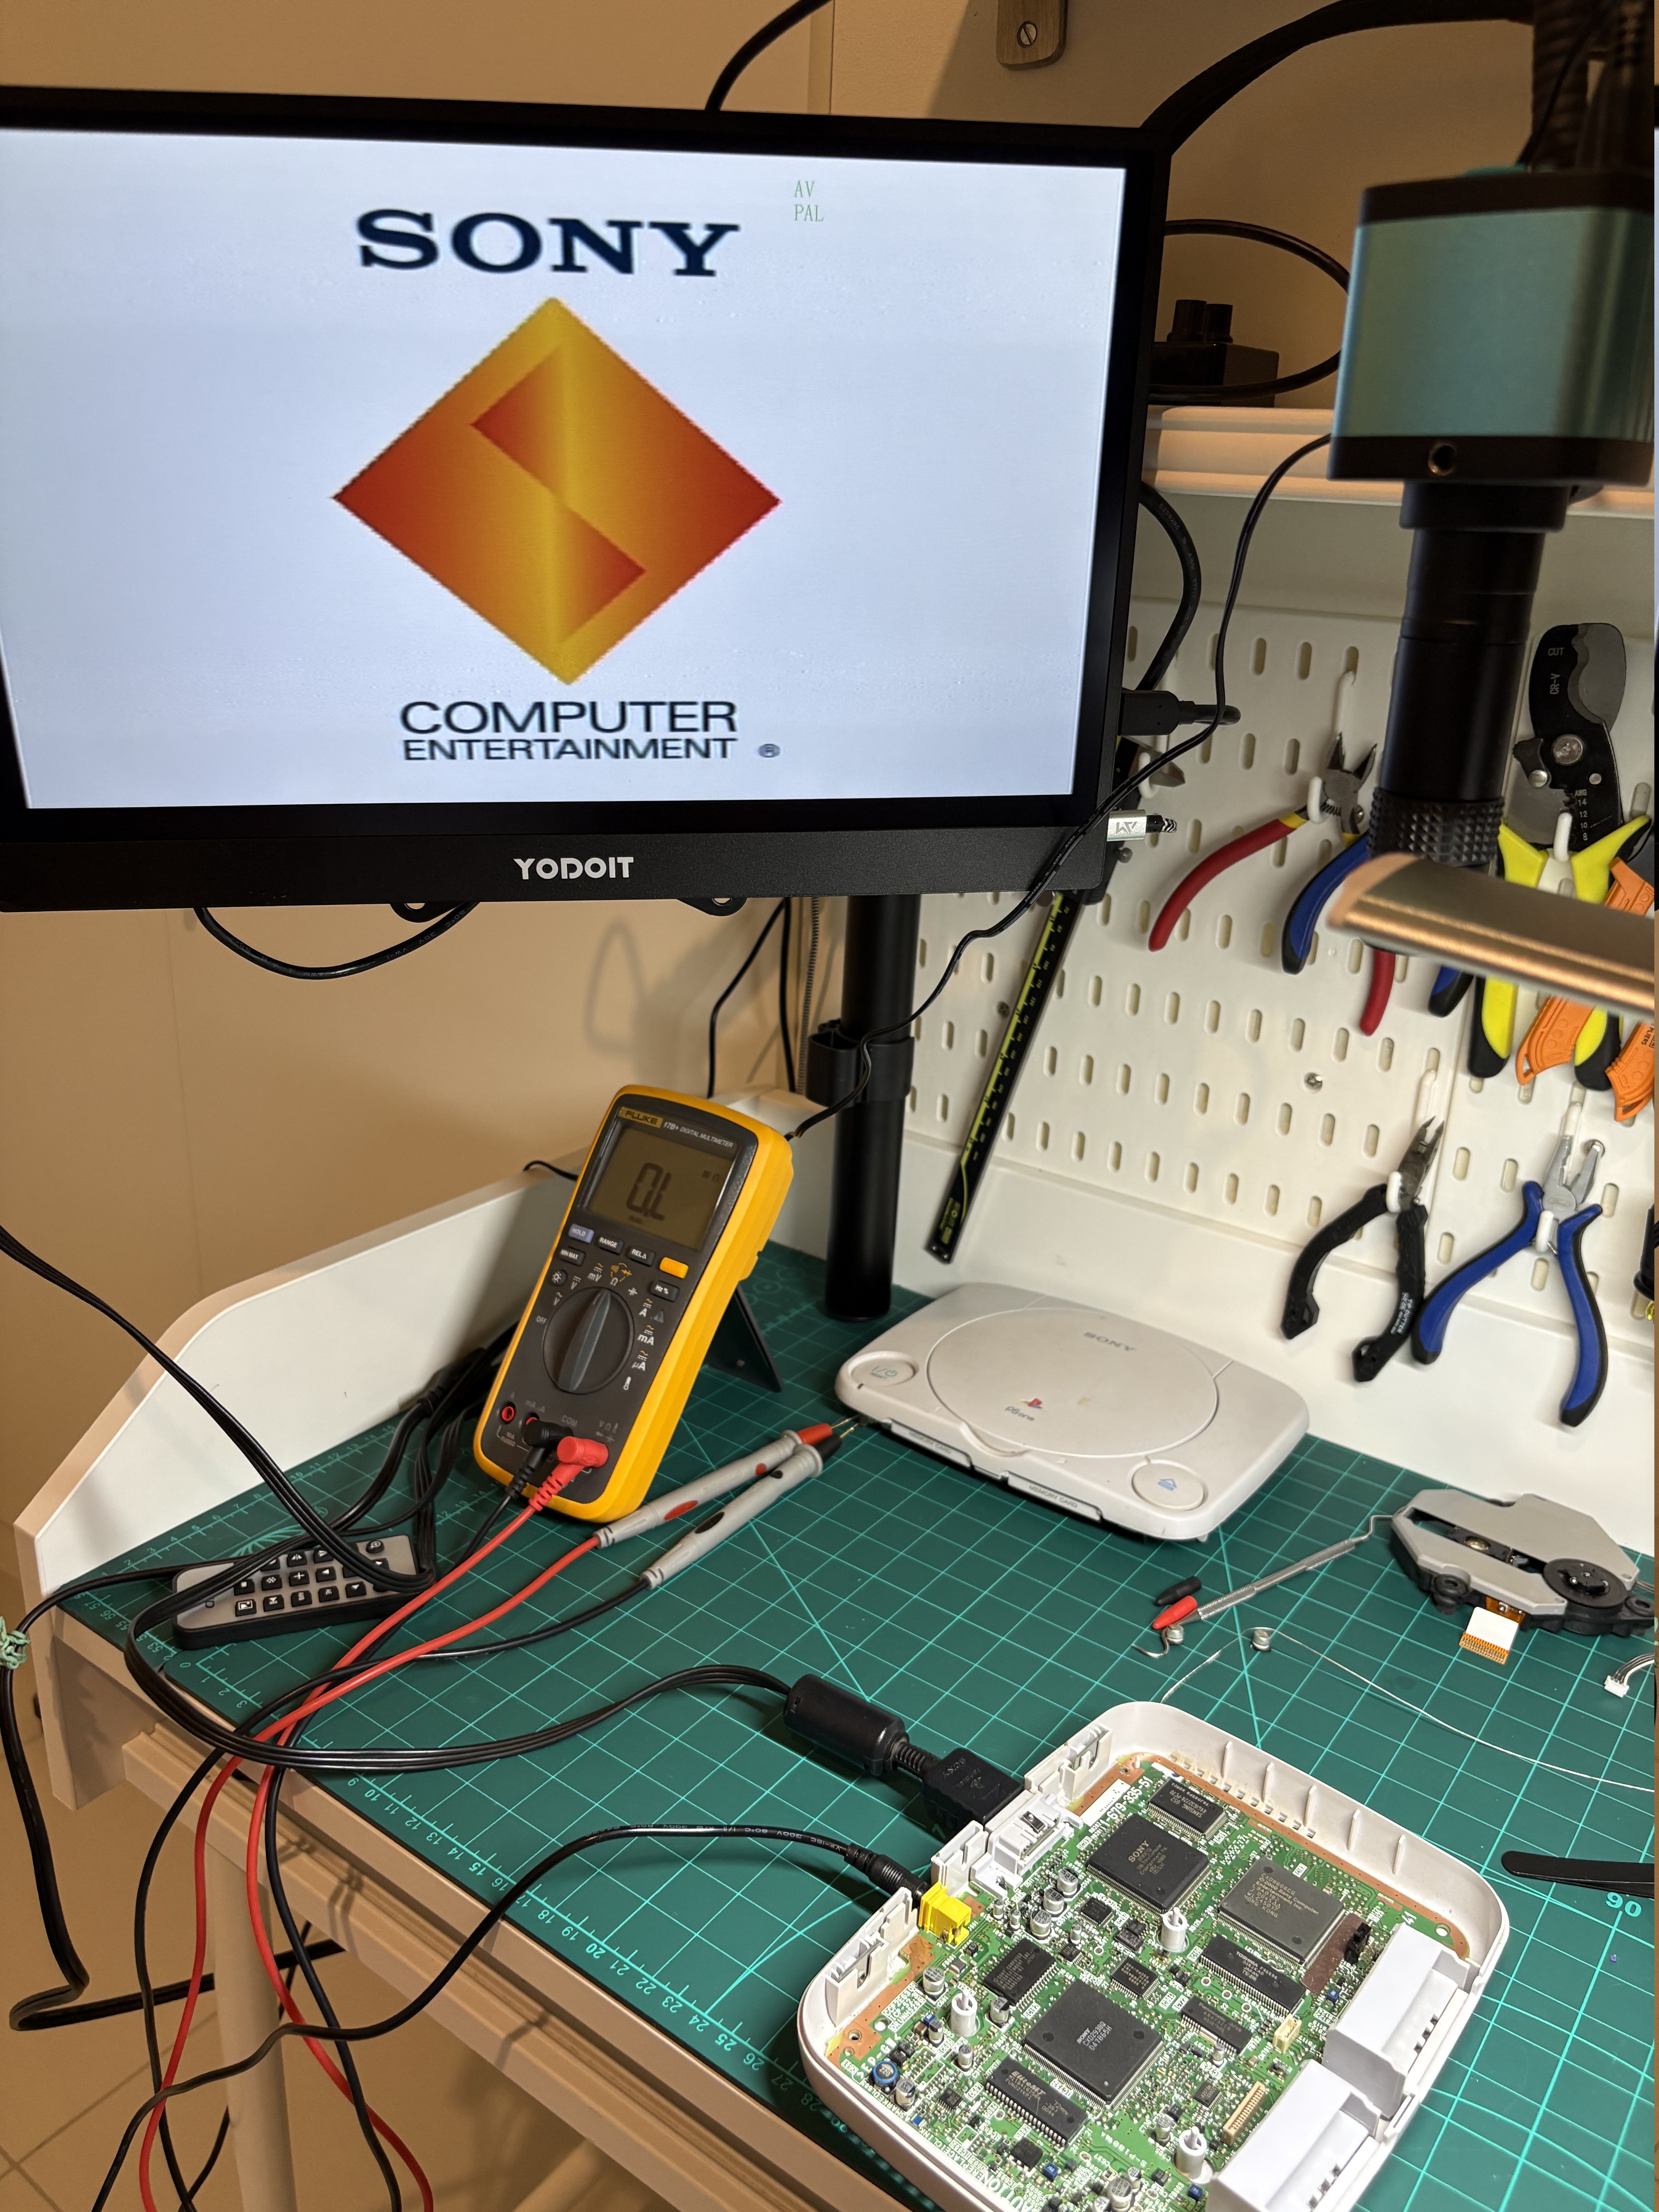
The first thing I noticed after powering up the console and connecting it to a screen was that it didn’t output any picture. I know the console is alive because the LED next to the power button lights up, I can hear the distinct PlayStation boot sound from the speakers, and I can hear the disc drive motors moving. So it’s definitely something wrong with the video output circuit. This is a common issue in PSOnes, and there’s also a well-known way to fix it.
Problem #2: Discs Not Reading
Even though there’s no picture — so I can’t test games — I already know the disc drive isn’t working well. How do I know that? By listening to the audio output.
When a PlayStation powers up, it shows the Sony Computer Entertainment logo while playing the first part of the startup sound. Then, if a disc is present in the drive, it transitions to the PlayStation logo and plays the second part of the startup sound. You can see this startup sequence in the video linked below:
I know the game I put in this PSOne plays an opening sequence with music, and I can’t hear that music. So it seems the console detected a PlayStation CD-ROM, but fails to read data from it.
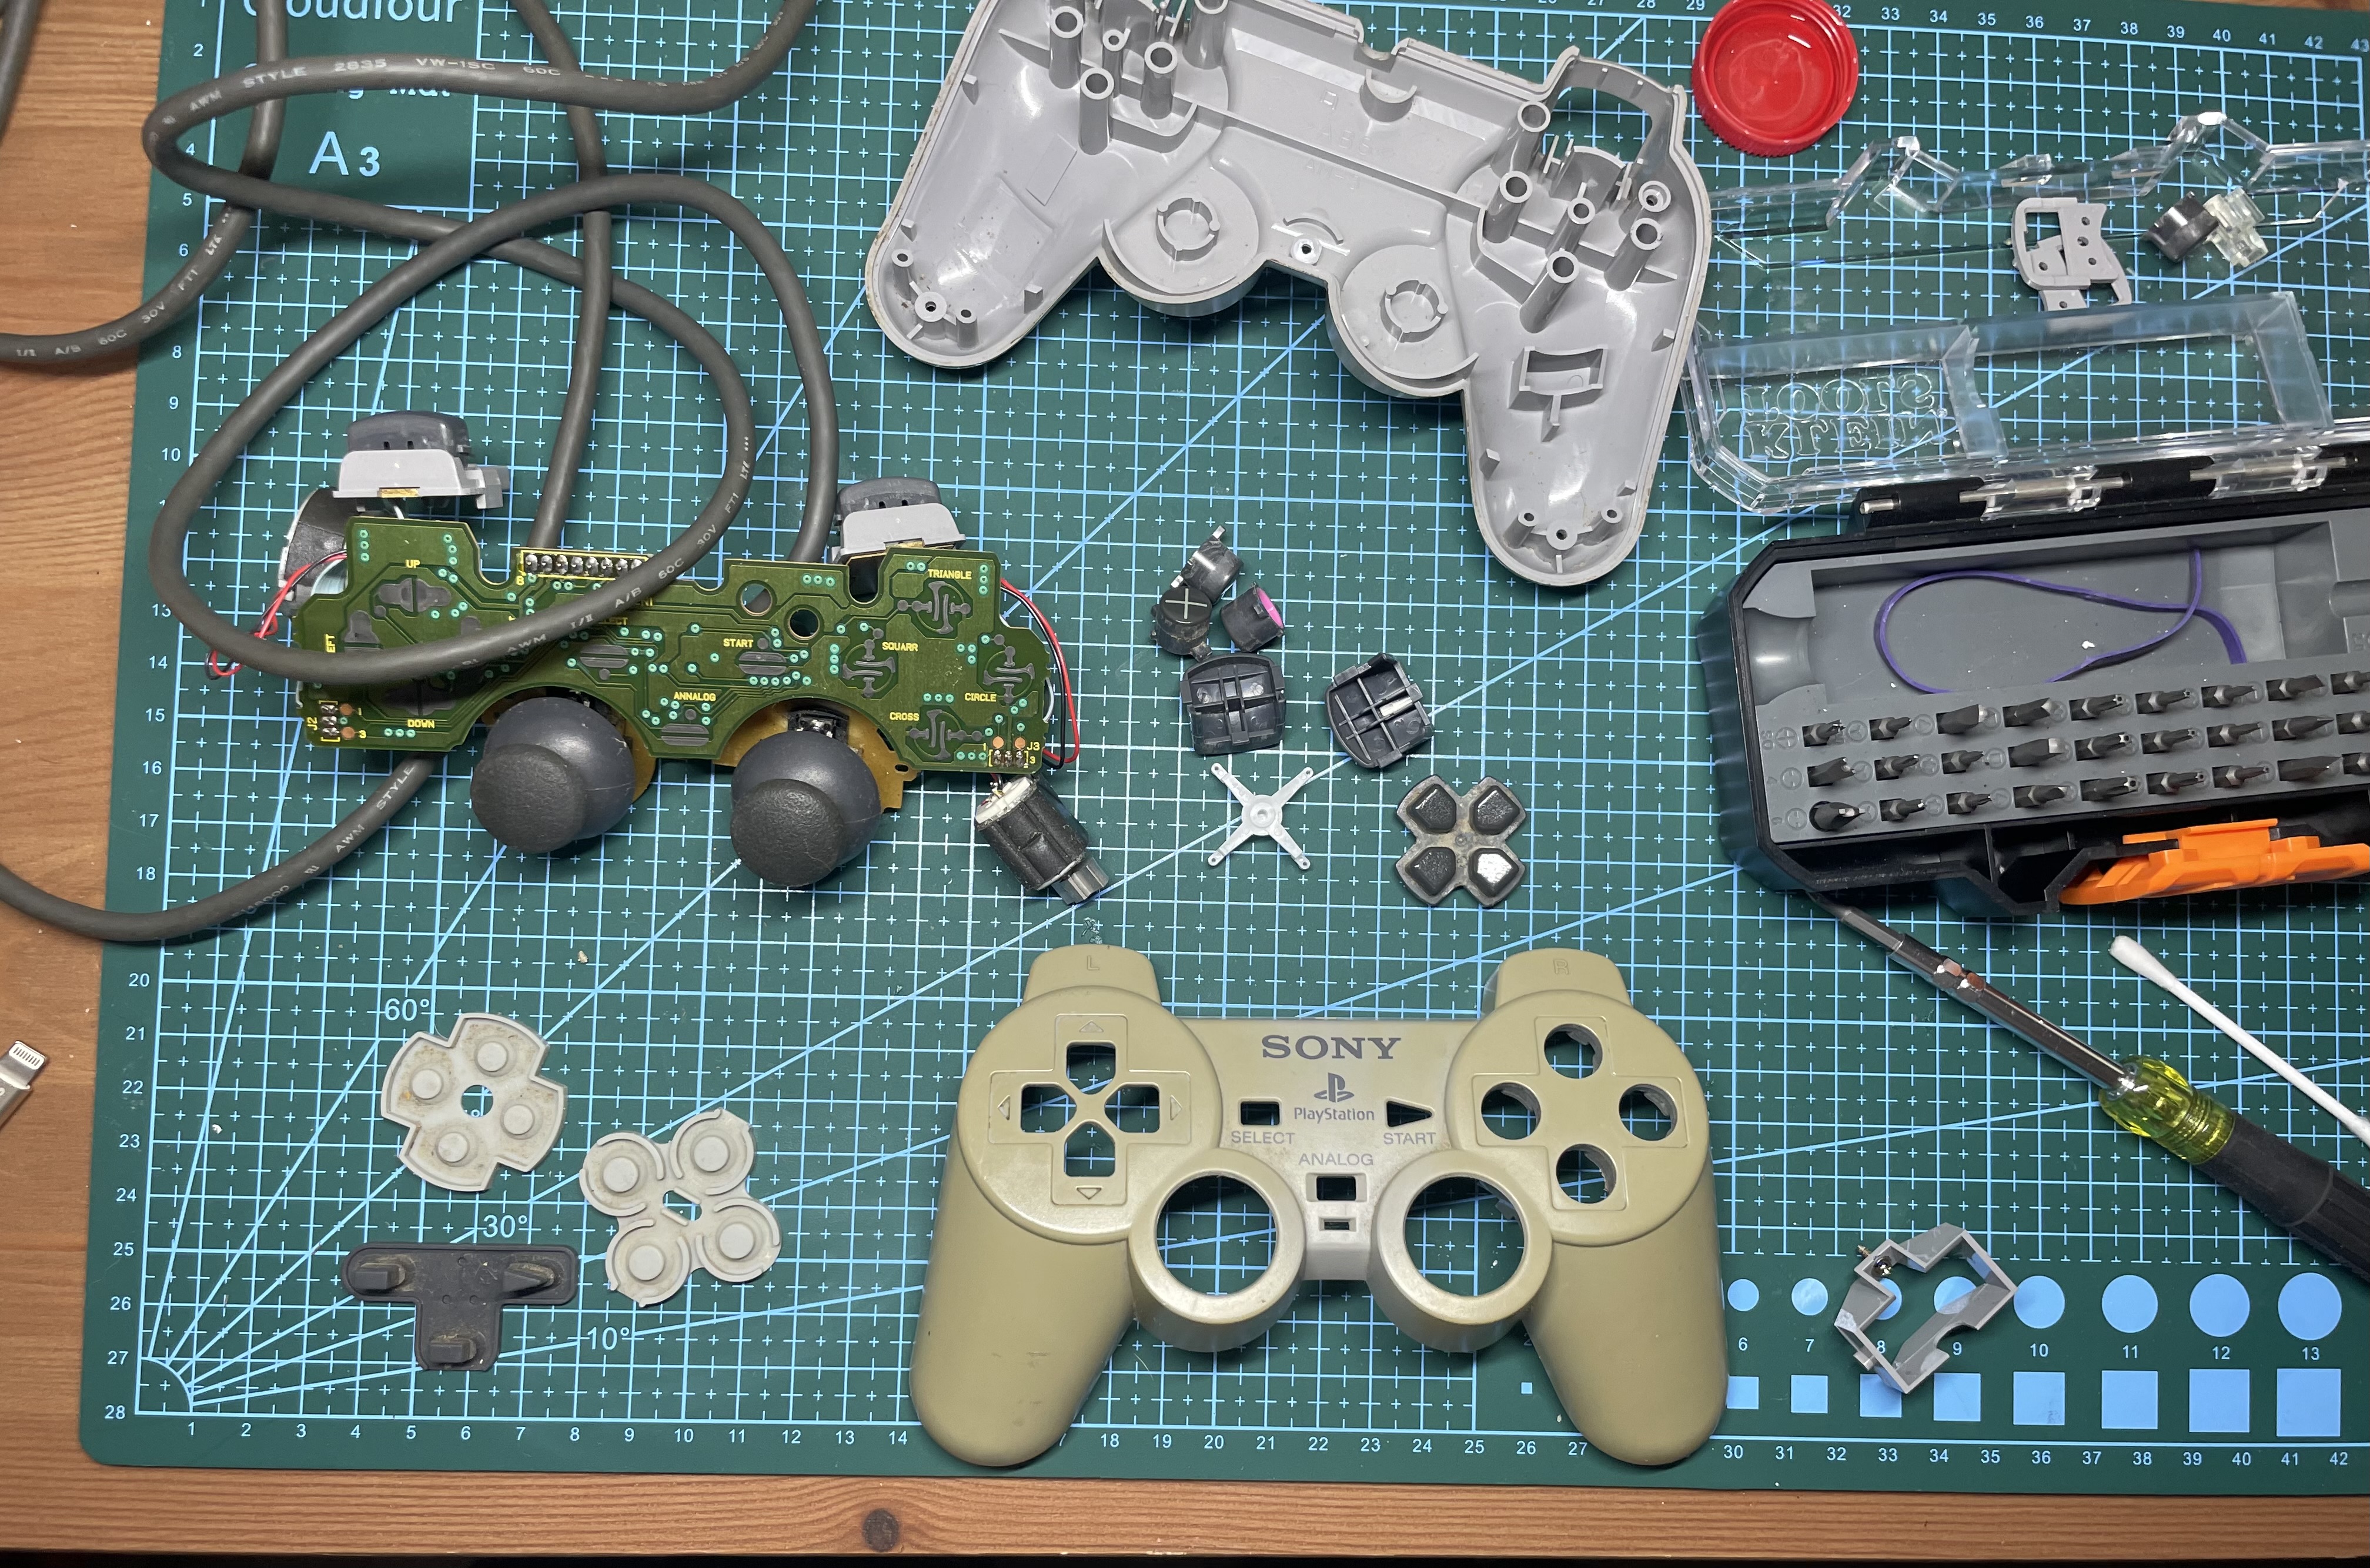
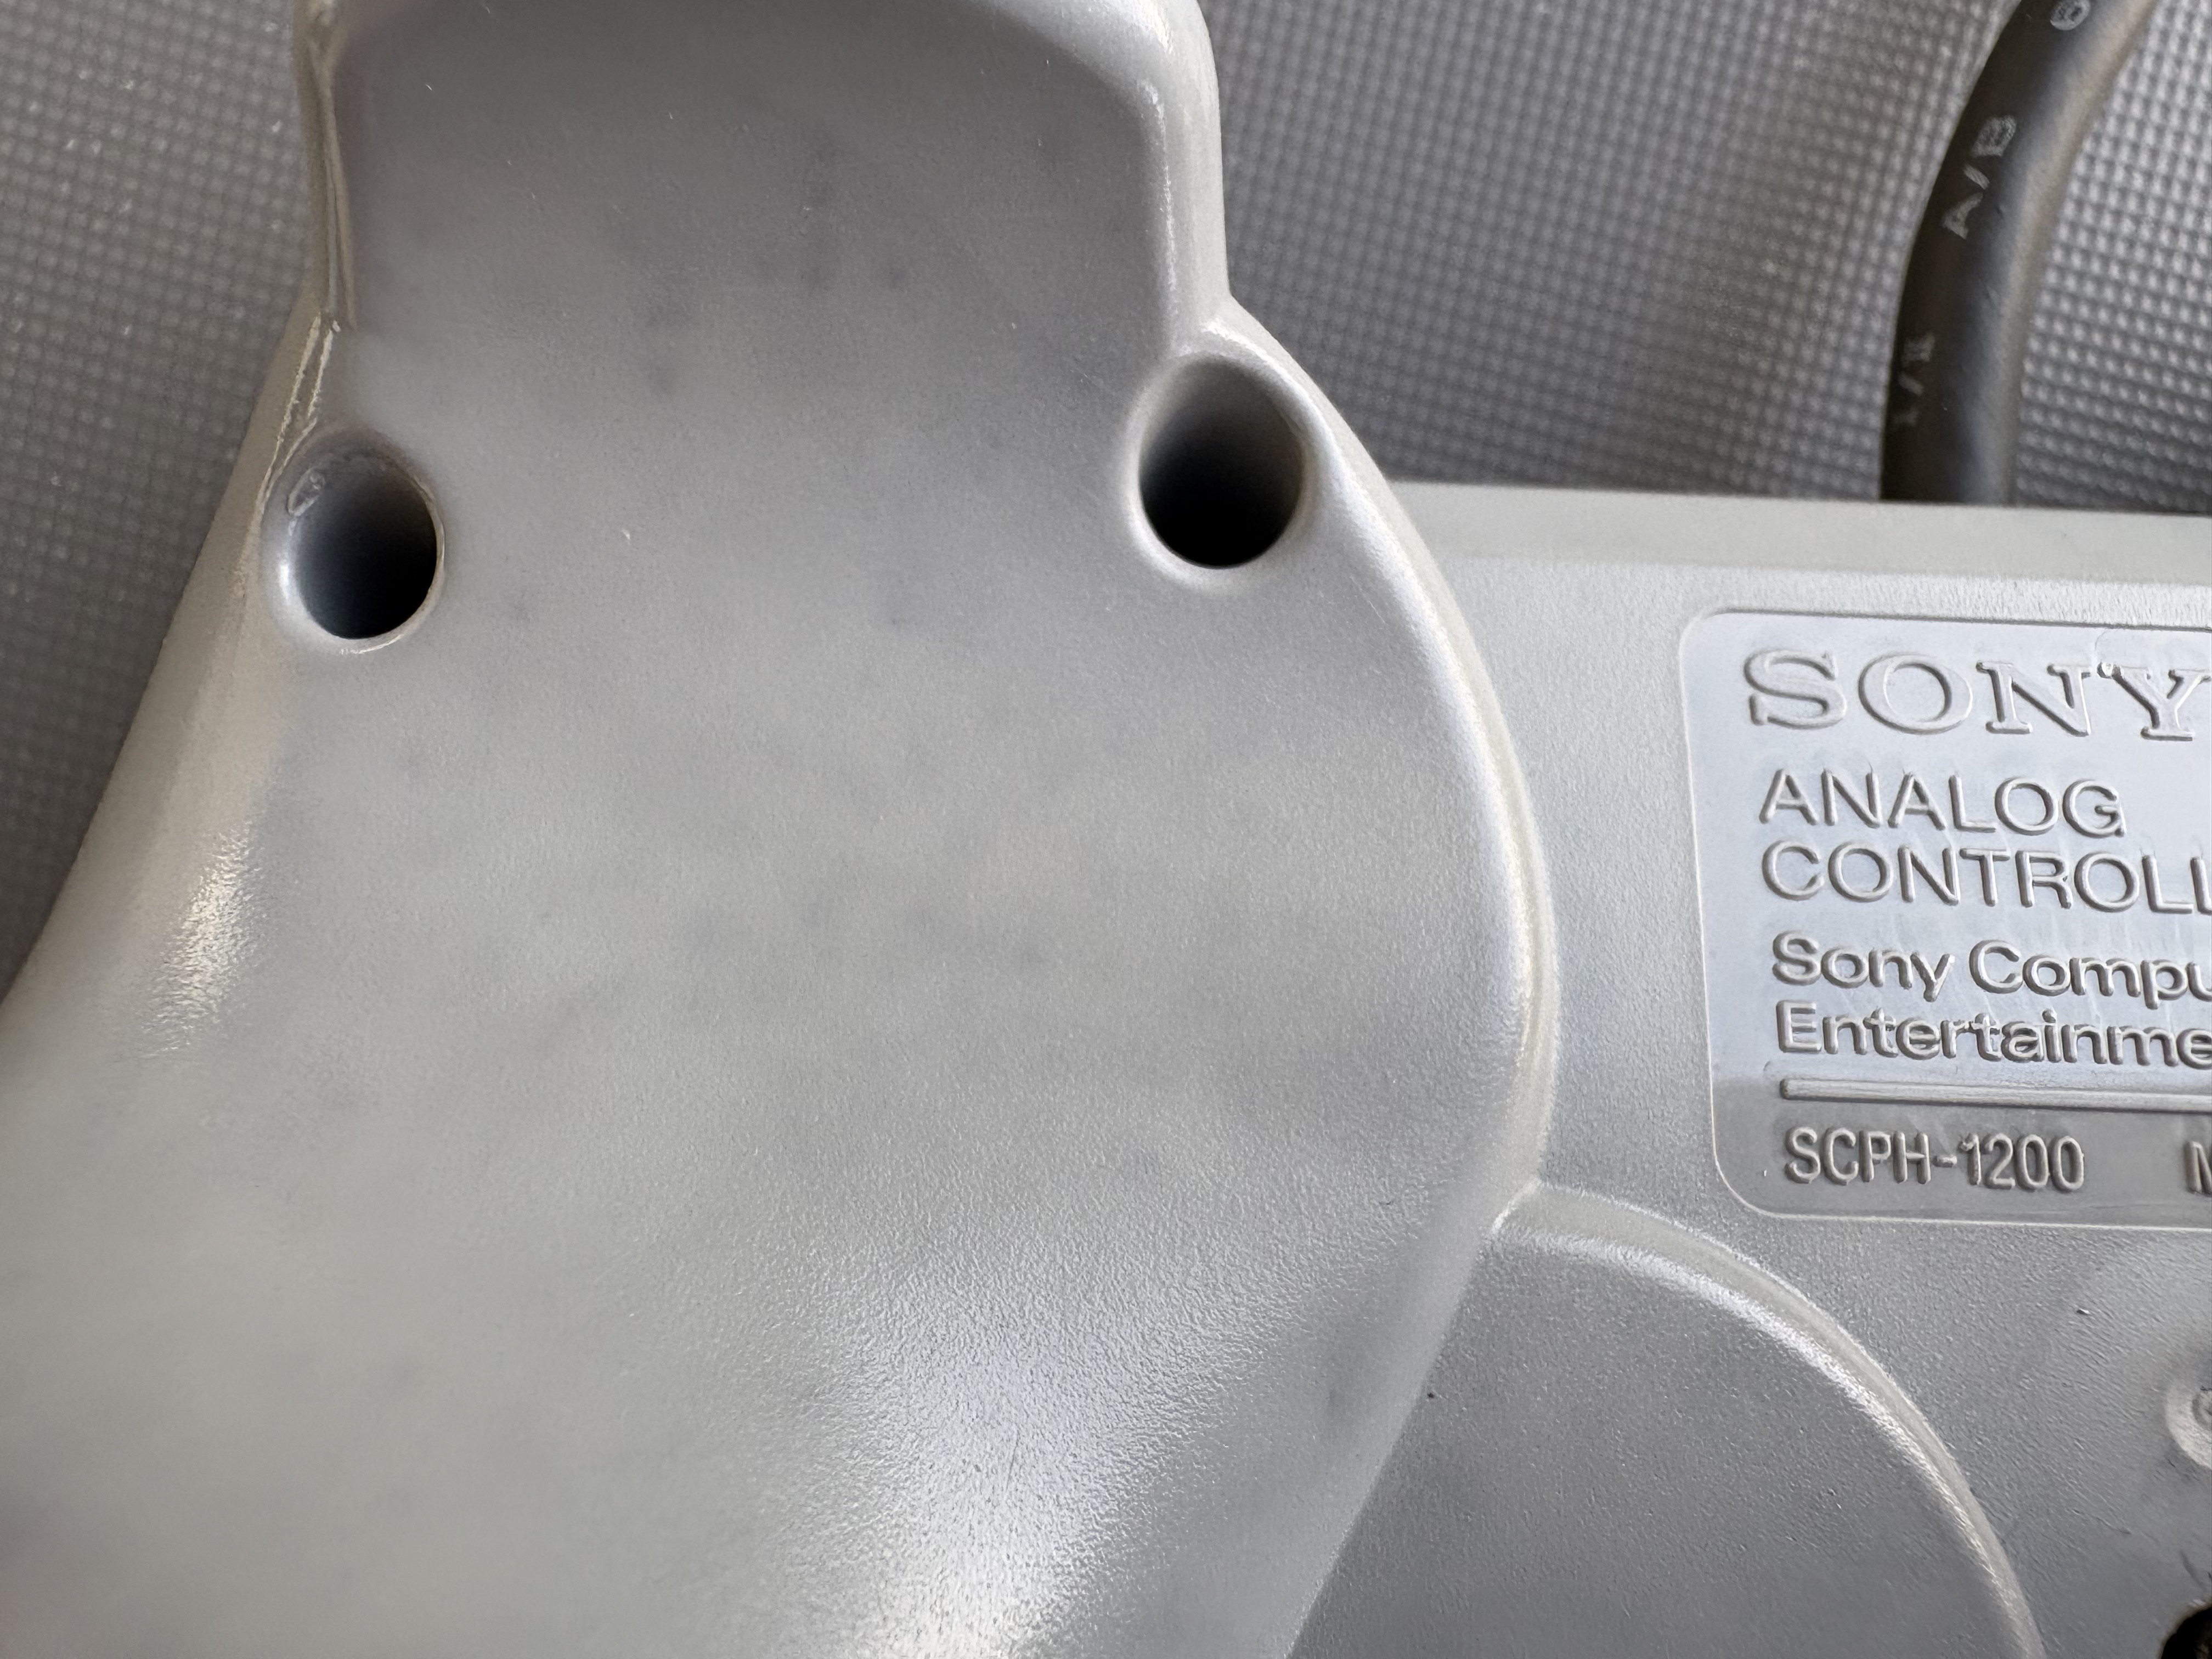
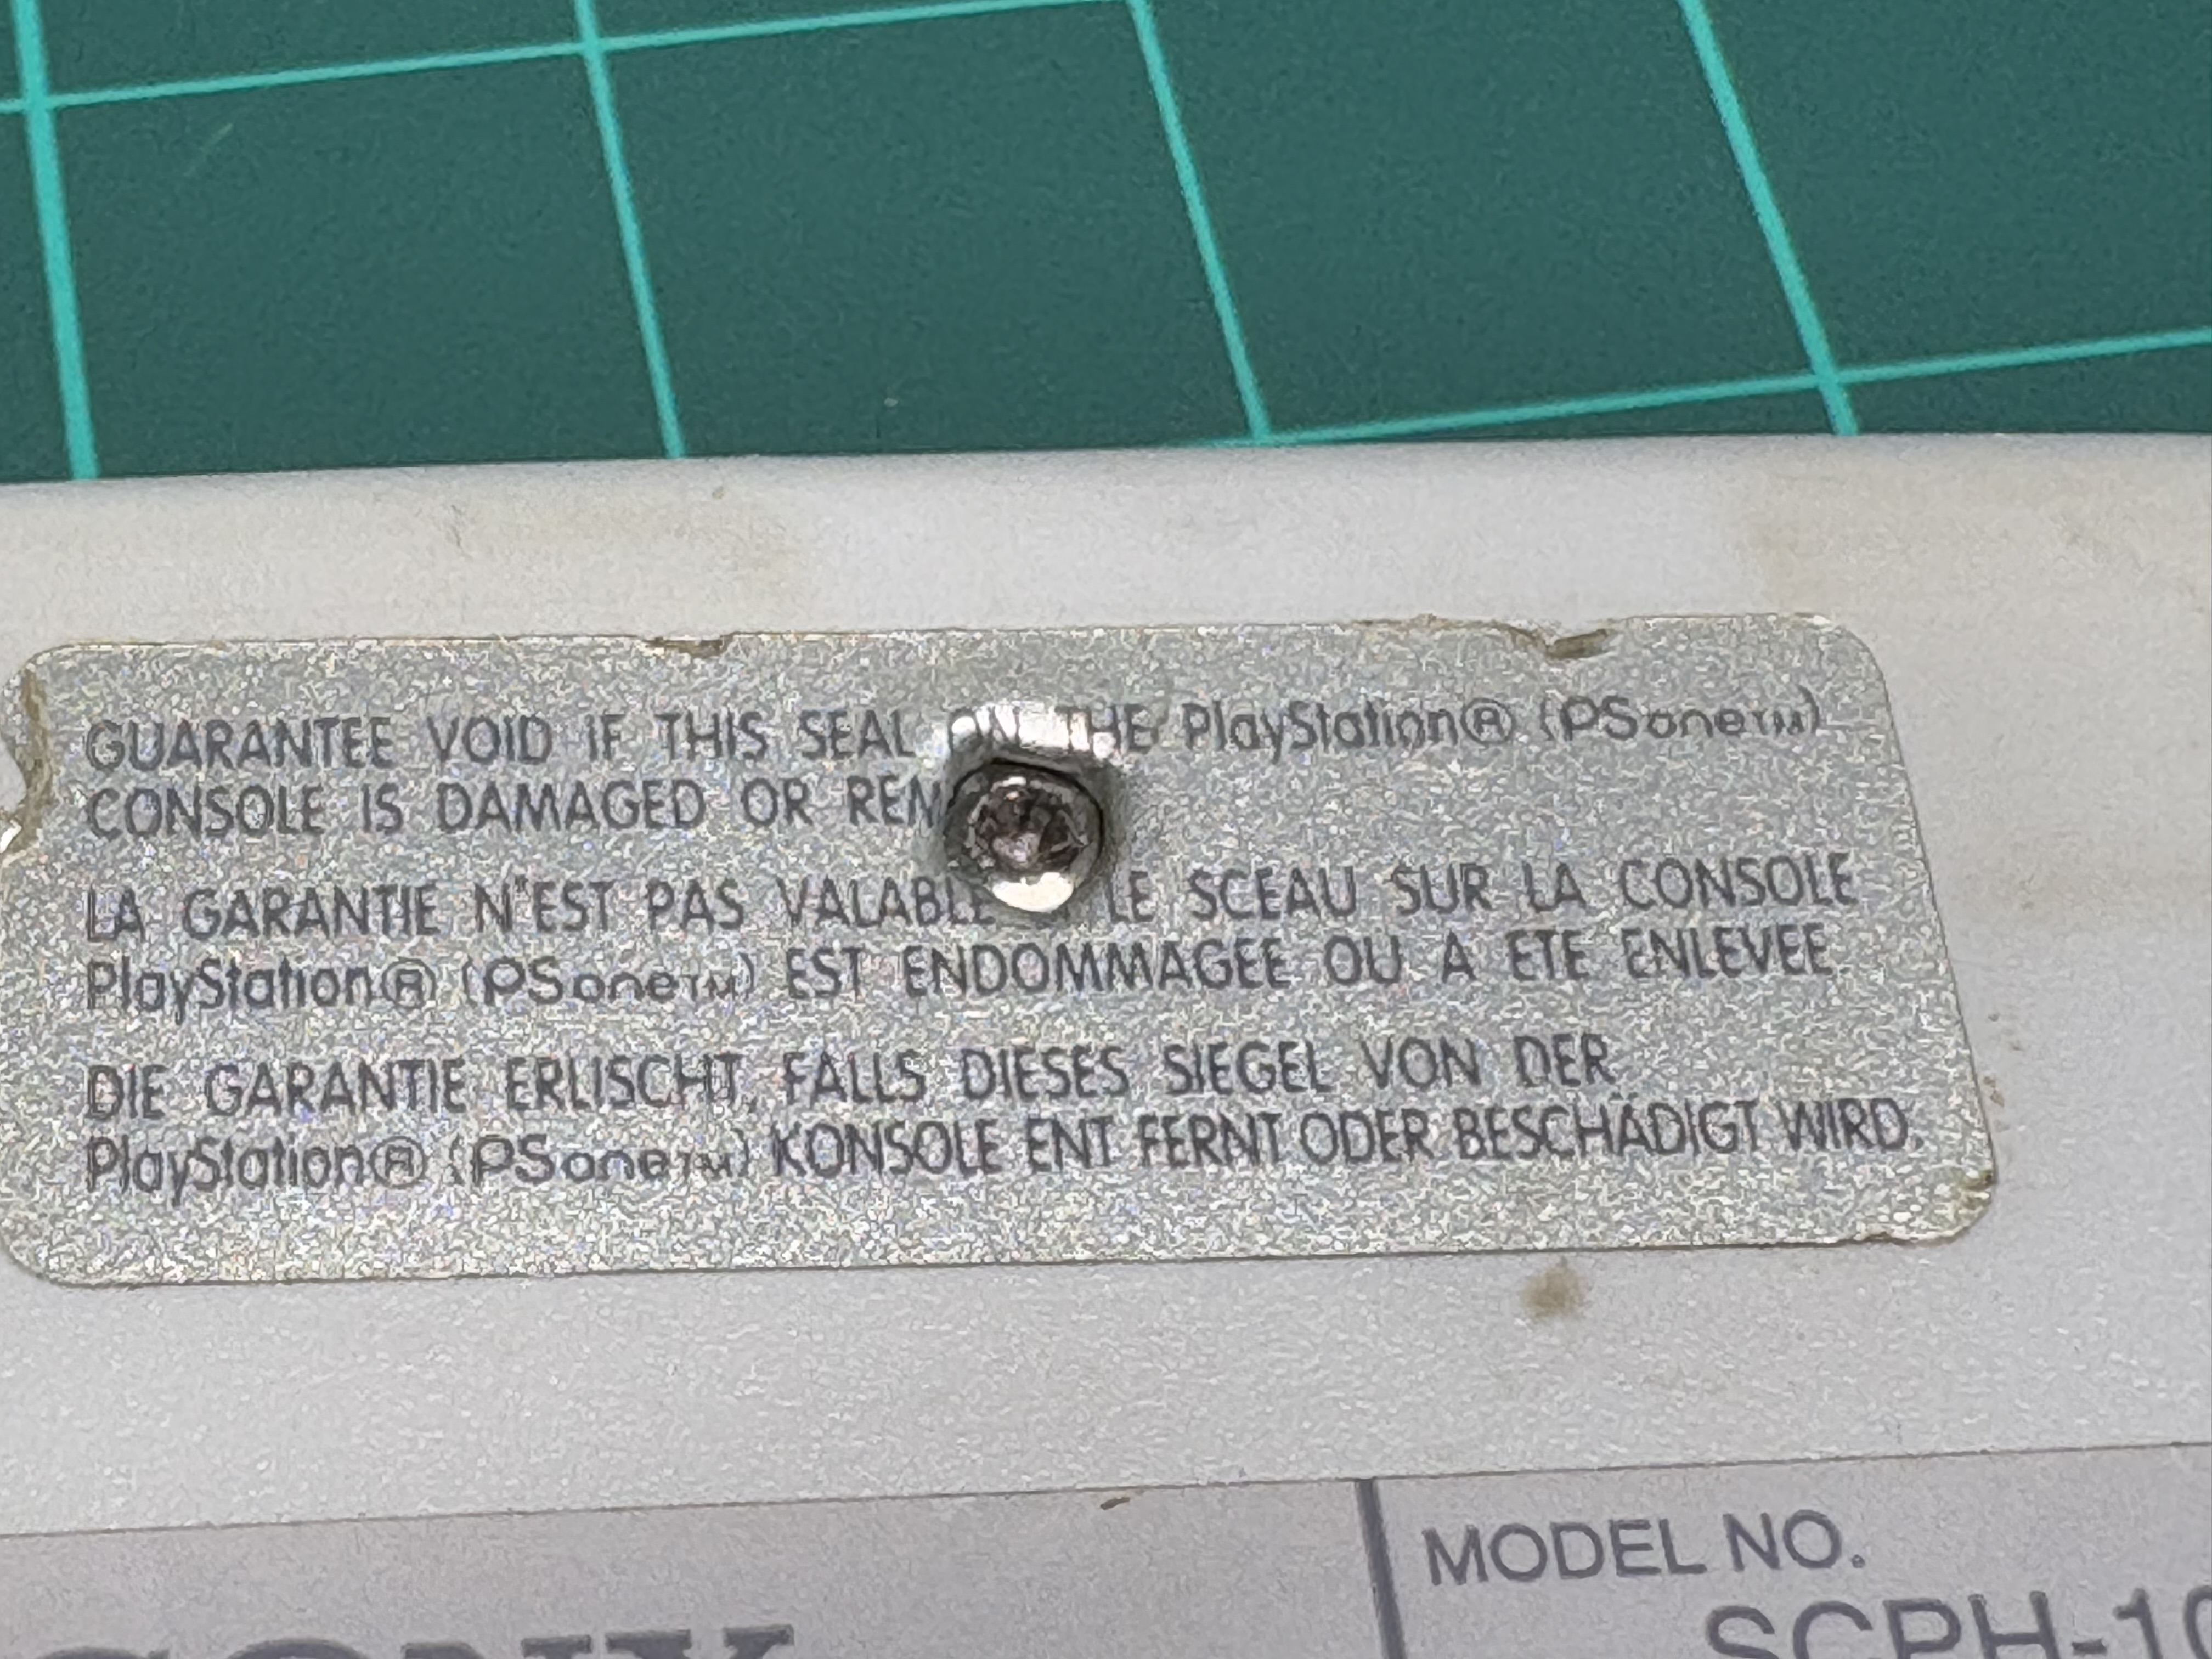
Problem #3: Stripped Screws
Unlike modern devices, old electronics are usually simple to open and disassemble. Typically, there’s a bunch of Philips or similar screws to remove, and then the case opens. Usually, there are no tricky tabs or hidden fasteners.
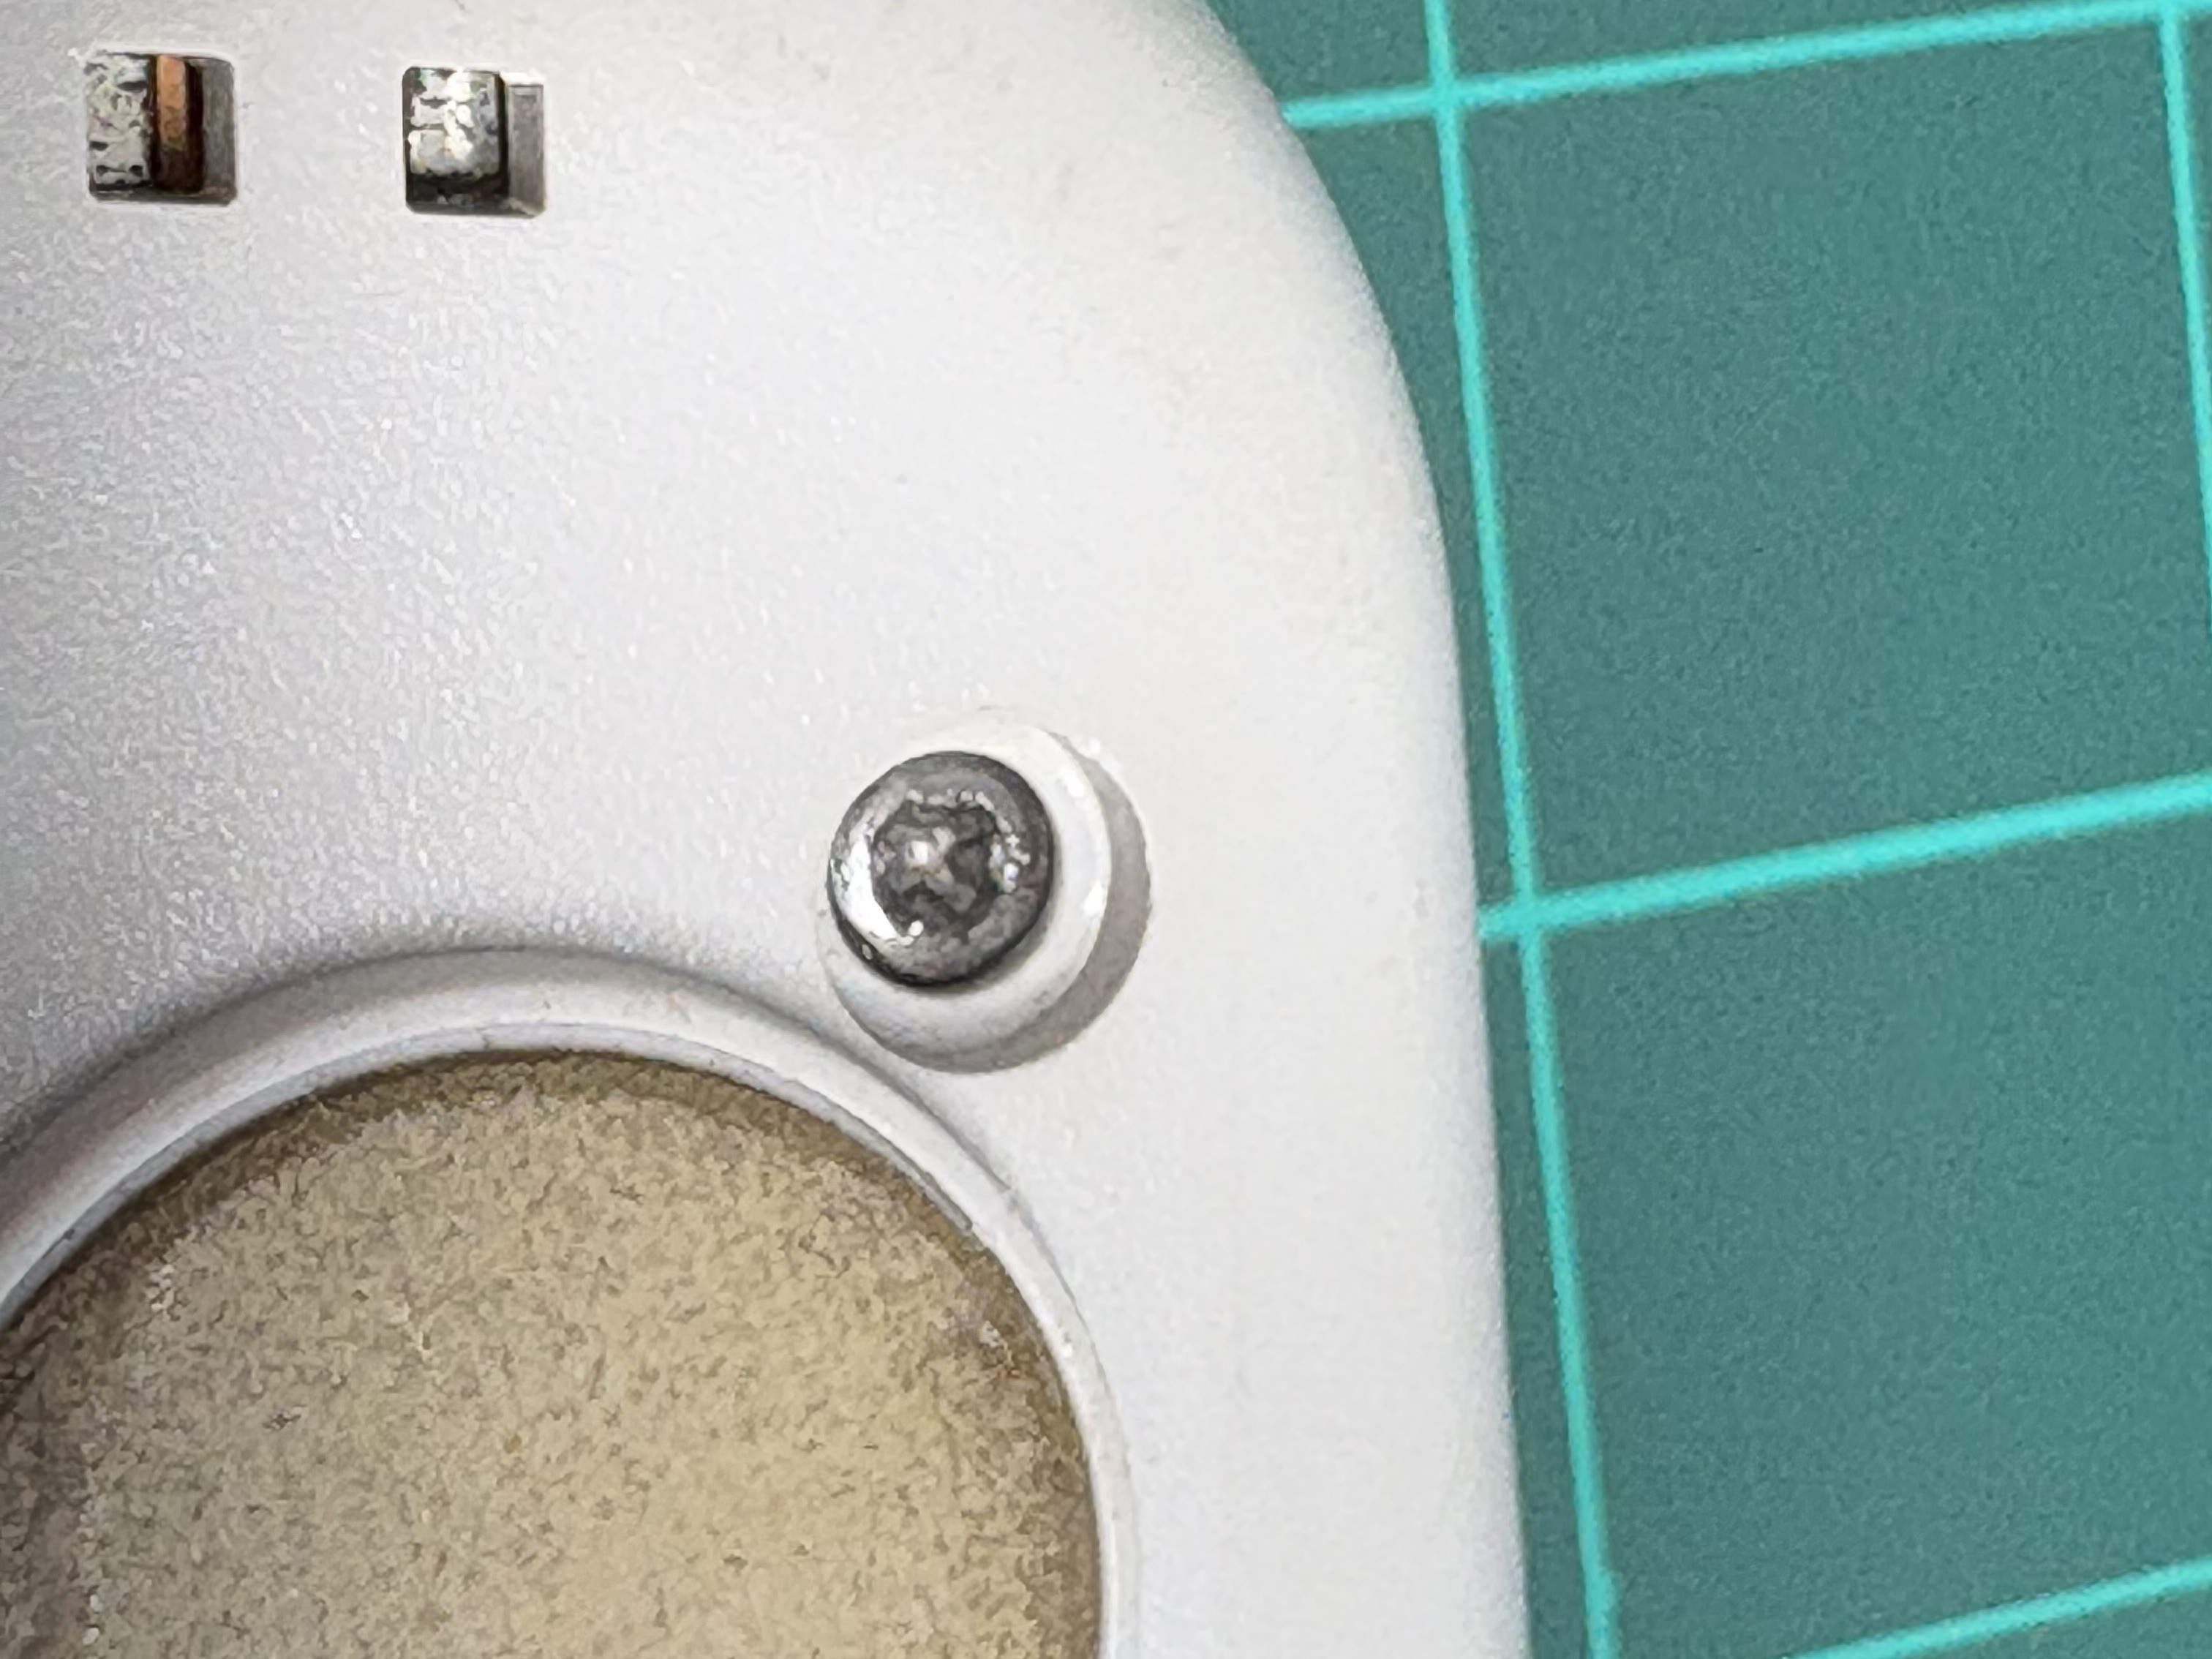
This PSOne, however, wasn’t easy to open. All the screws were stripped — some of them really badly. This is usually caused by using the wrong screwdriver size, overtightening (causing the driver to slip), or just from being opened and reassembled too many times. Screws made from softer metals deform more easily.
Cracking it Open
There are six screws to remove. Some were moderately stripped, others looked nearly impossible to remove. When you see a stripped screw, it’s best not to try removing it with a standard screwdriver — that will most likely make it worse. Here are some methods I tried:
Rubber Band Method
This is the easiest, cleanest, and least invasive of the methods I used. To try it, place a wide rubber band over the screw head, then press the screwdriver into the rubber and turn gently. The rubber helps prevent the driver from slipping. If the screw isn’t completely destroyed, this method can work.
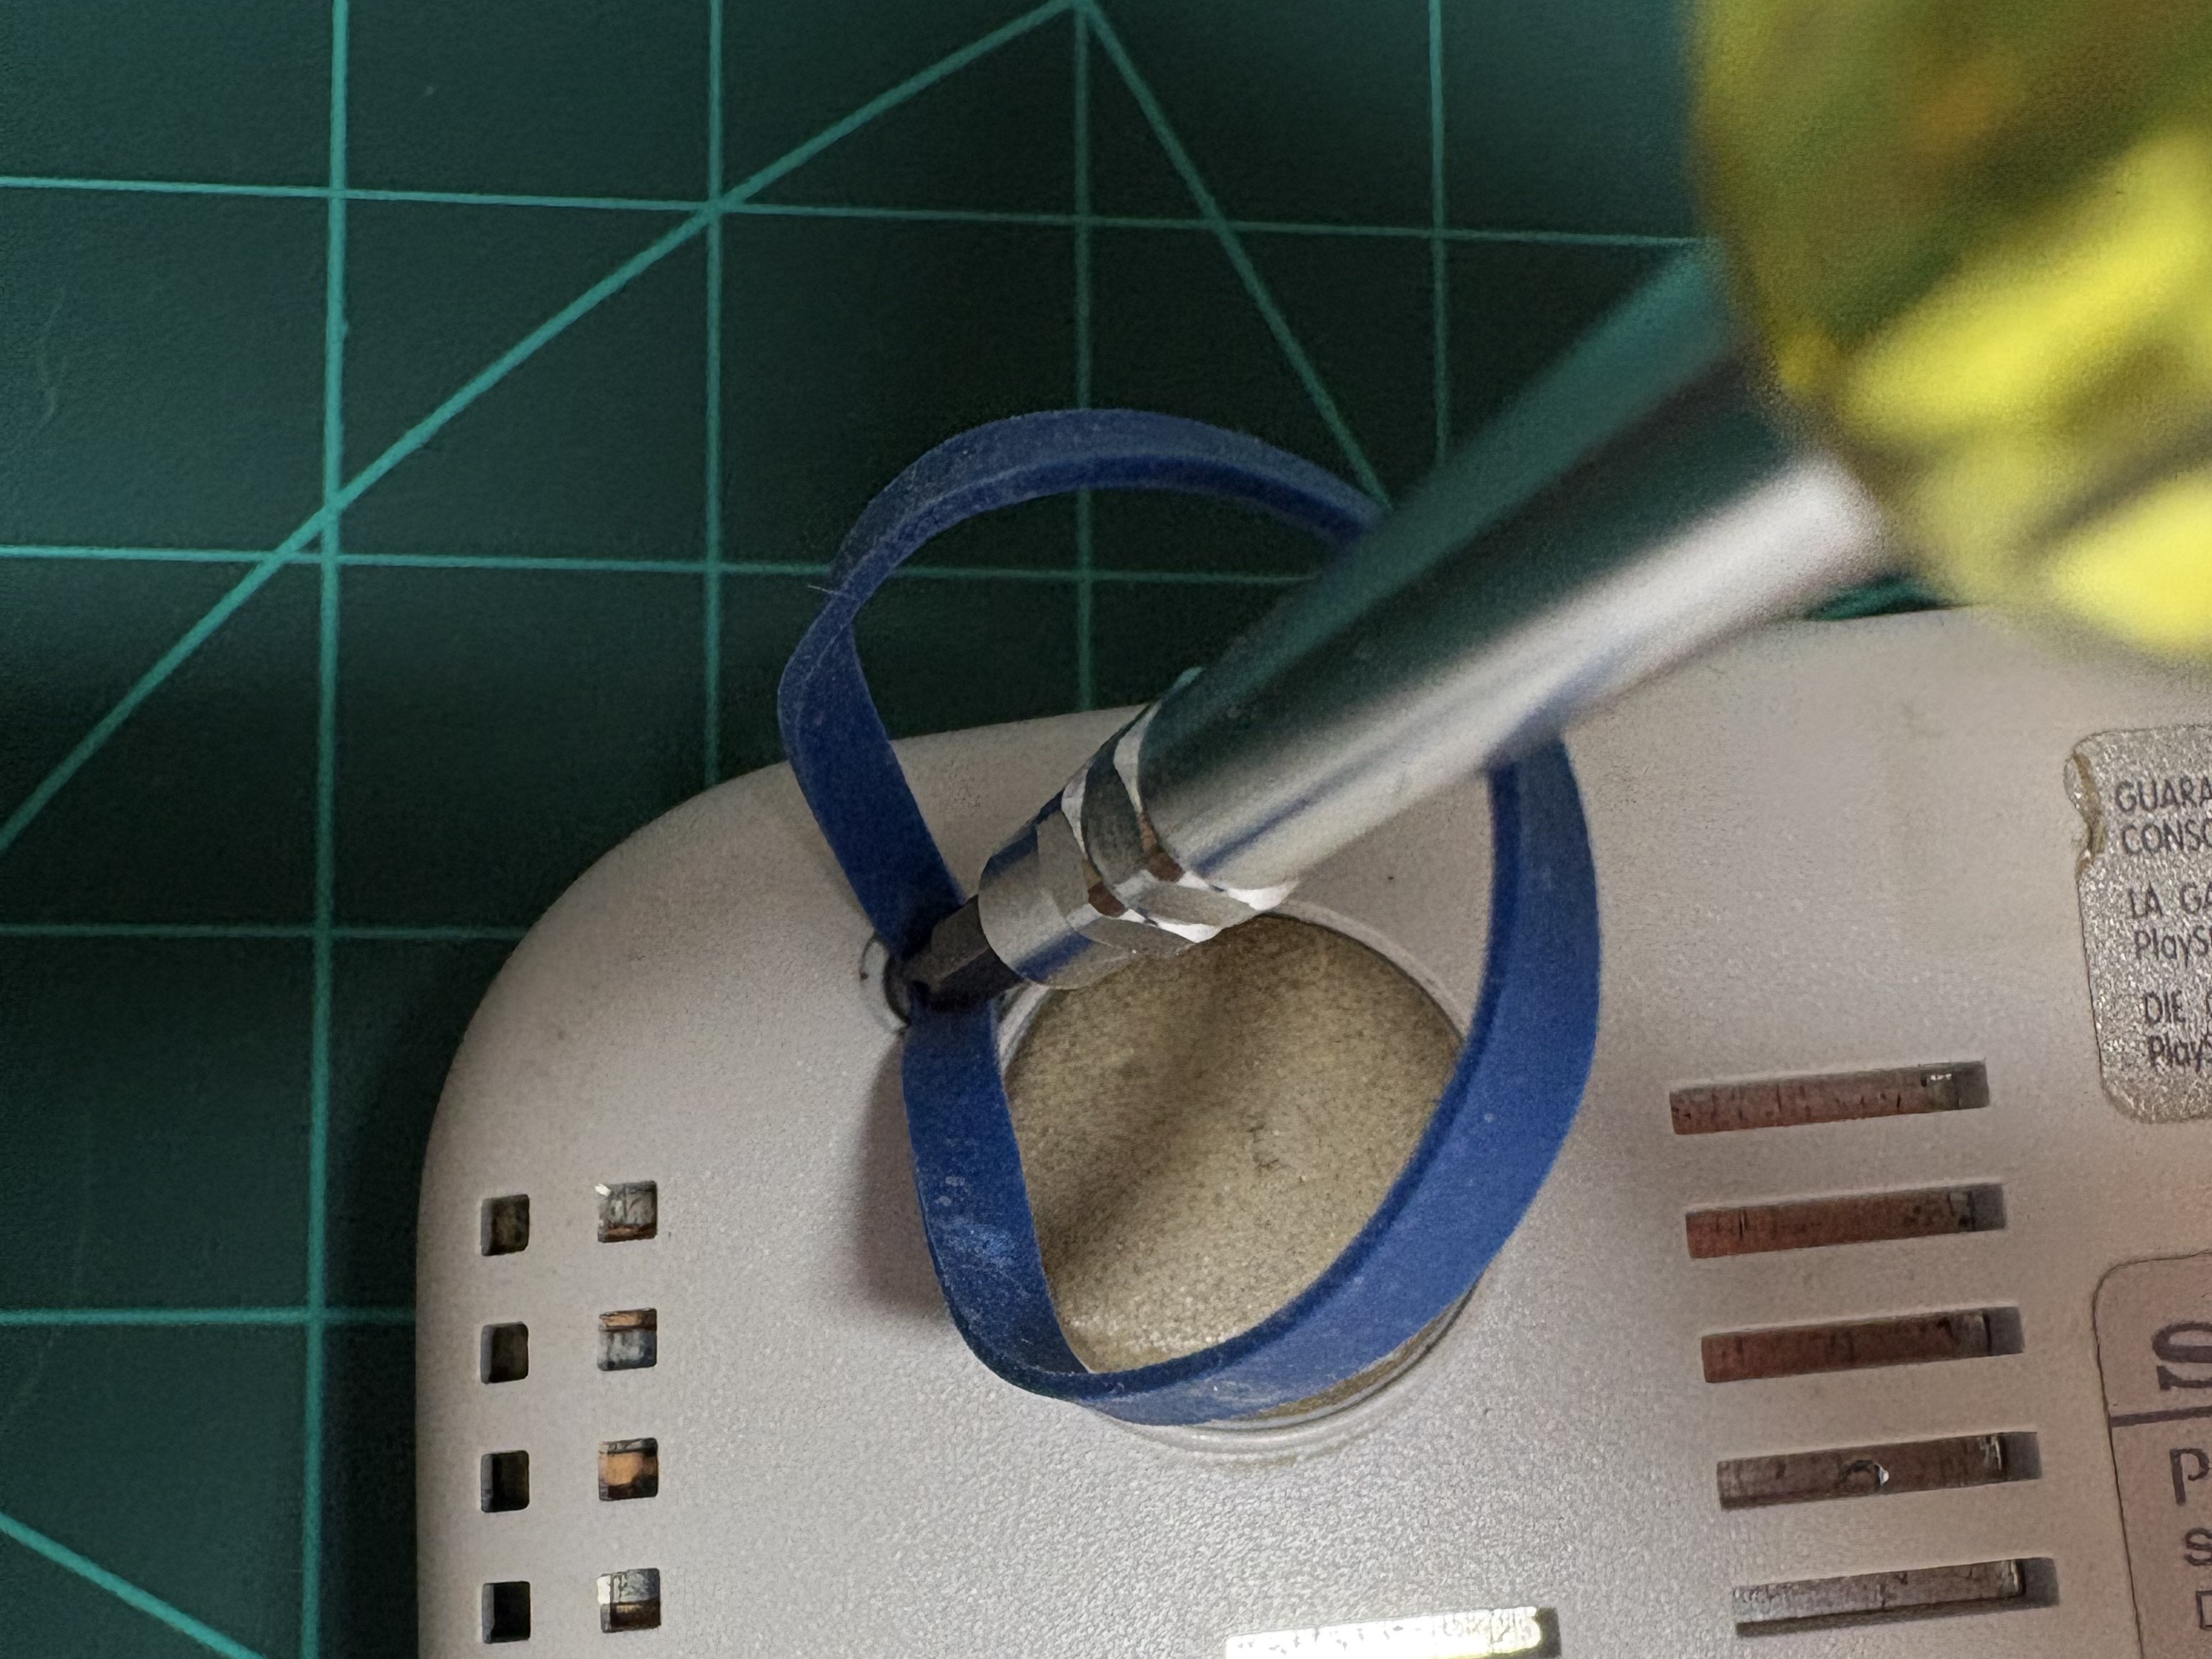
I managed to remove 3 out of 6 screws using this method. Only 3 more to go!
Super Glue Method
This one is messy, so I use it only if all “clean” methods fail. The idea is to put a small amount of glue on the stripped screw head, press a screwdriver into it, and wait for the glue to set. Once it’s bonded, you try to twist it out.
It didn’t work in my case.
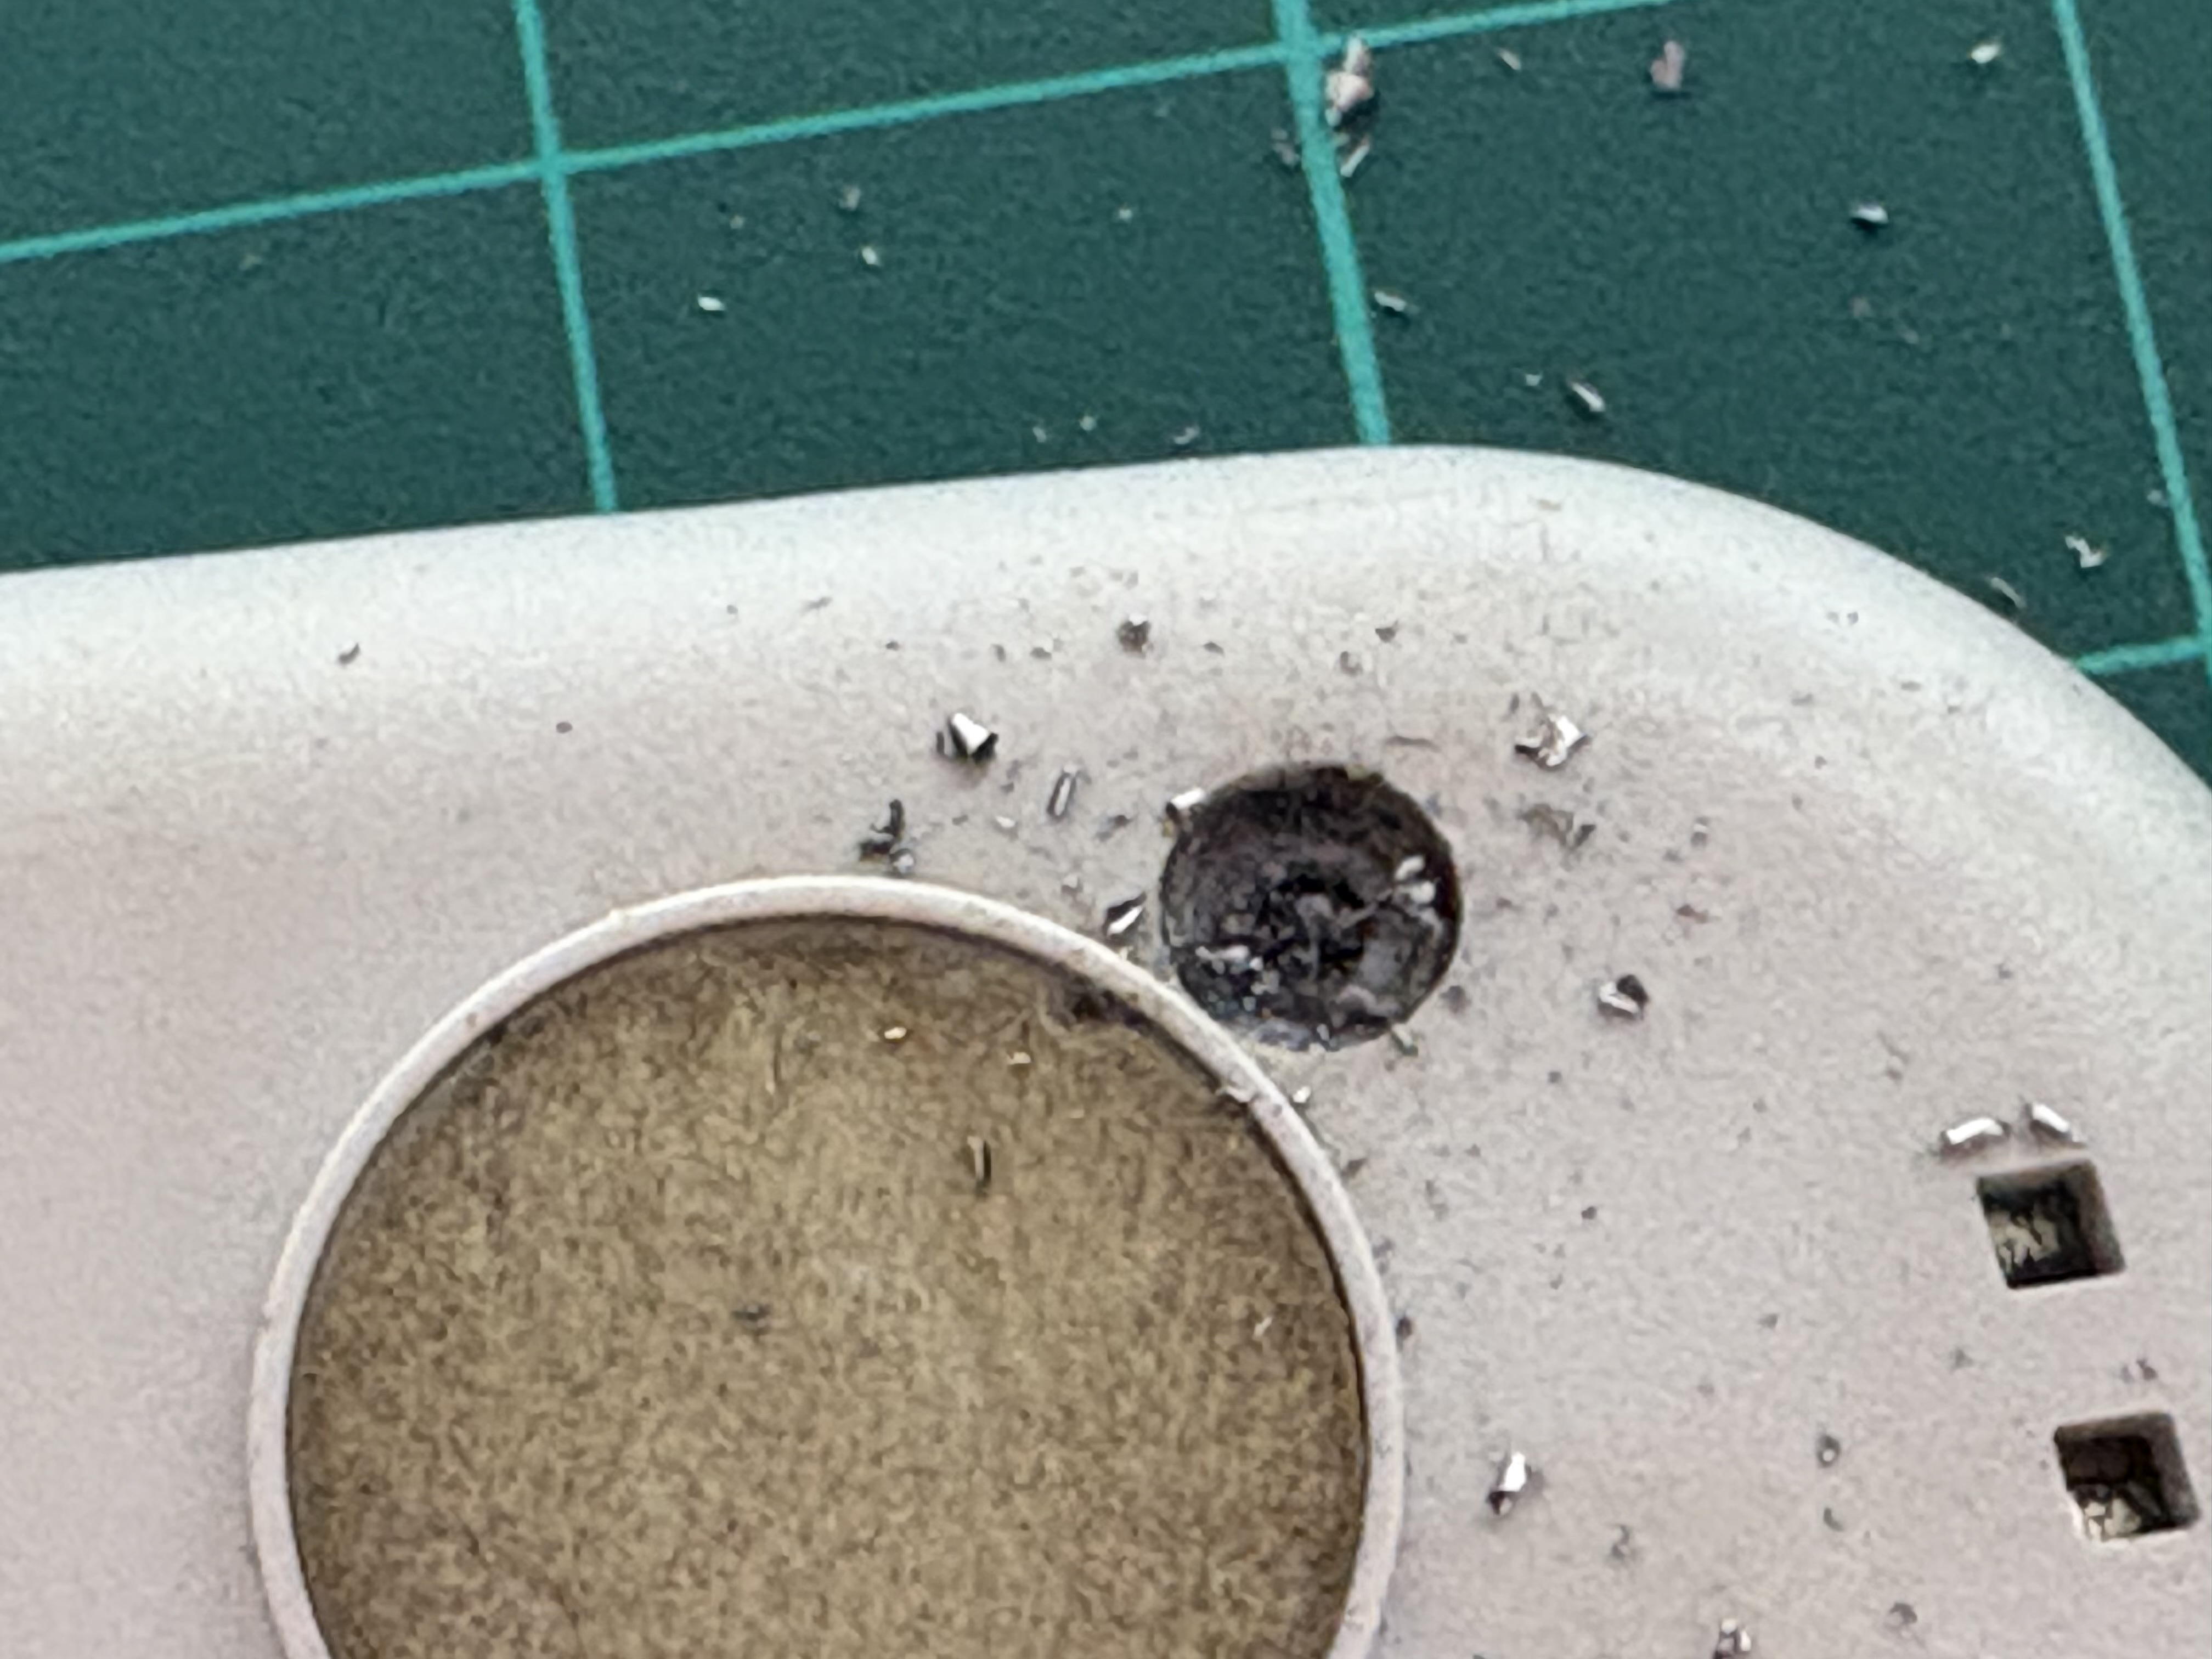
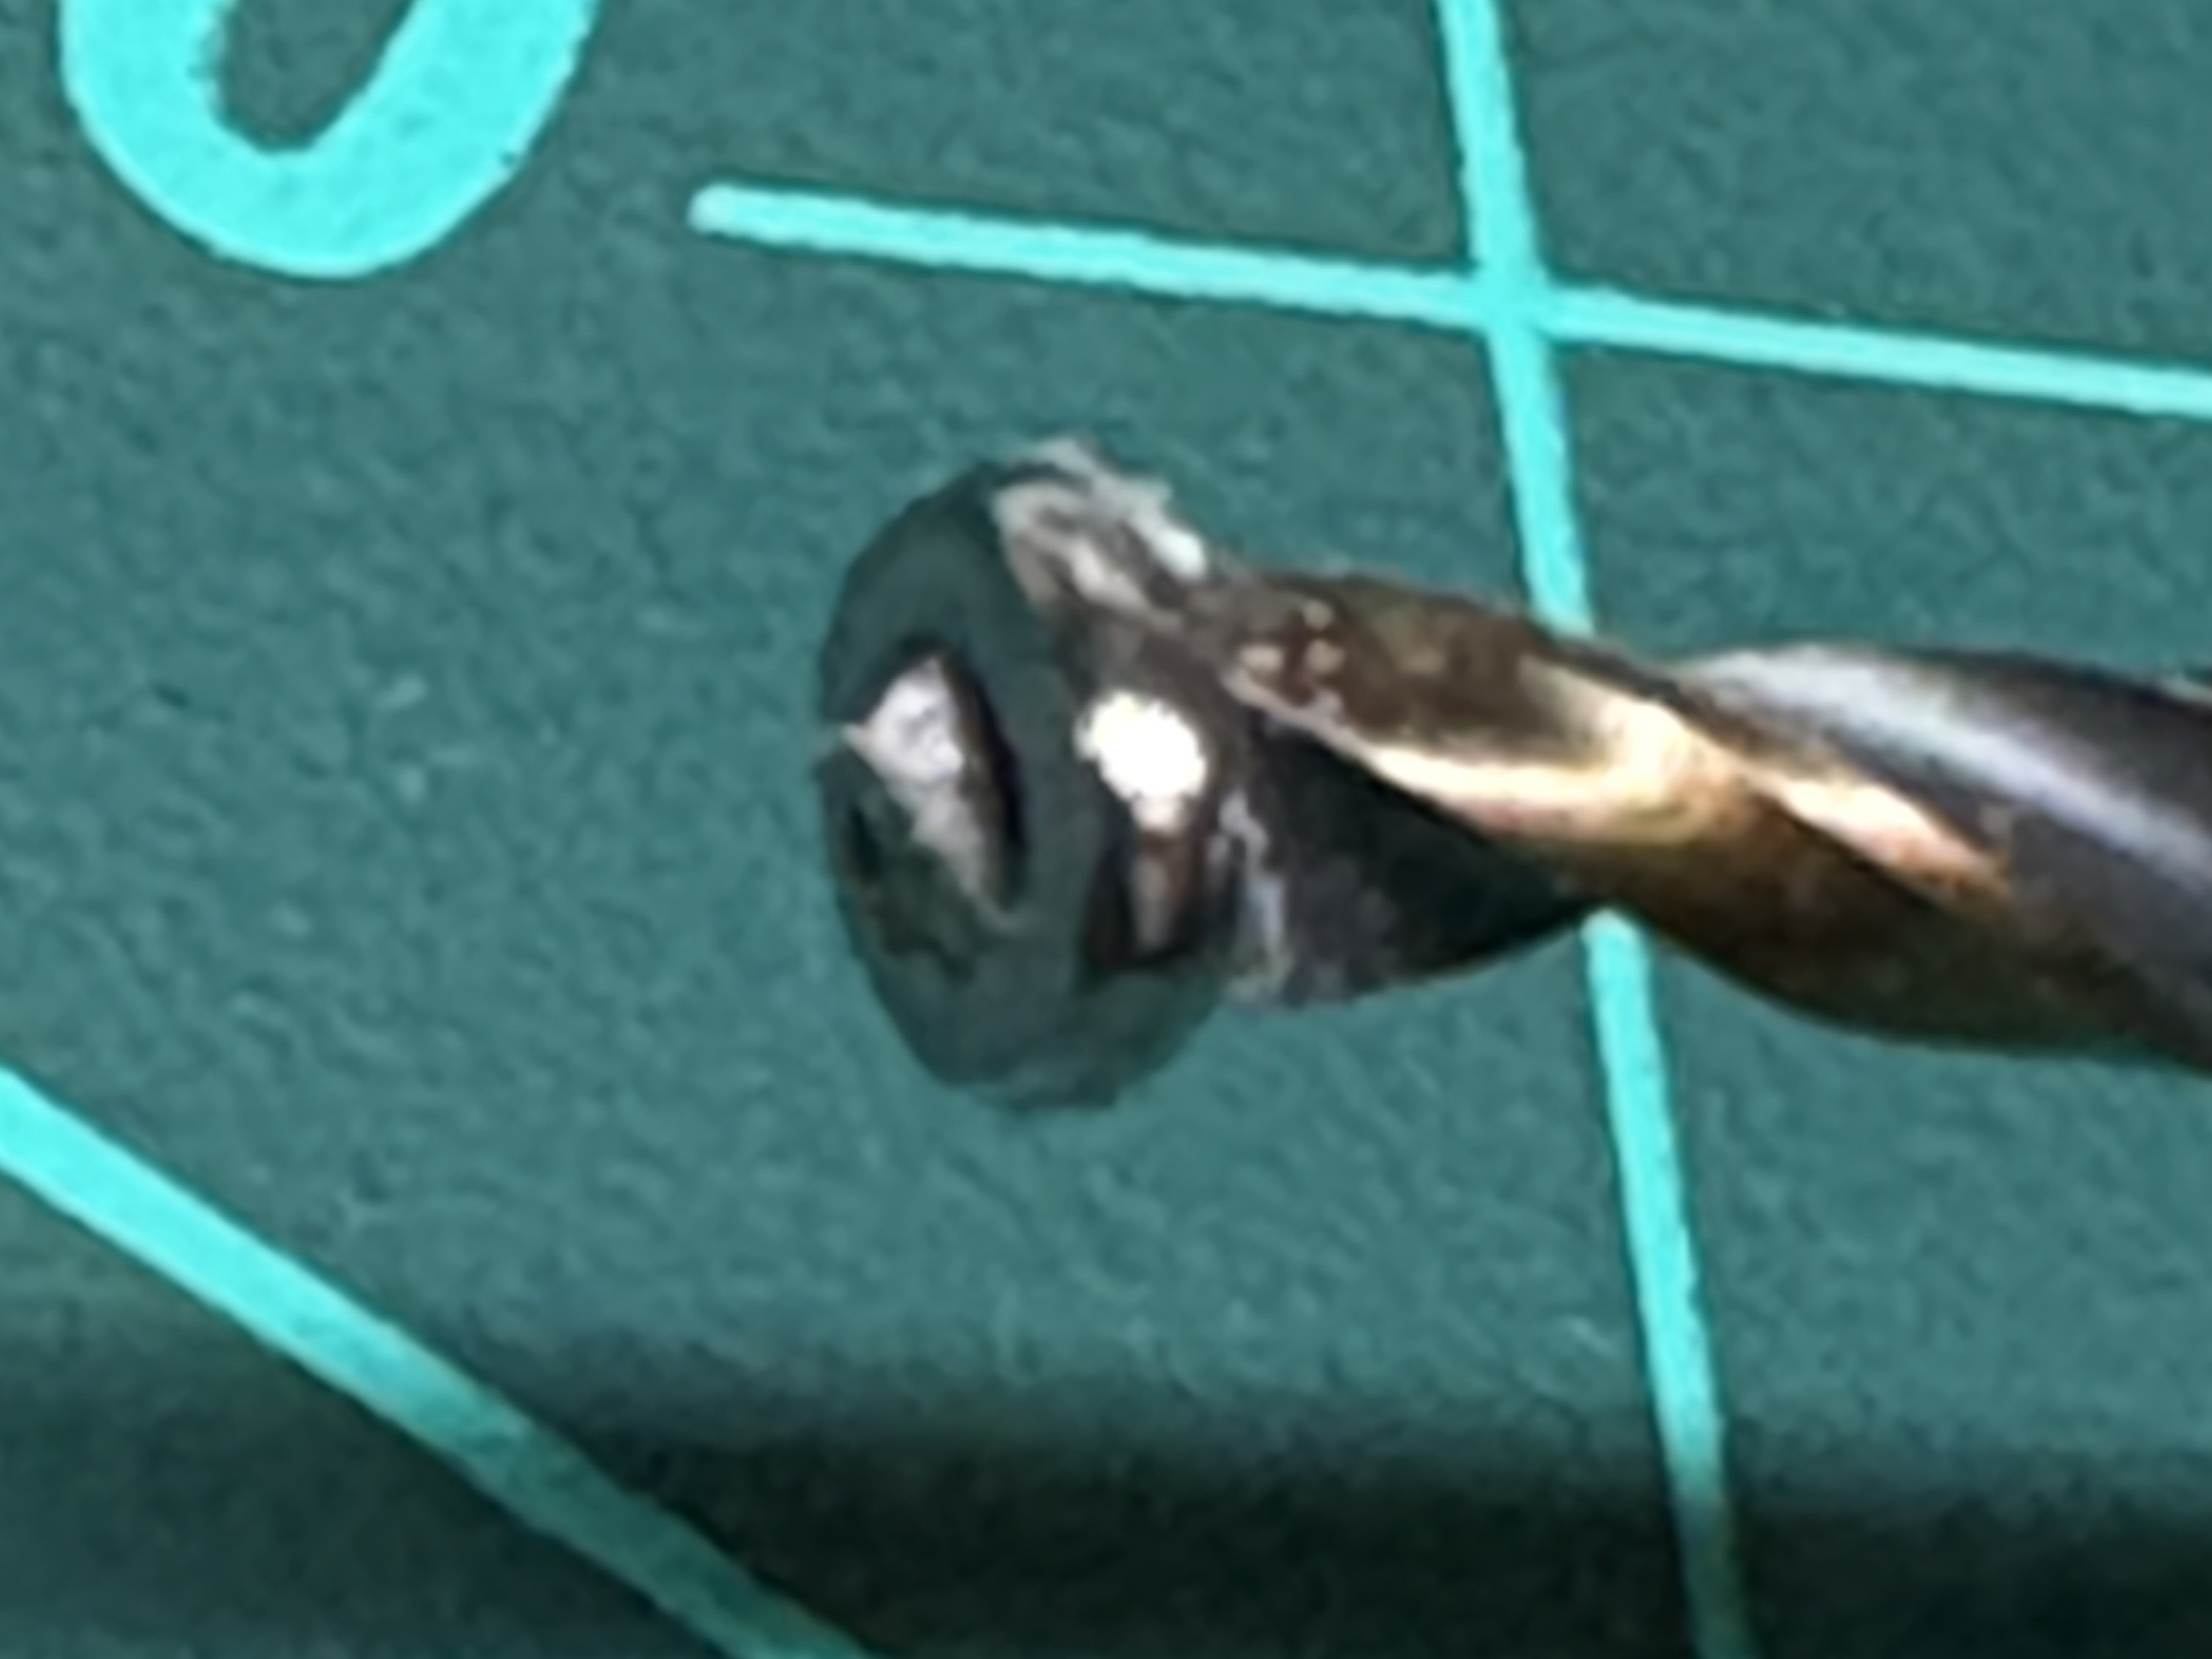
Drilling Through Method
This is a last-resort method. It involves drilling through the screw head until it detaches from the shaft. I used this method for the remaining 3 screws and was finally able to open the console.
This was my first time doing this, and while it worked, I learned a few lessons:
-
Use sharp, good-quality drill bits. Worn-out bits require excessive pressure, which is dangerous and can damage nearby components — especially PCBs with multiple layers.
-
Be patient and drill slowly. If you drill too fast, you can slip through the plastic or damage the board.
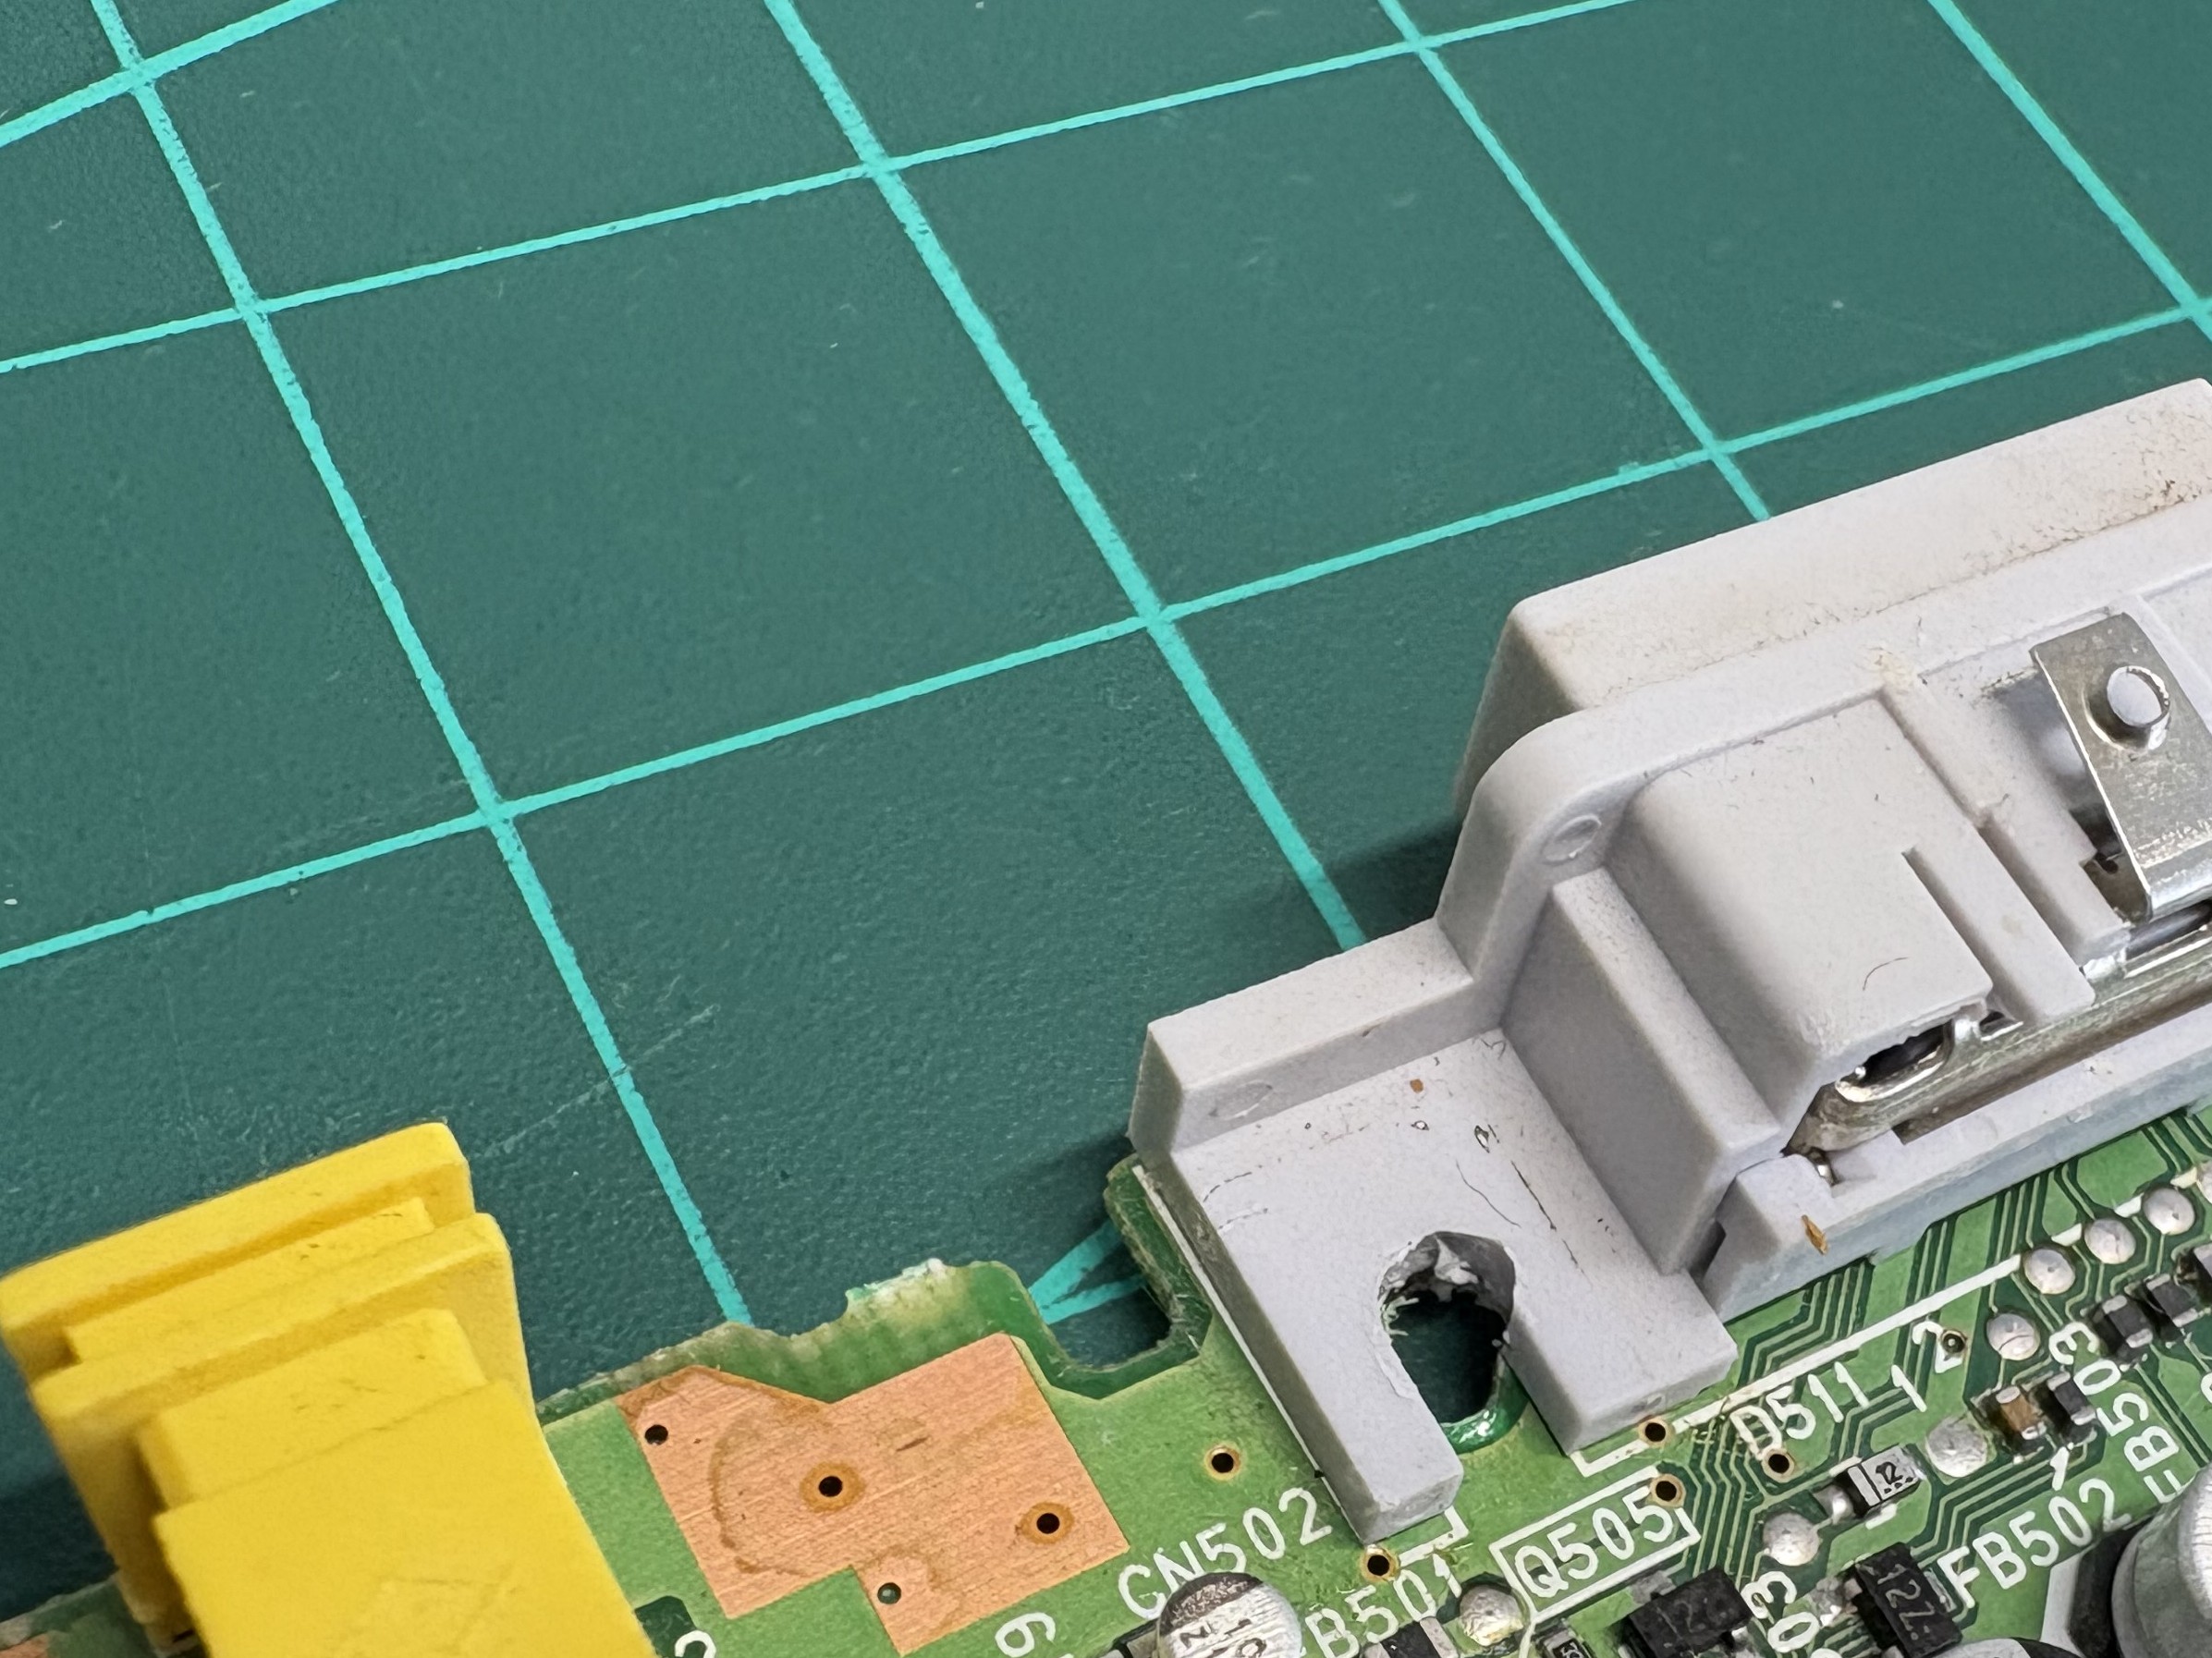
I wasn’t patient enough, and while drilling one of the screws, I applied too much pressure. My drill shaved off some PCB and a connector. Luckily, there were no copper traces in that area — just the ground plane — so the damage didn’t affect functionality. Next time, I’ll be more careful.
Other Methods I Didn’t Try
Using a Screw Extractor Tool
I don’t have one in my toolbox. This project had been waiting on my bench for a while already, and I didn’t want to delay it further by searching for the right extractor type and size.
Cutting a Flat Head Driver Slot
Using a precision rotary tool, you can cut a slot in the screw for a flat head driver. I didn’t try this because PSOne screws sit recessed under the shell, so cutting the slot would’ve damaged the outer plastic.
Fixing the Video Output
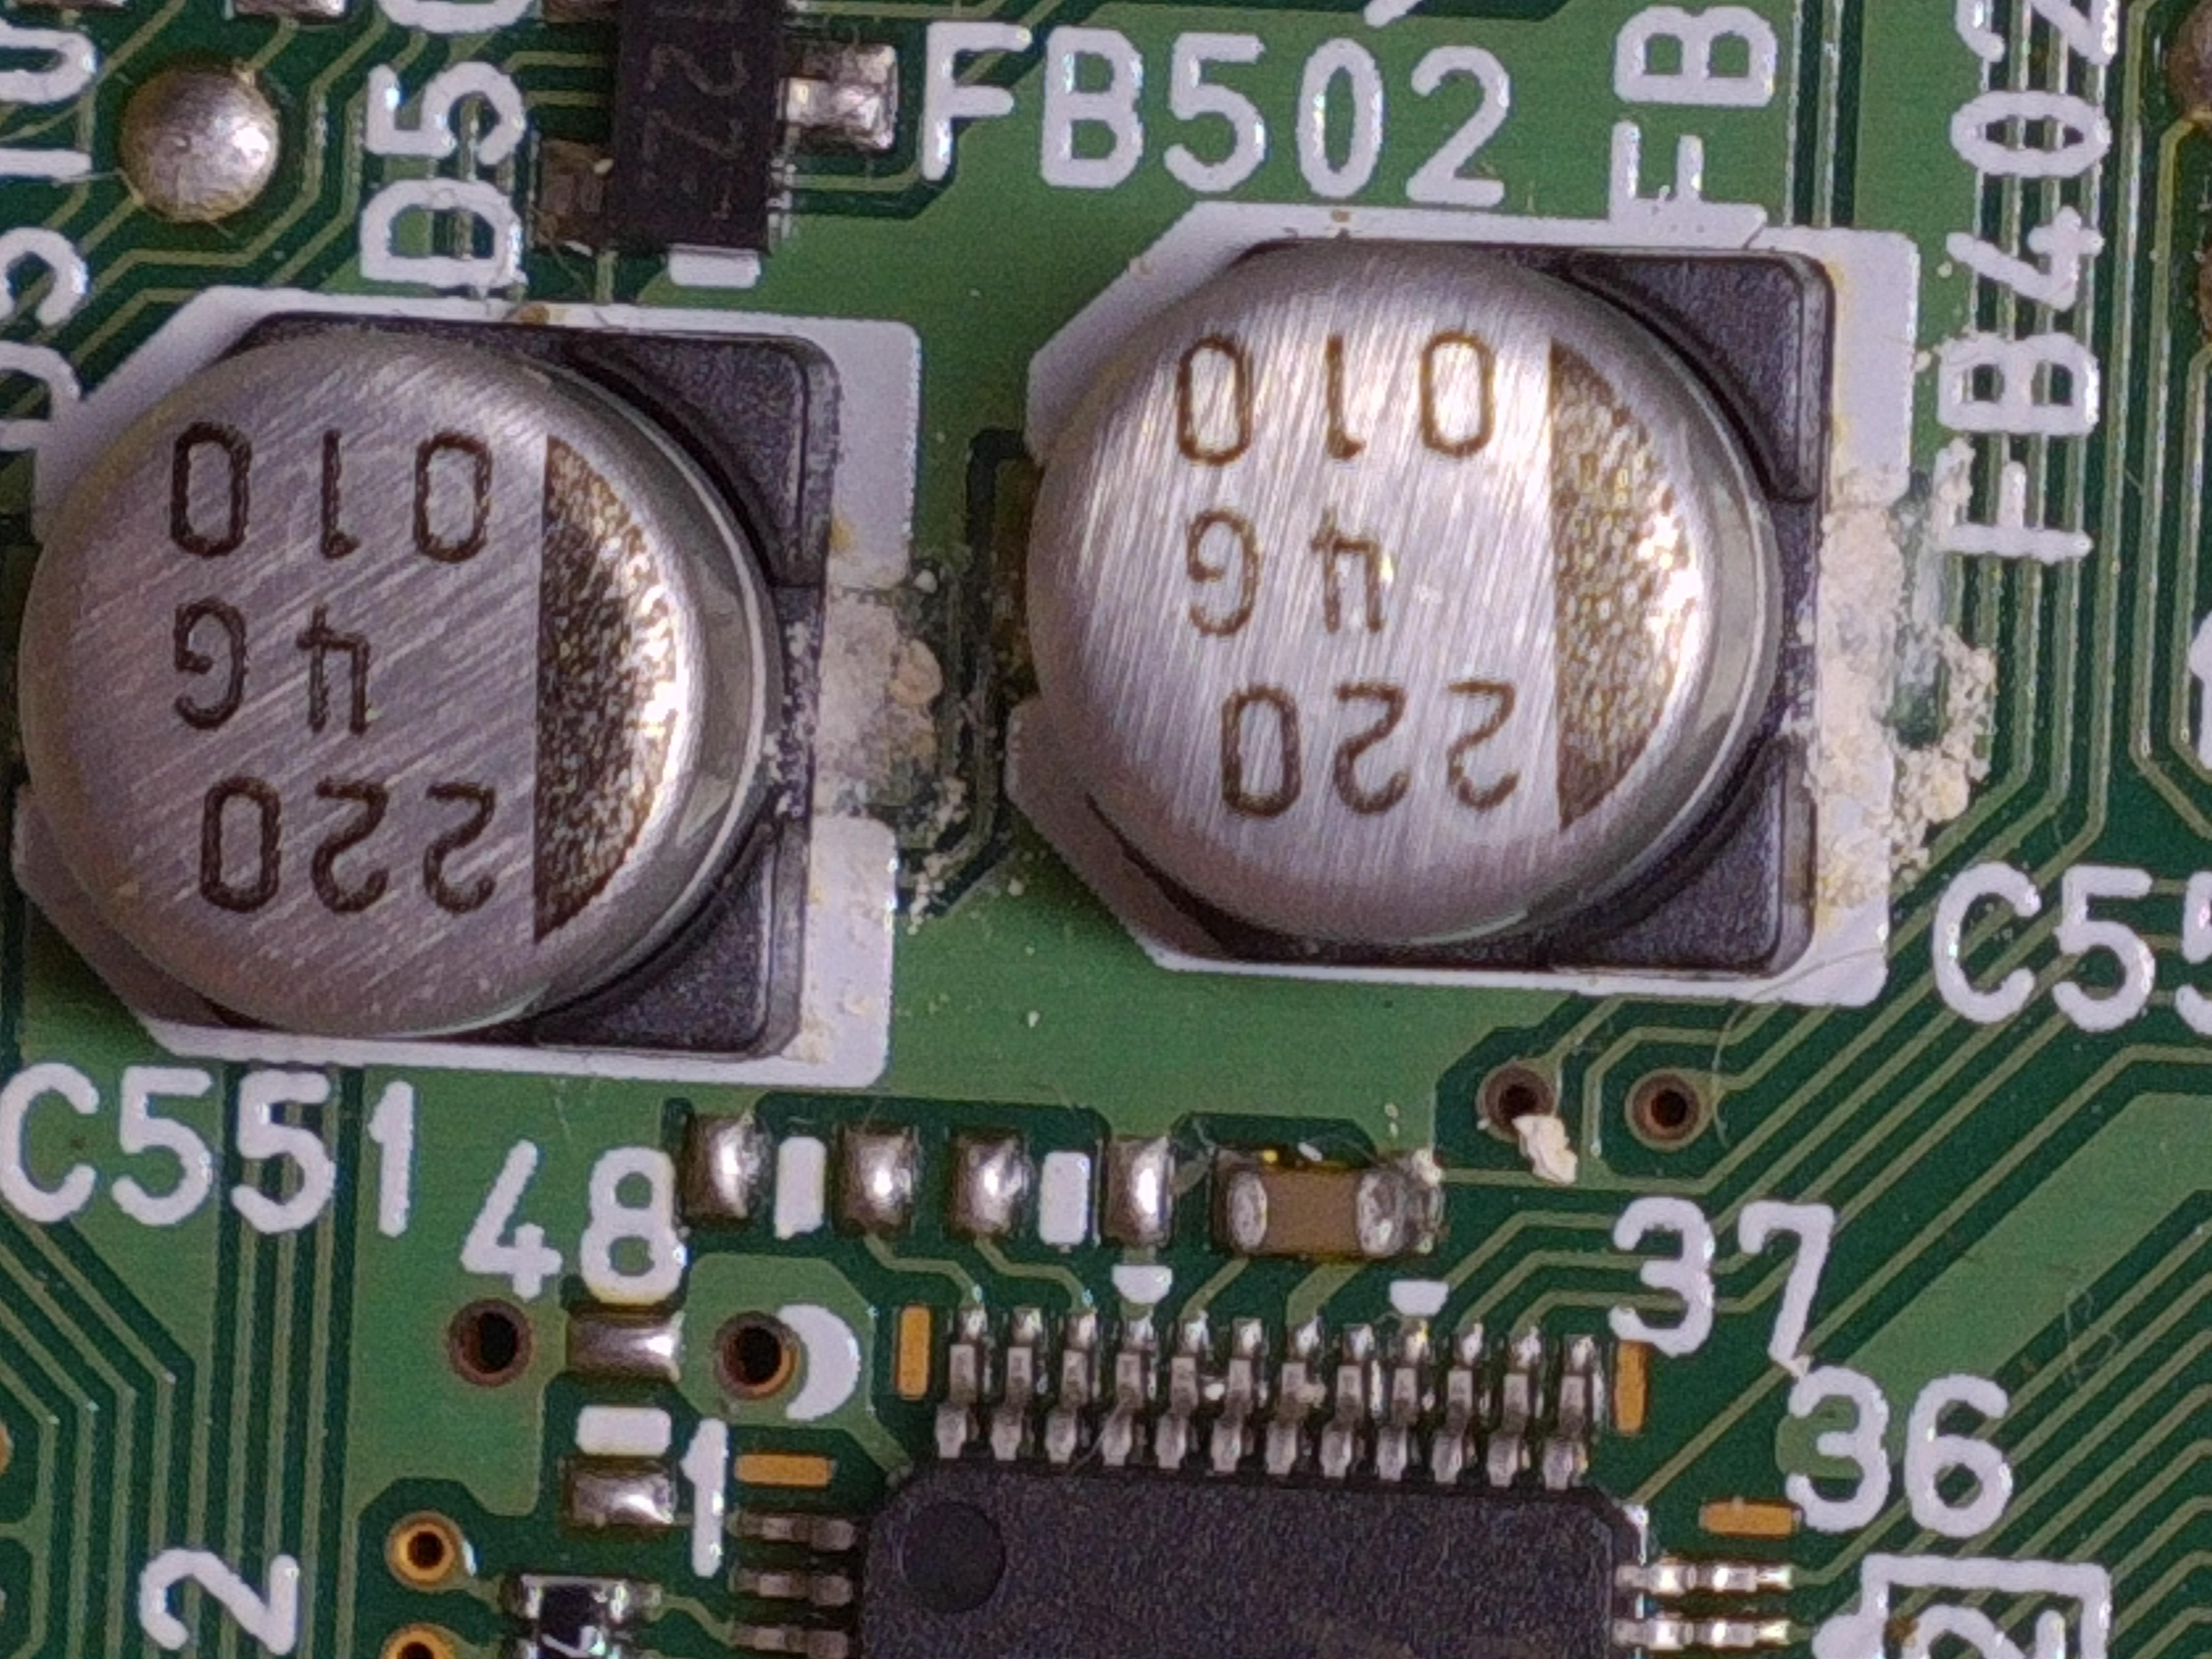
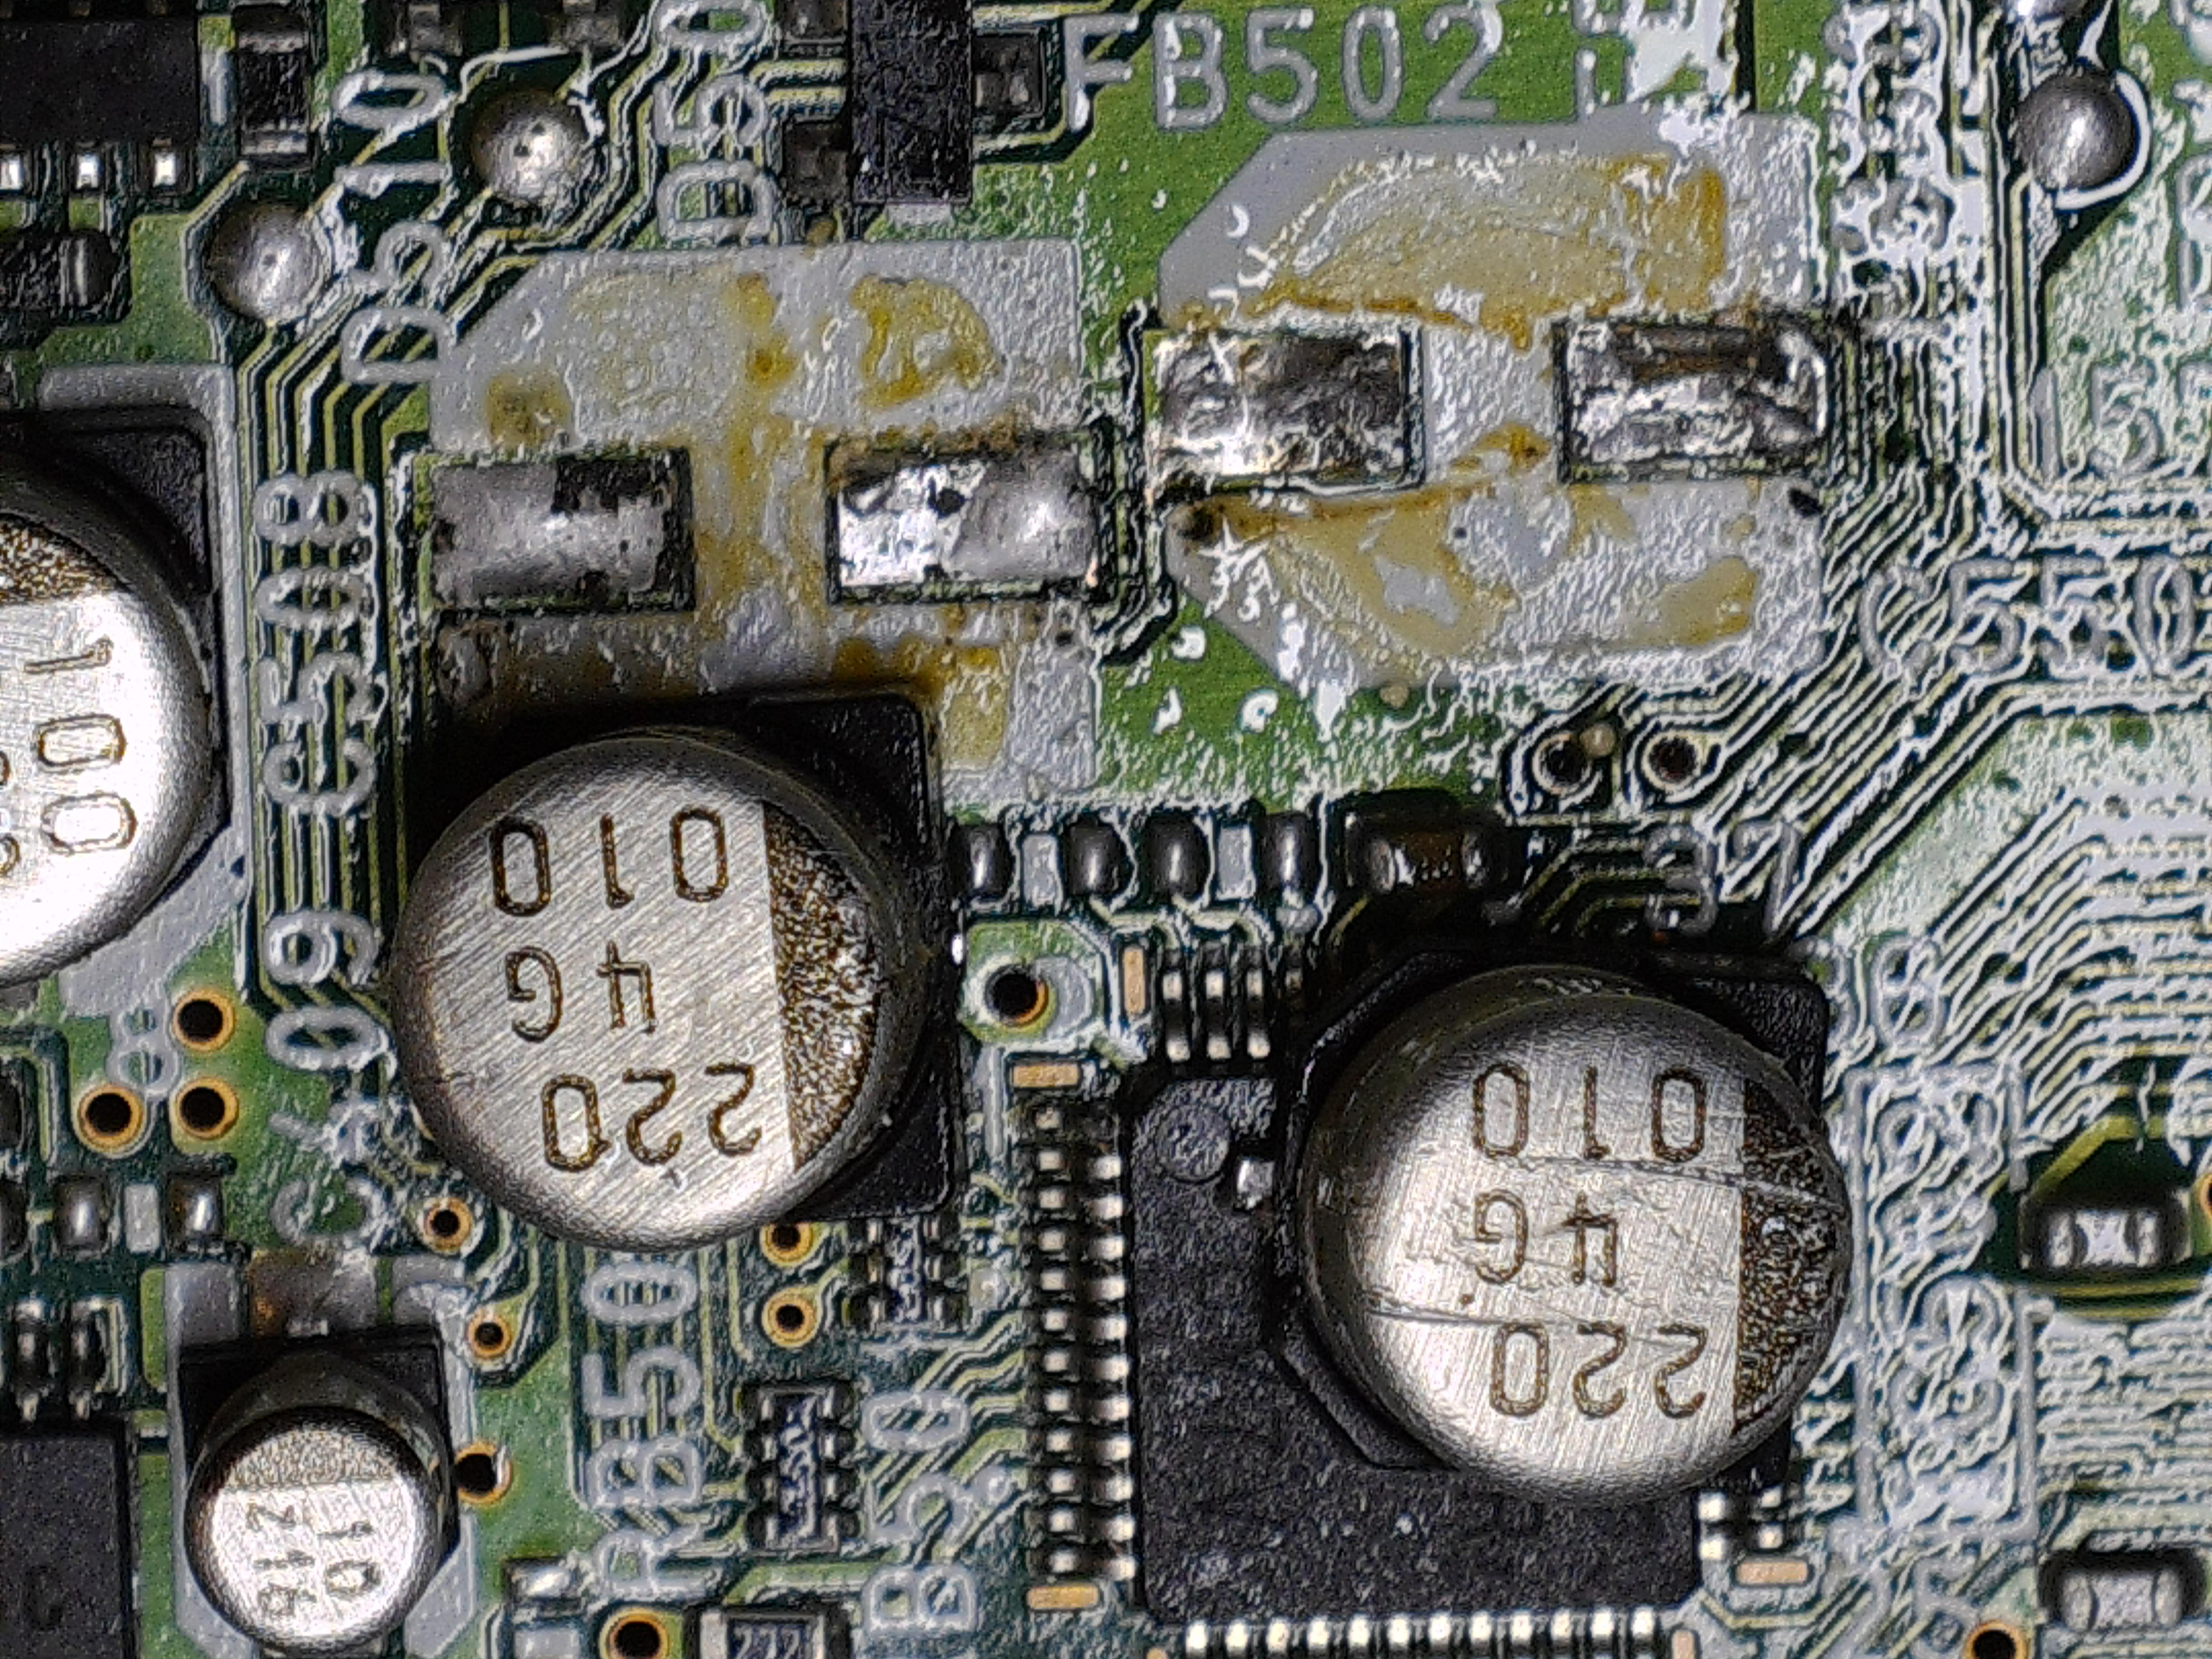
Bad Capacitors to Be Replaced
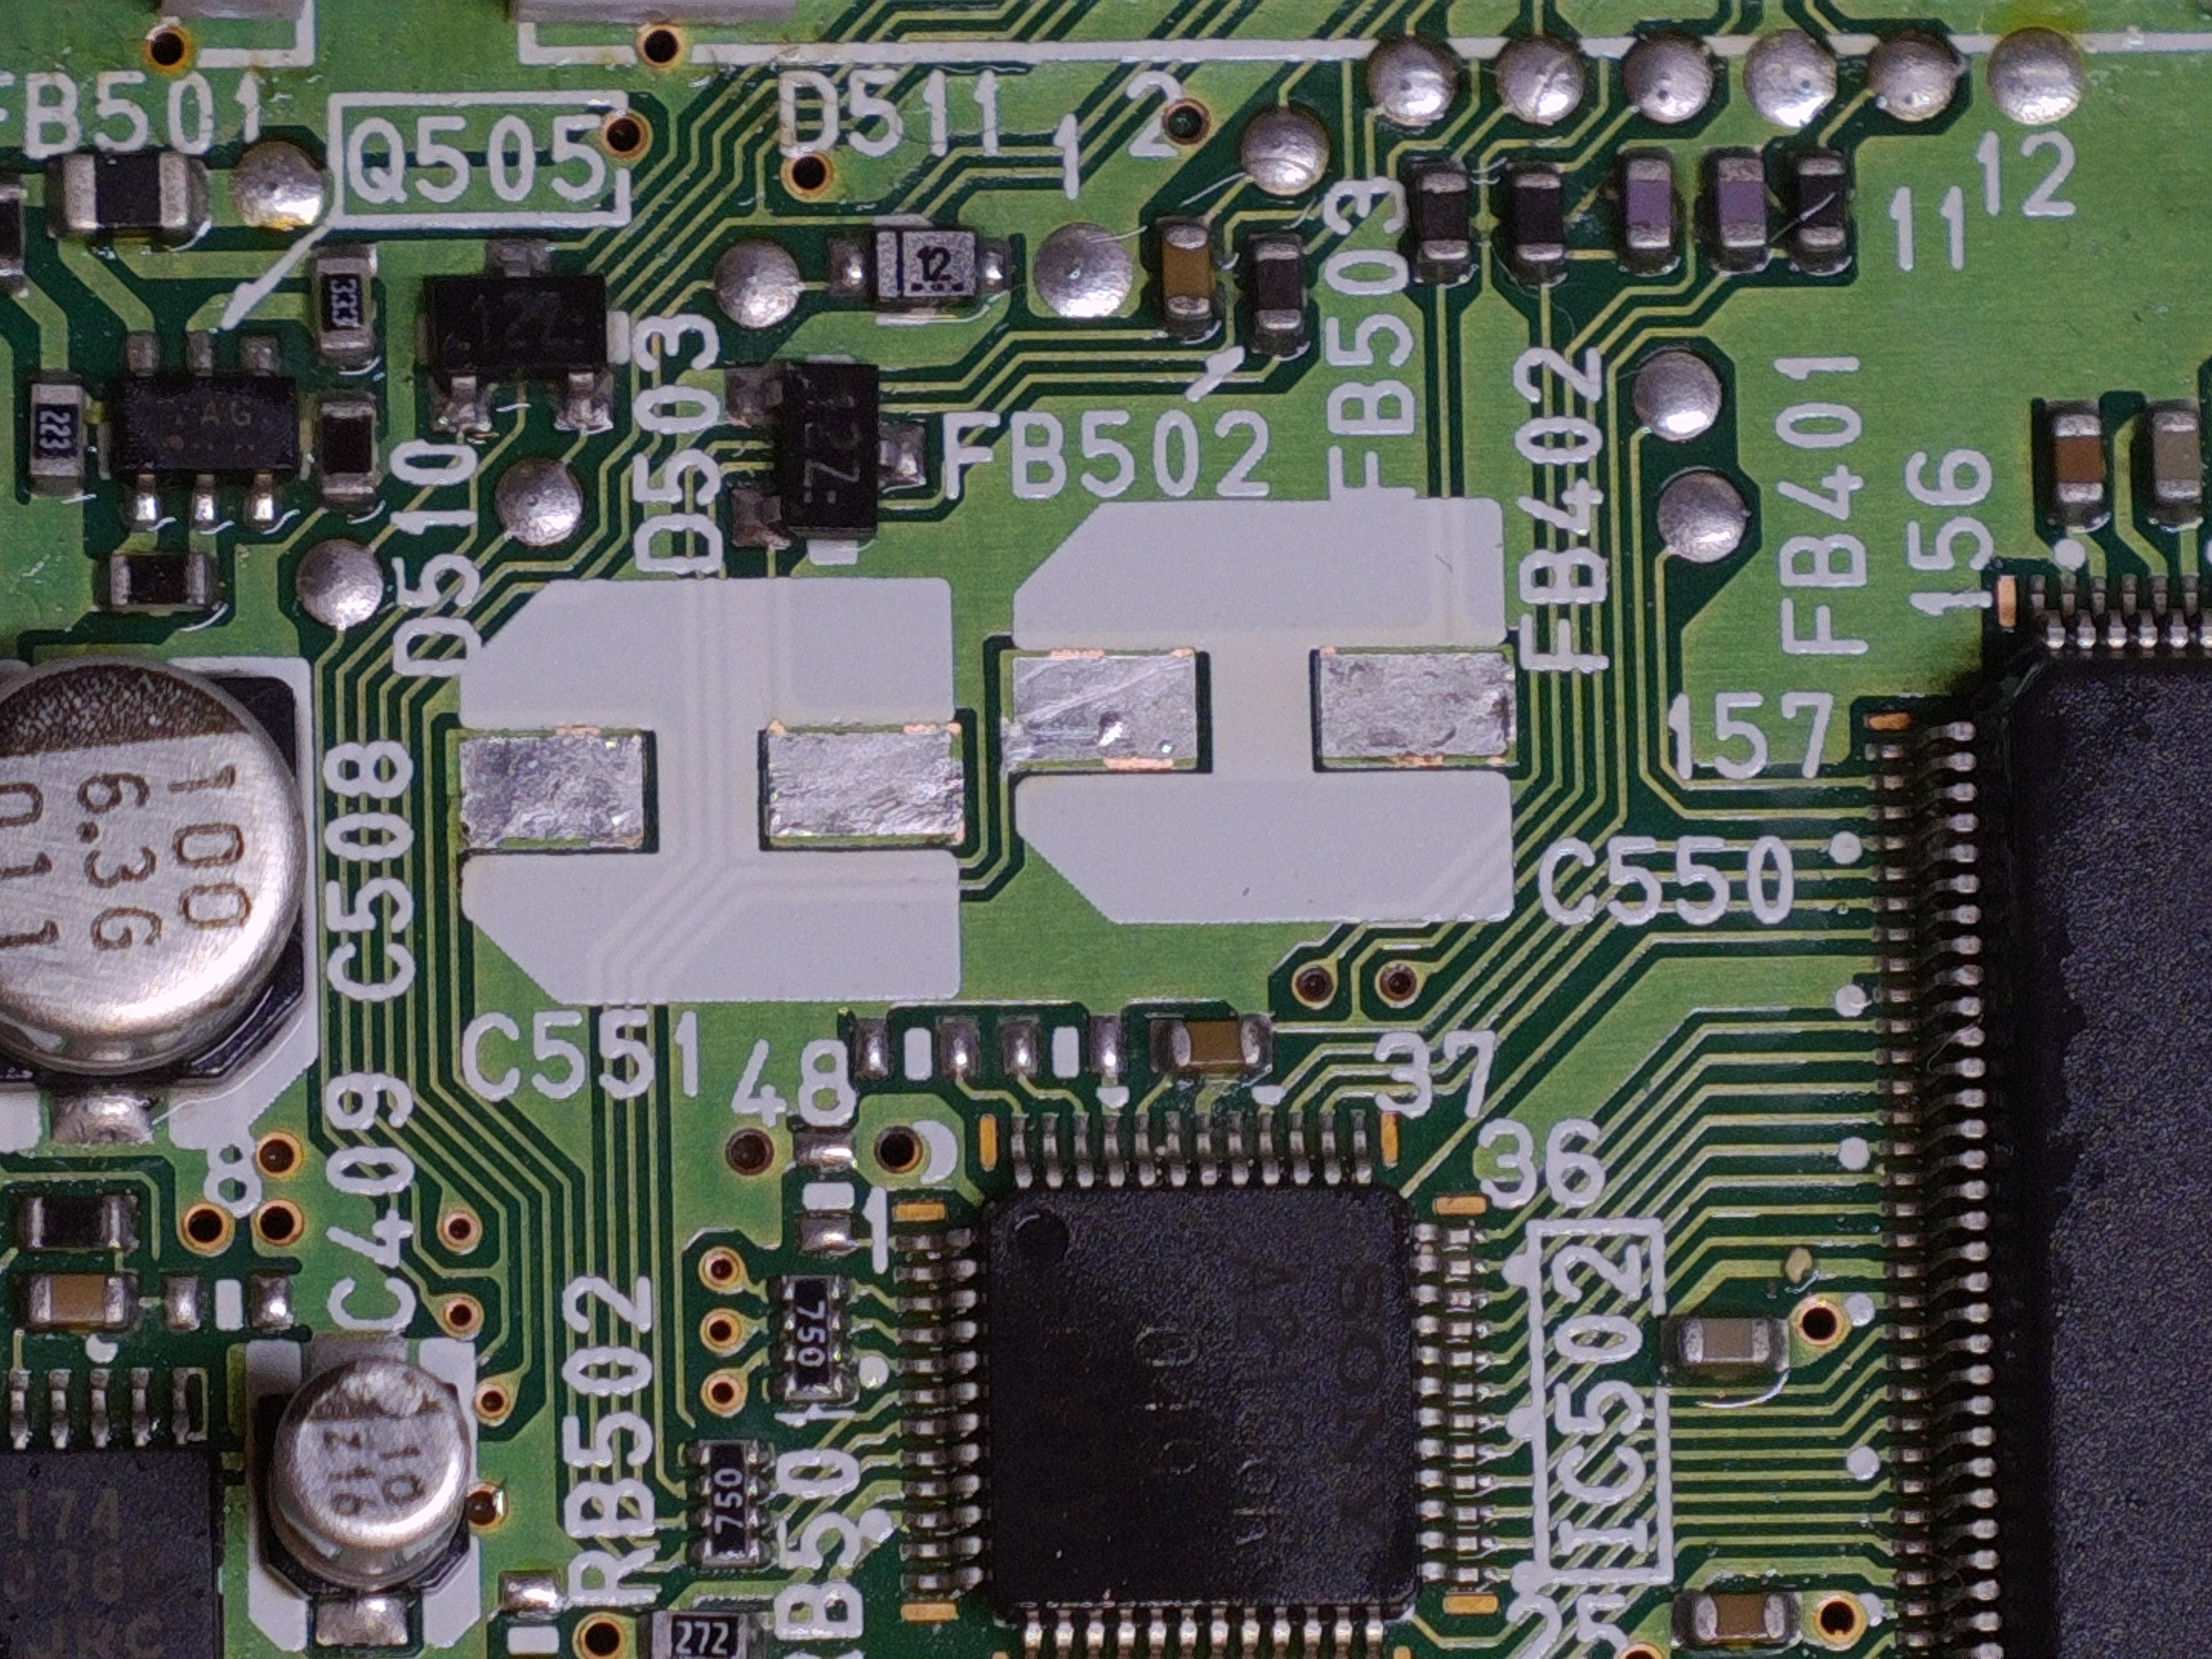
The PSOne video output problem is well known in the repair community. It often comes down to failed capacitors in the video circuitry. To fix the issue, capacitors C550 and C551 should be replaced. In the picture below, you can see what these capacitors looked like in my PSOne.
Replacing Bad Capacitors
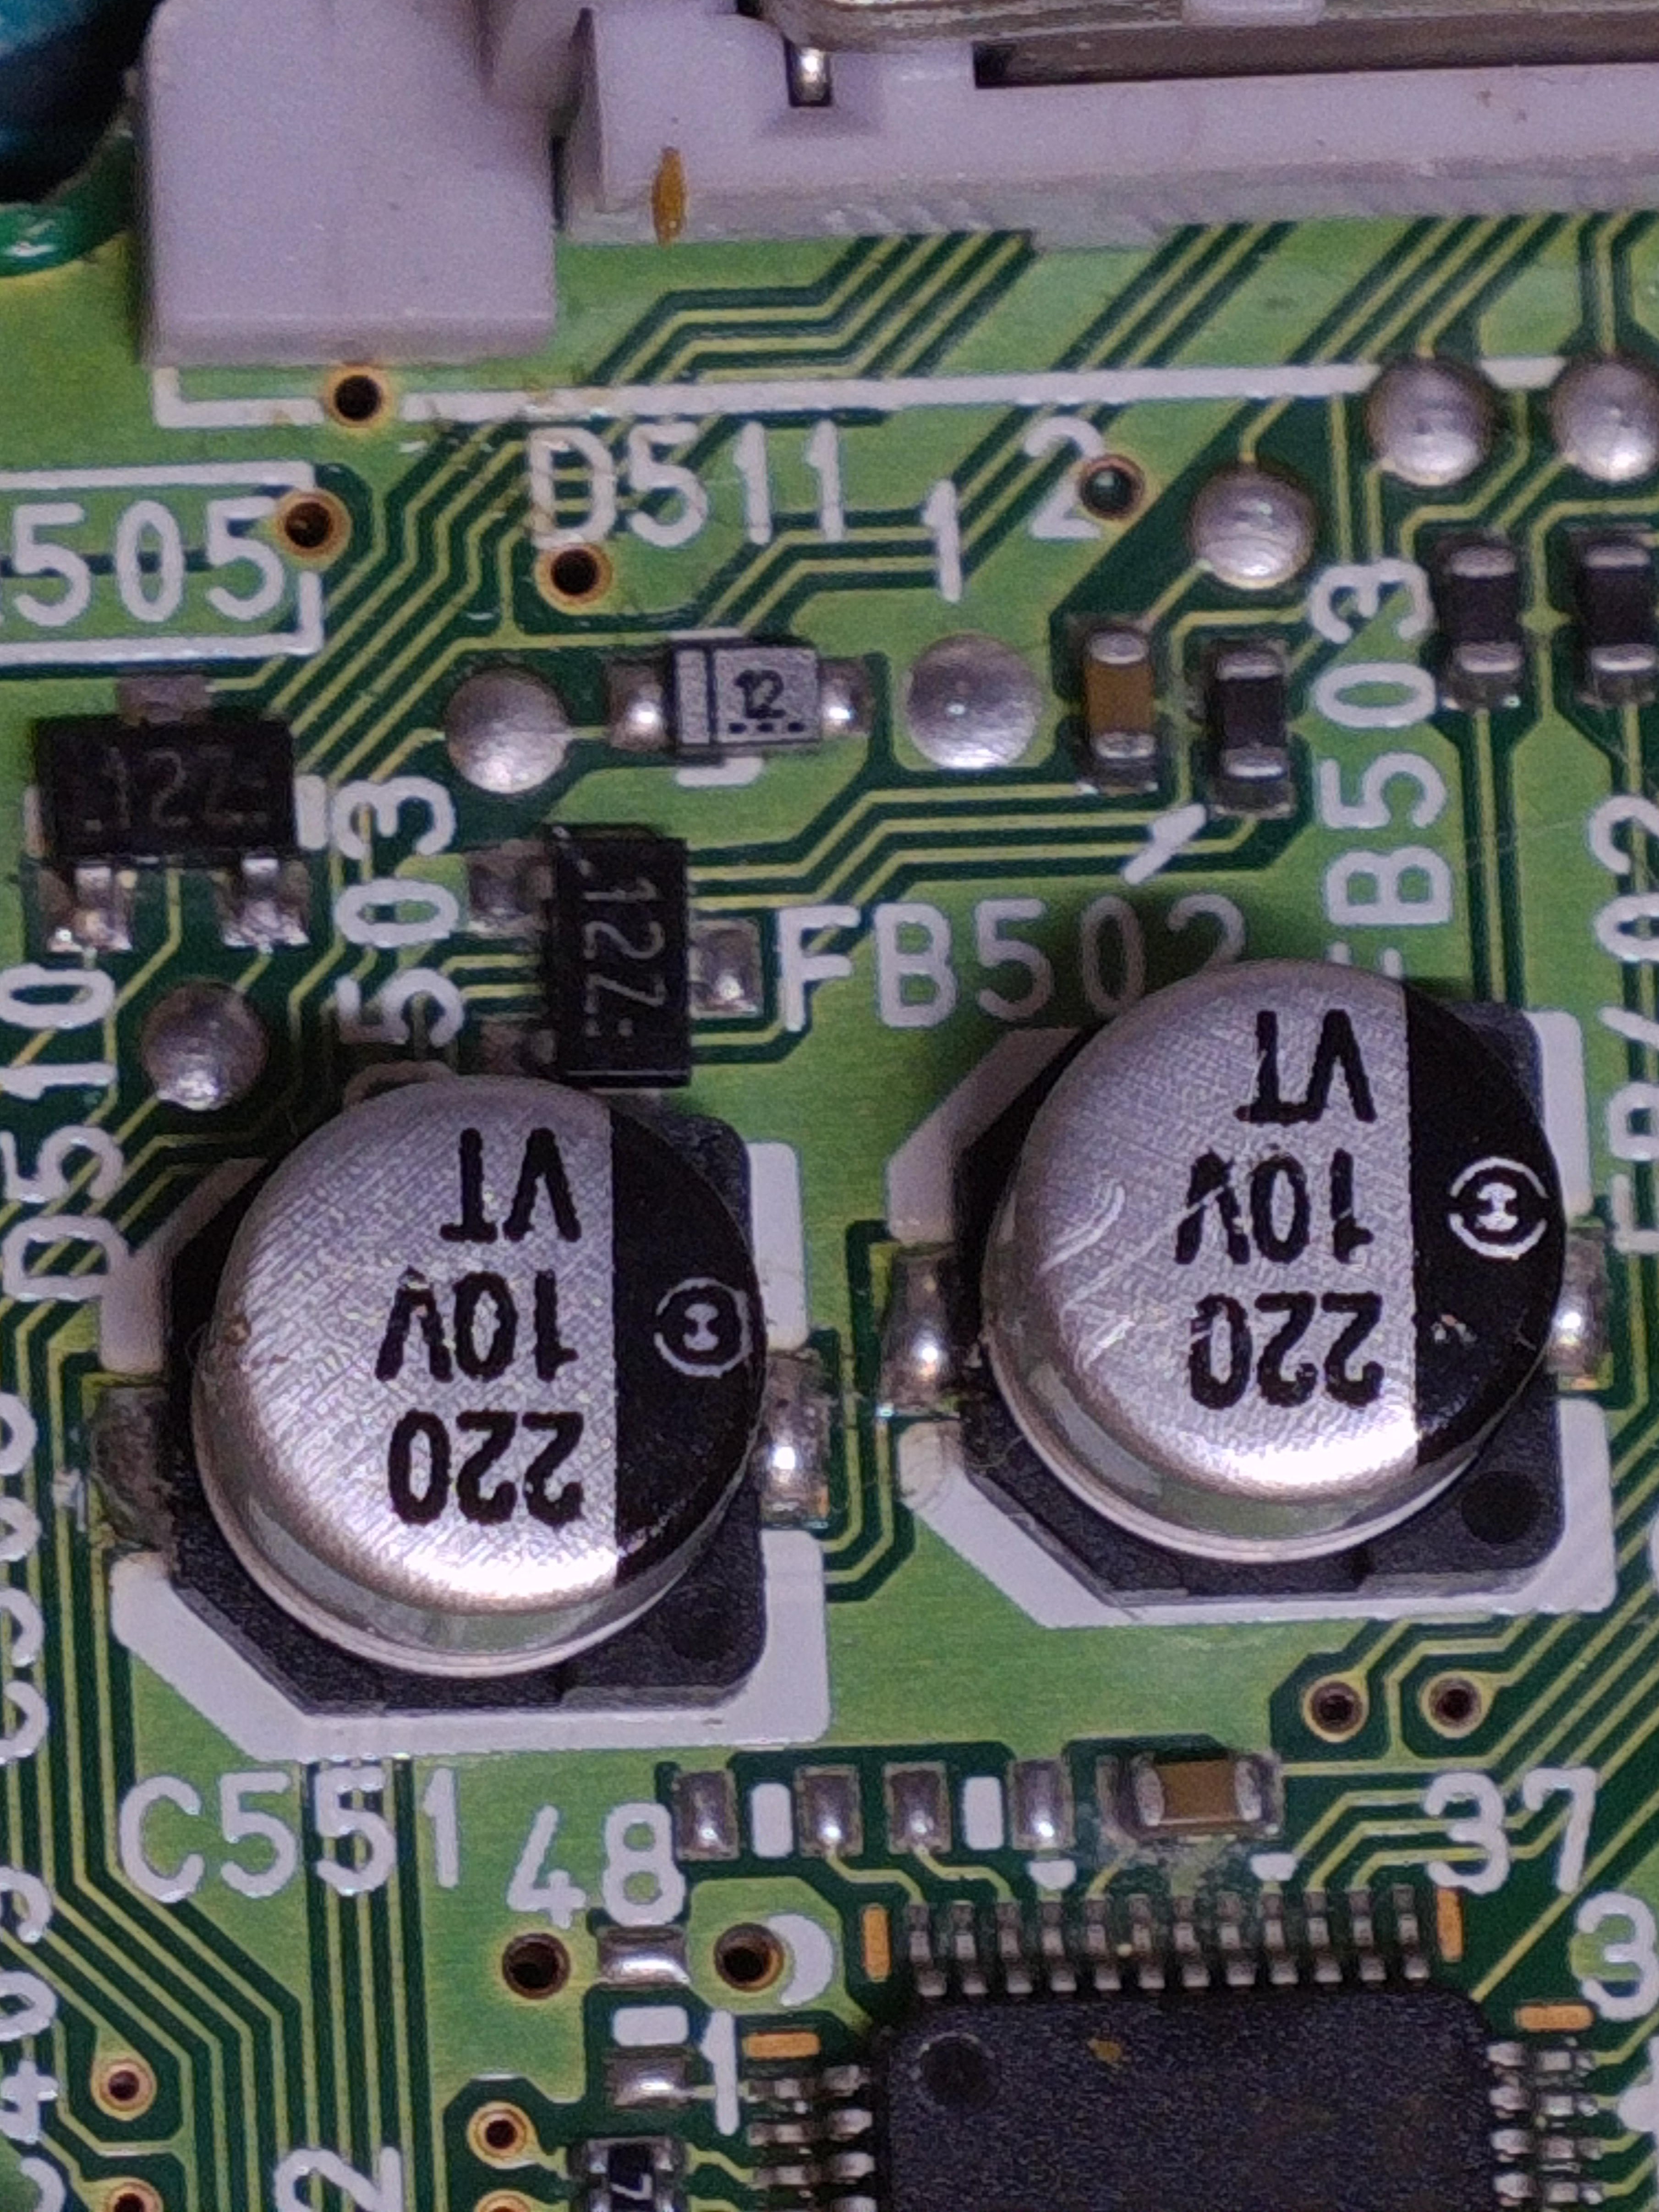
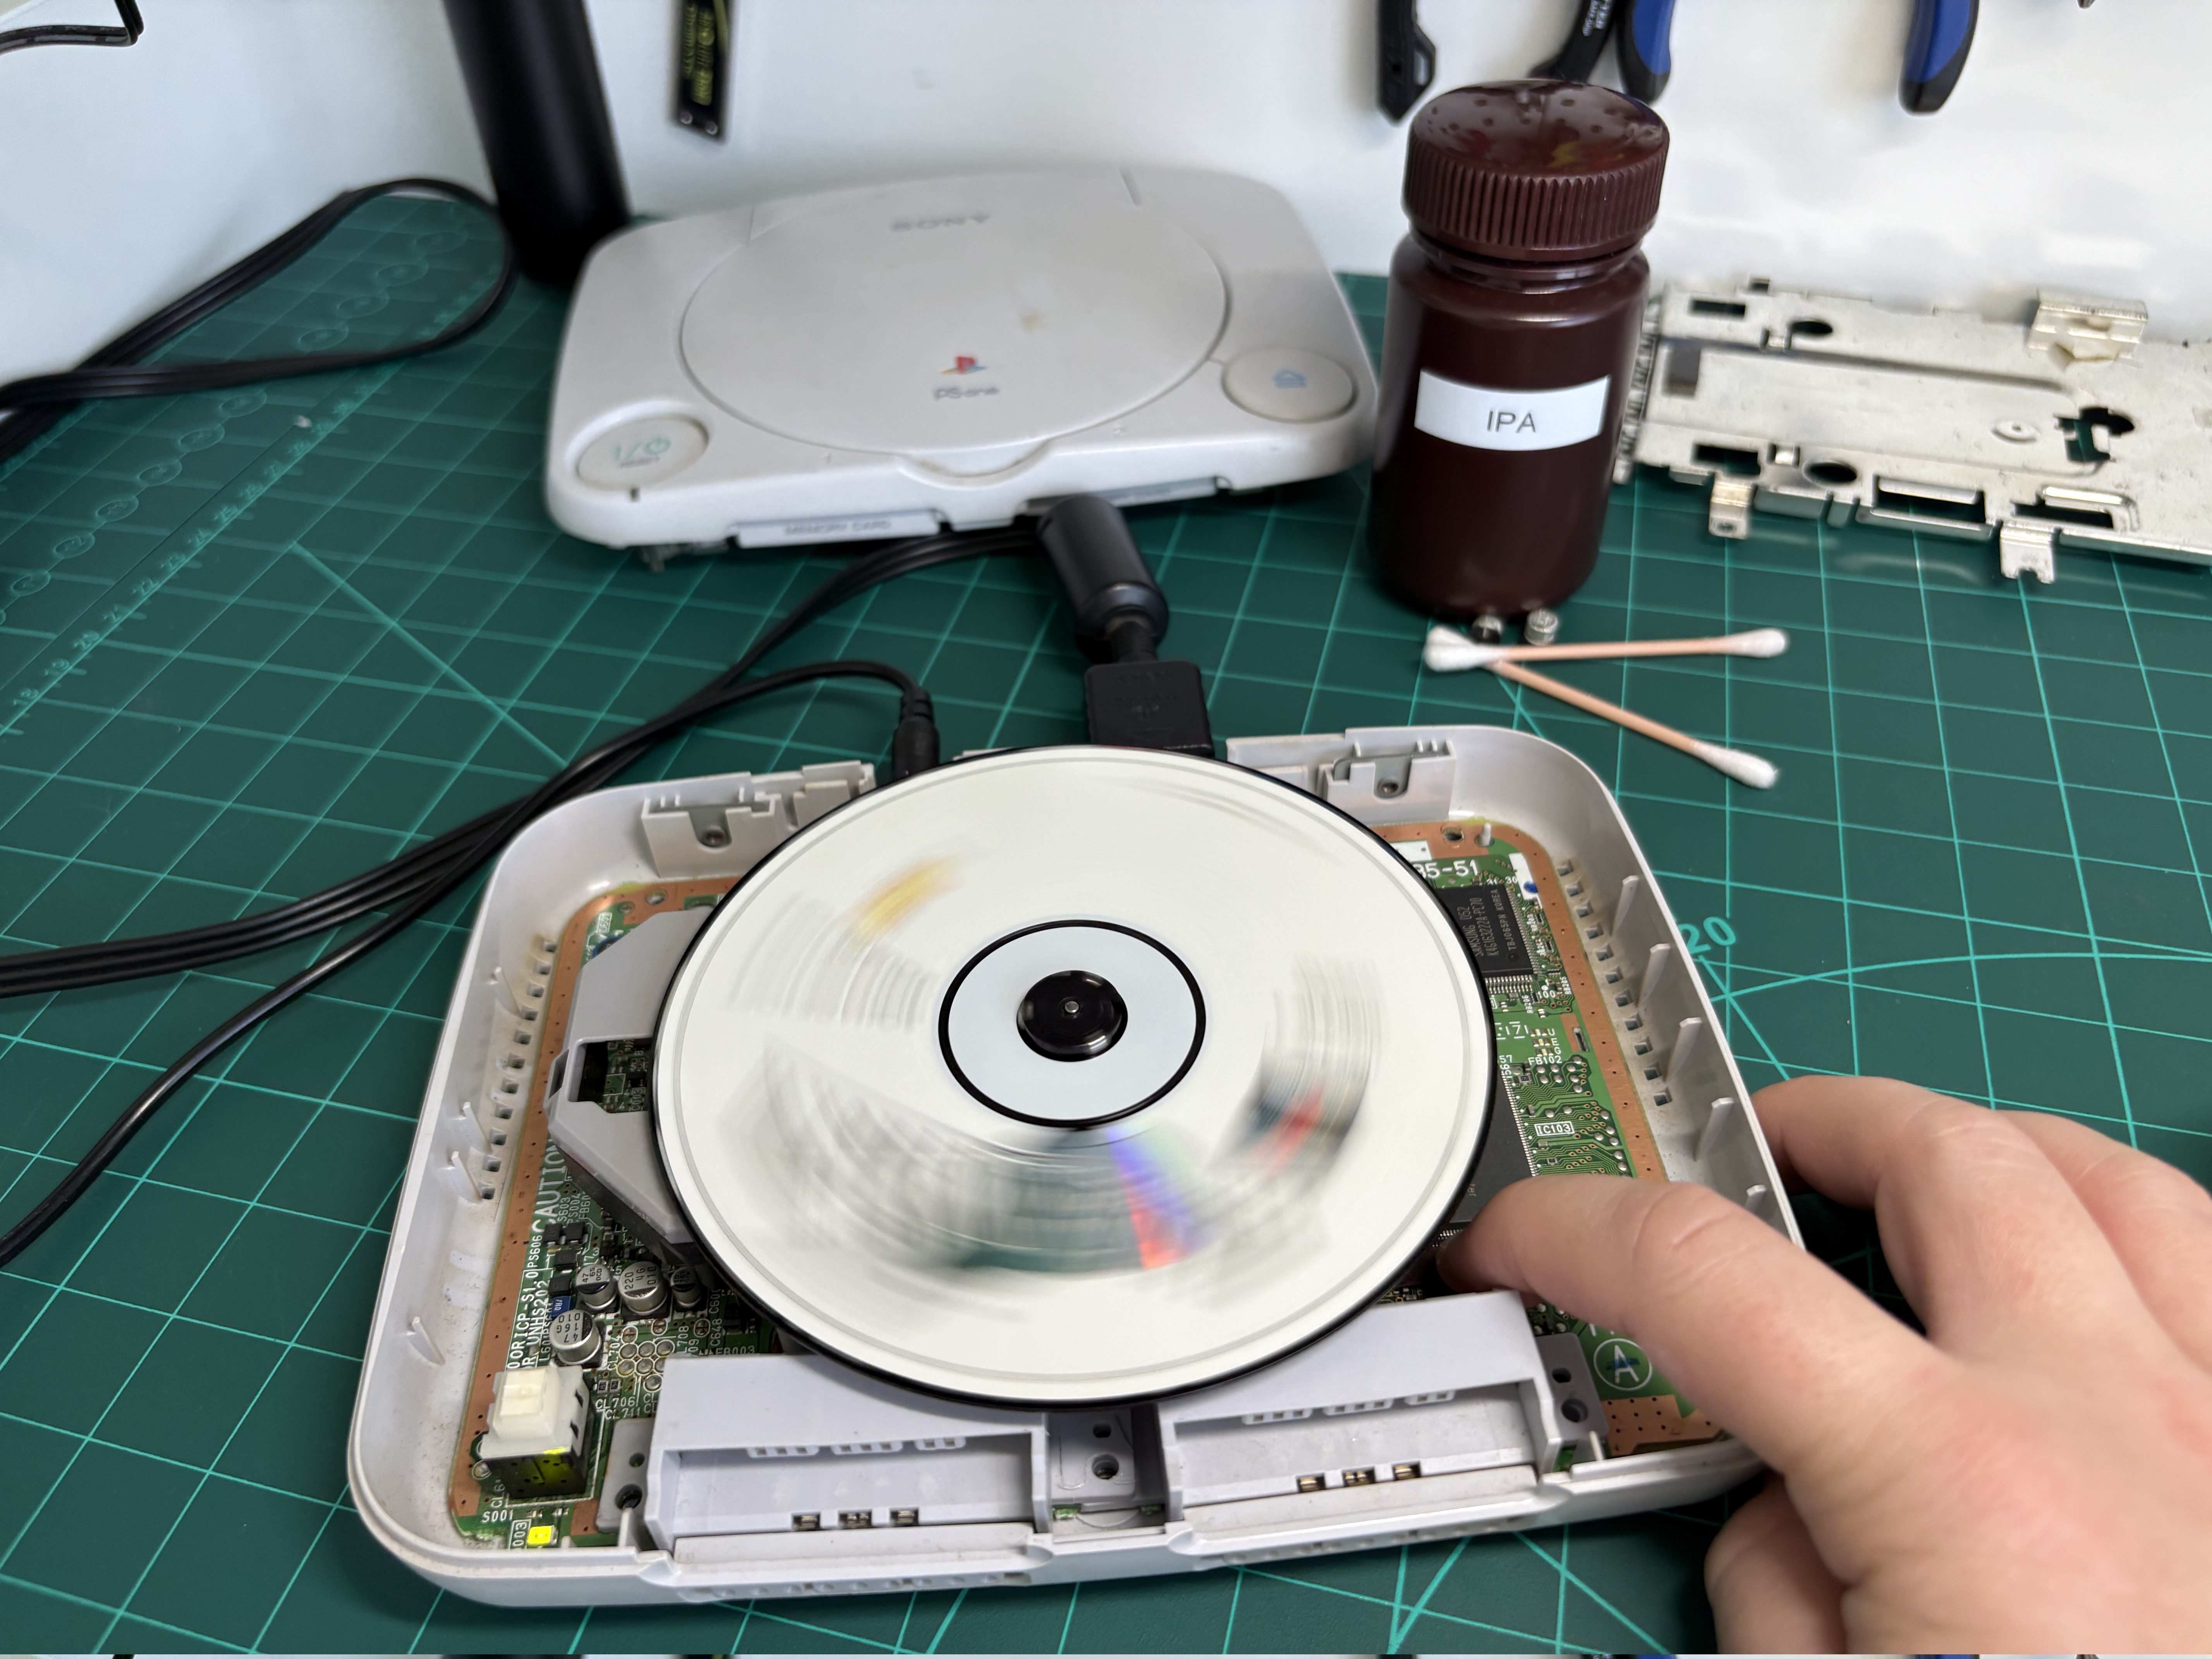
I found 220 µF, 10 V capacitors in my parts bin — lucky to have the exact size needed. I removed the old caps using a soldering iron. Given all the plastic connectors nearby, I decided that the soldering iron was safer than a hot air station.
I heated one pad at a time while gently lifting the capacitor. I alternated sides until it lifted off. Patience is key — pulling too early risks ripping off the pad. I’m not very experienced with hot air tools, and the plastic parts around made me nervous, so the iron was the better choice here.
After replacing the capacitors, the video output worked. Very satisfying!
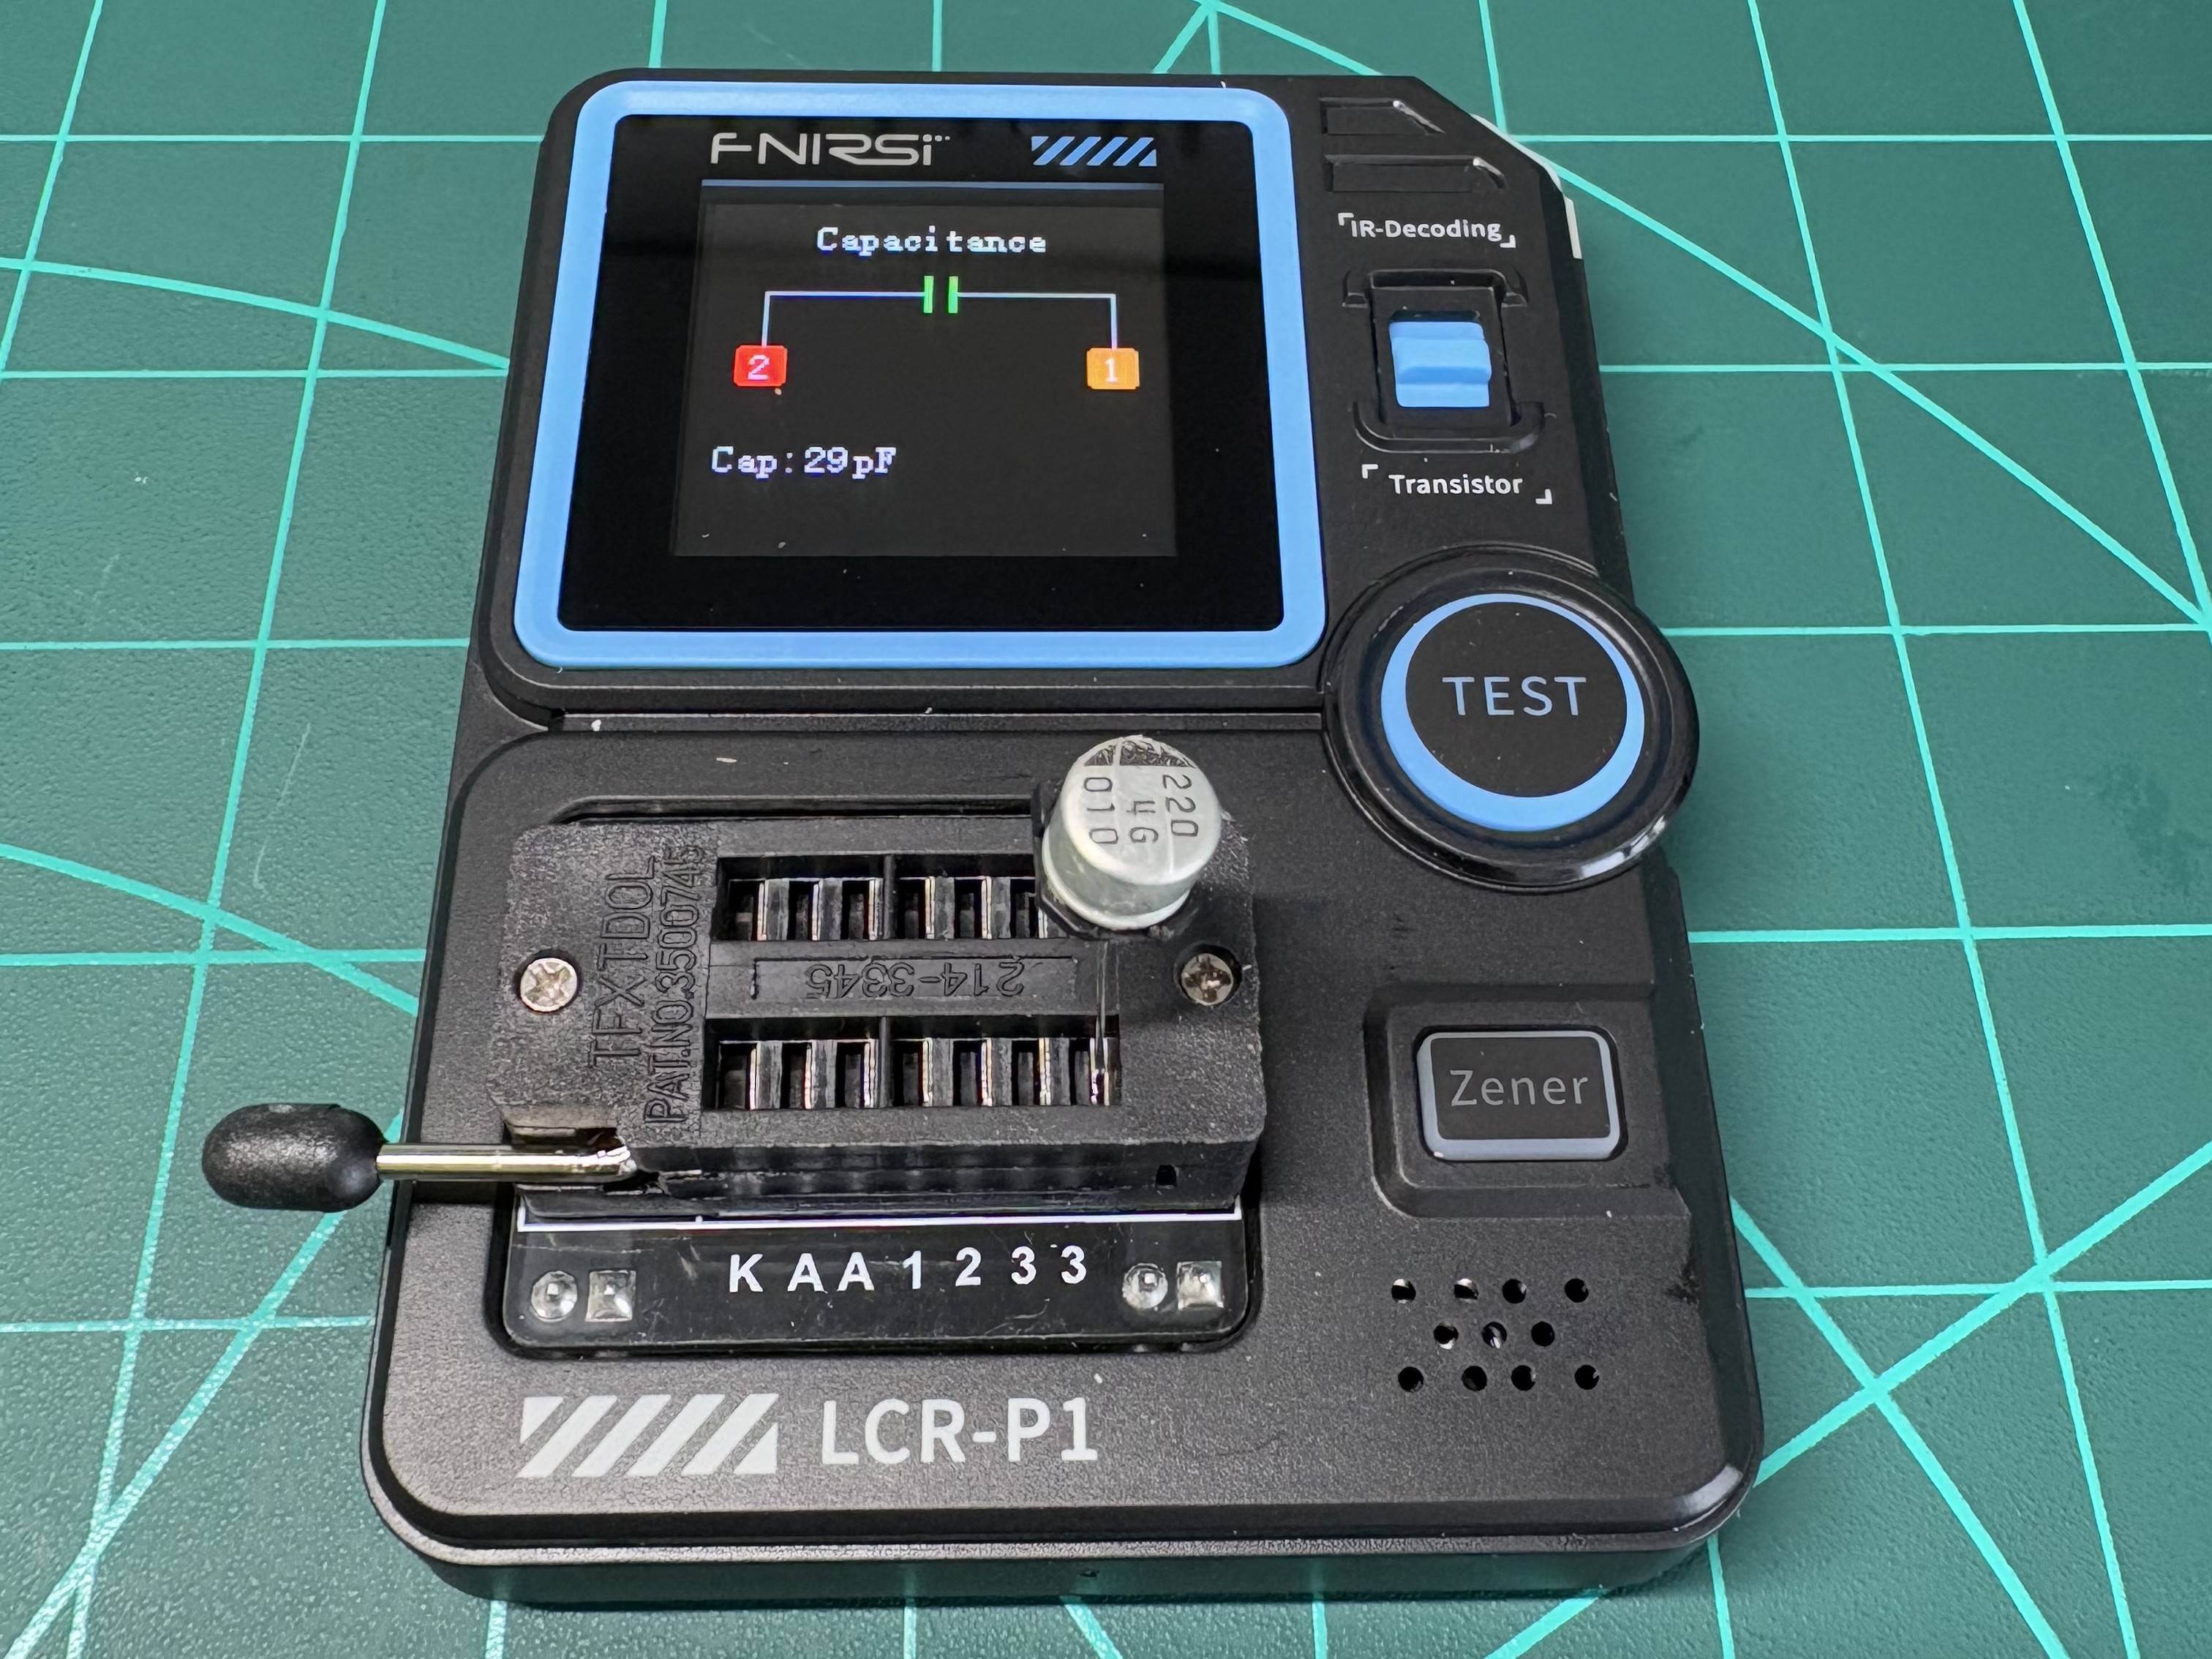
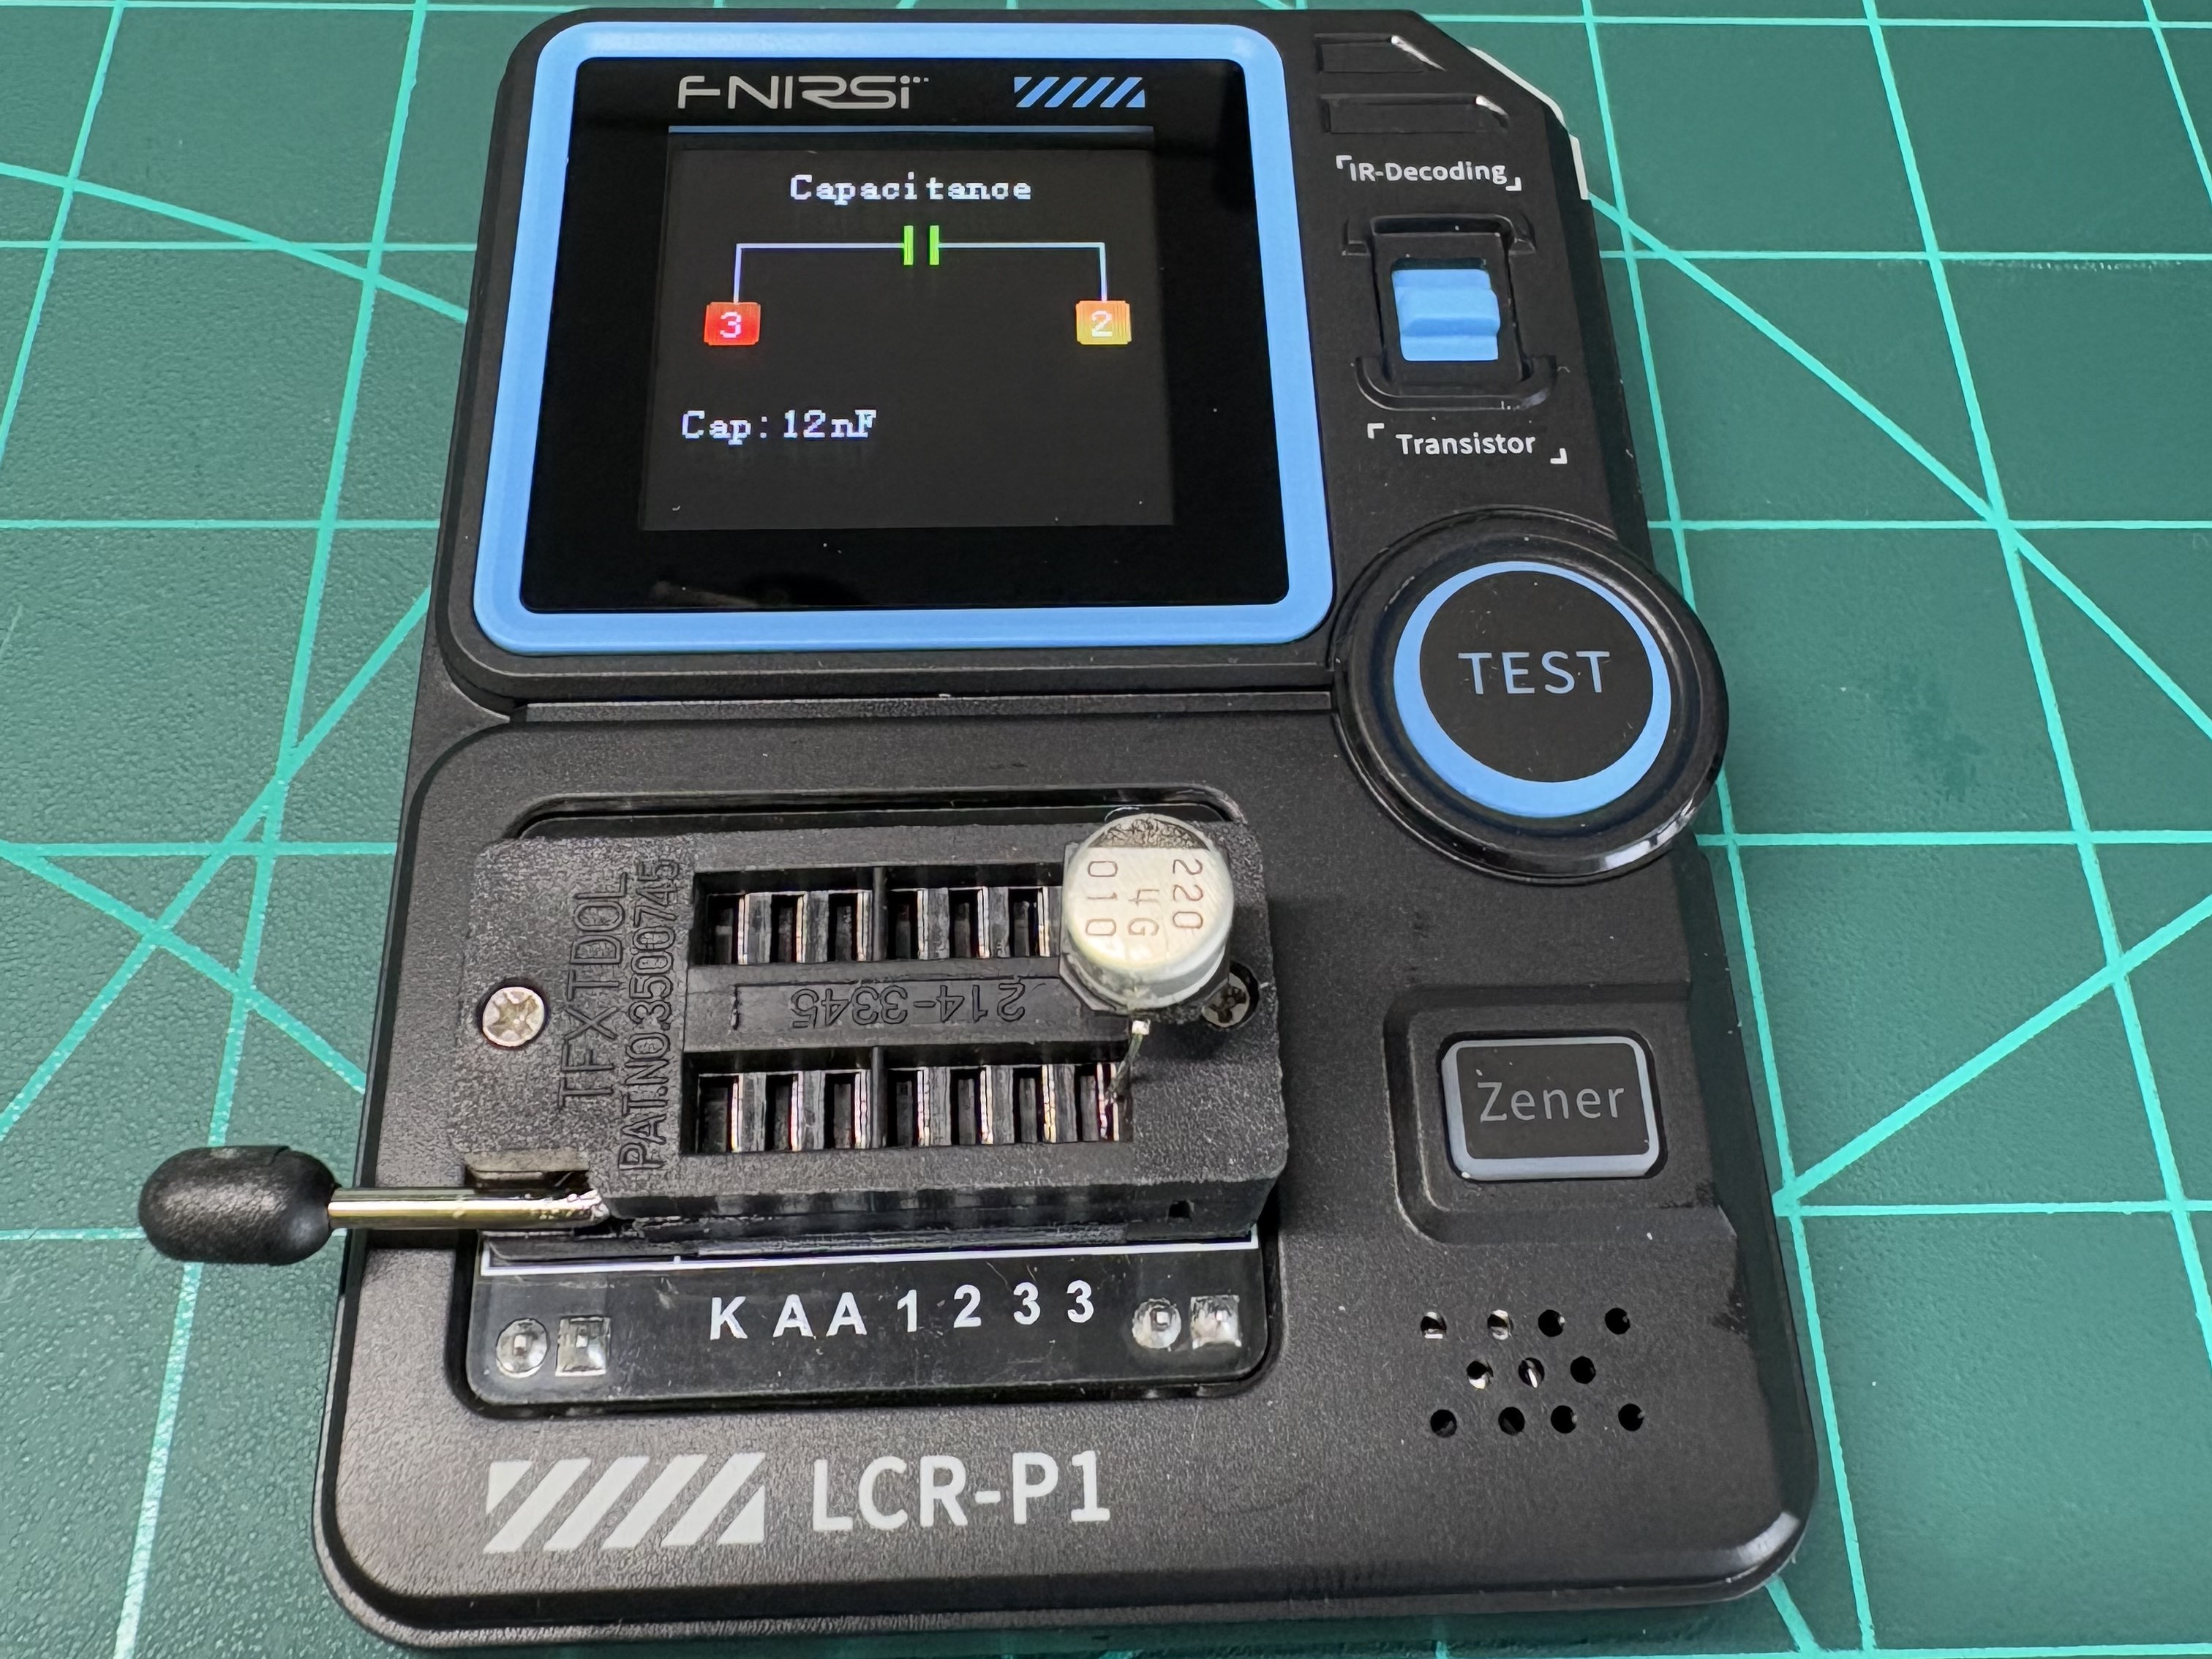
Checking Old Capacitors
I was curious to measure the old capacitors. I soldered leads to their pads to plug them into my tester. They showed capacitance in pico- and nano-Farads — nowhere near the expected 220 µF. Definitely bad.
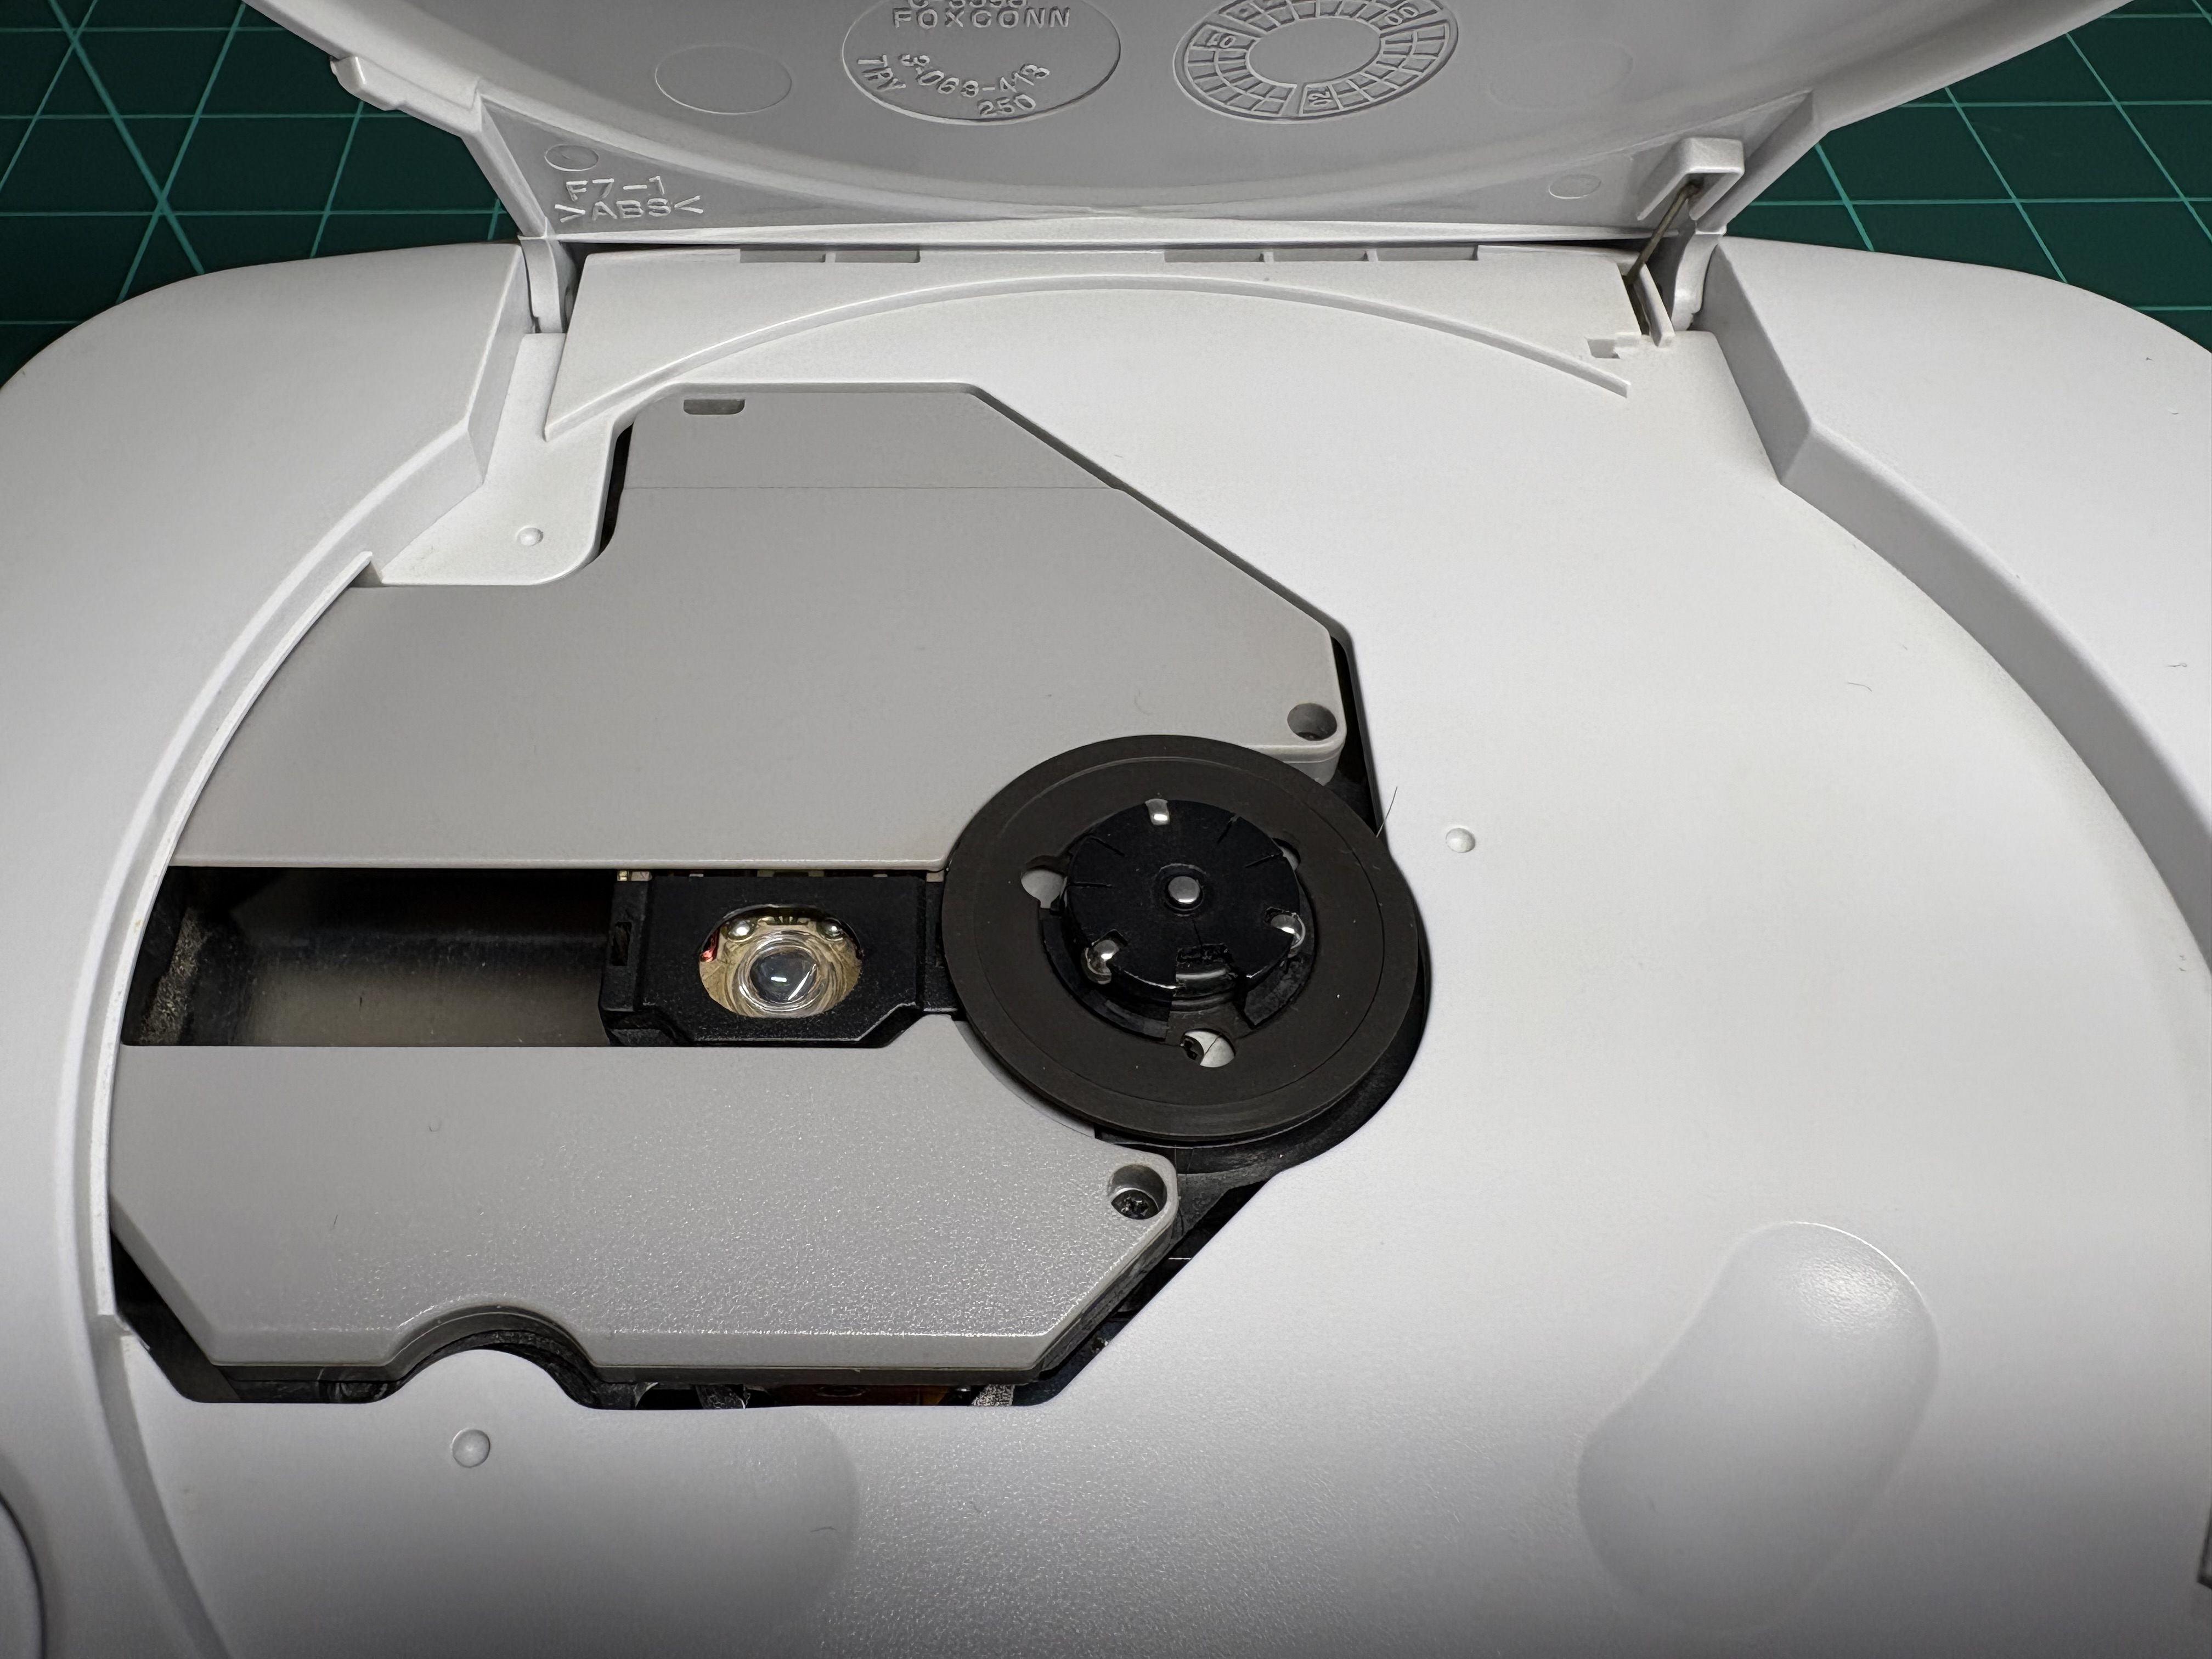
Fixing the Laser
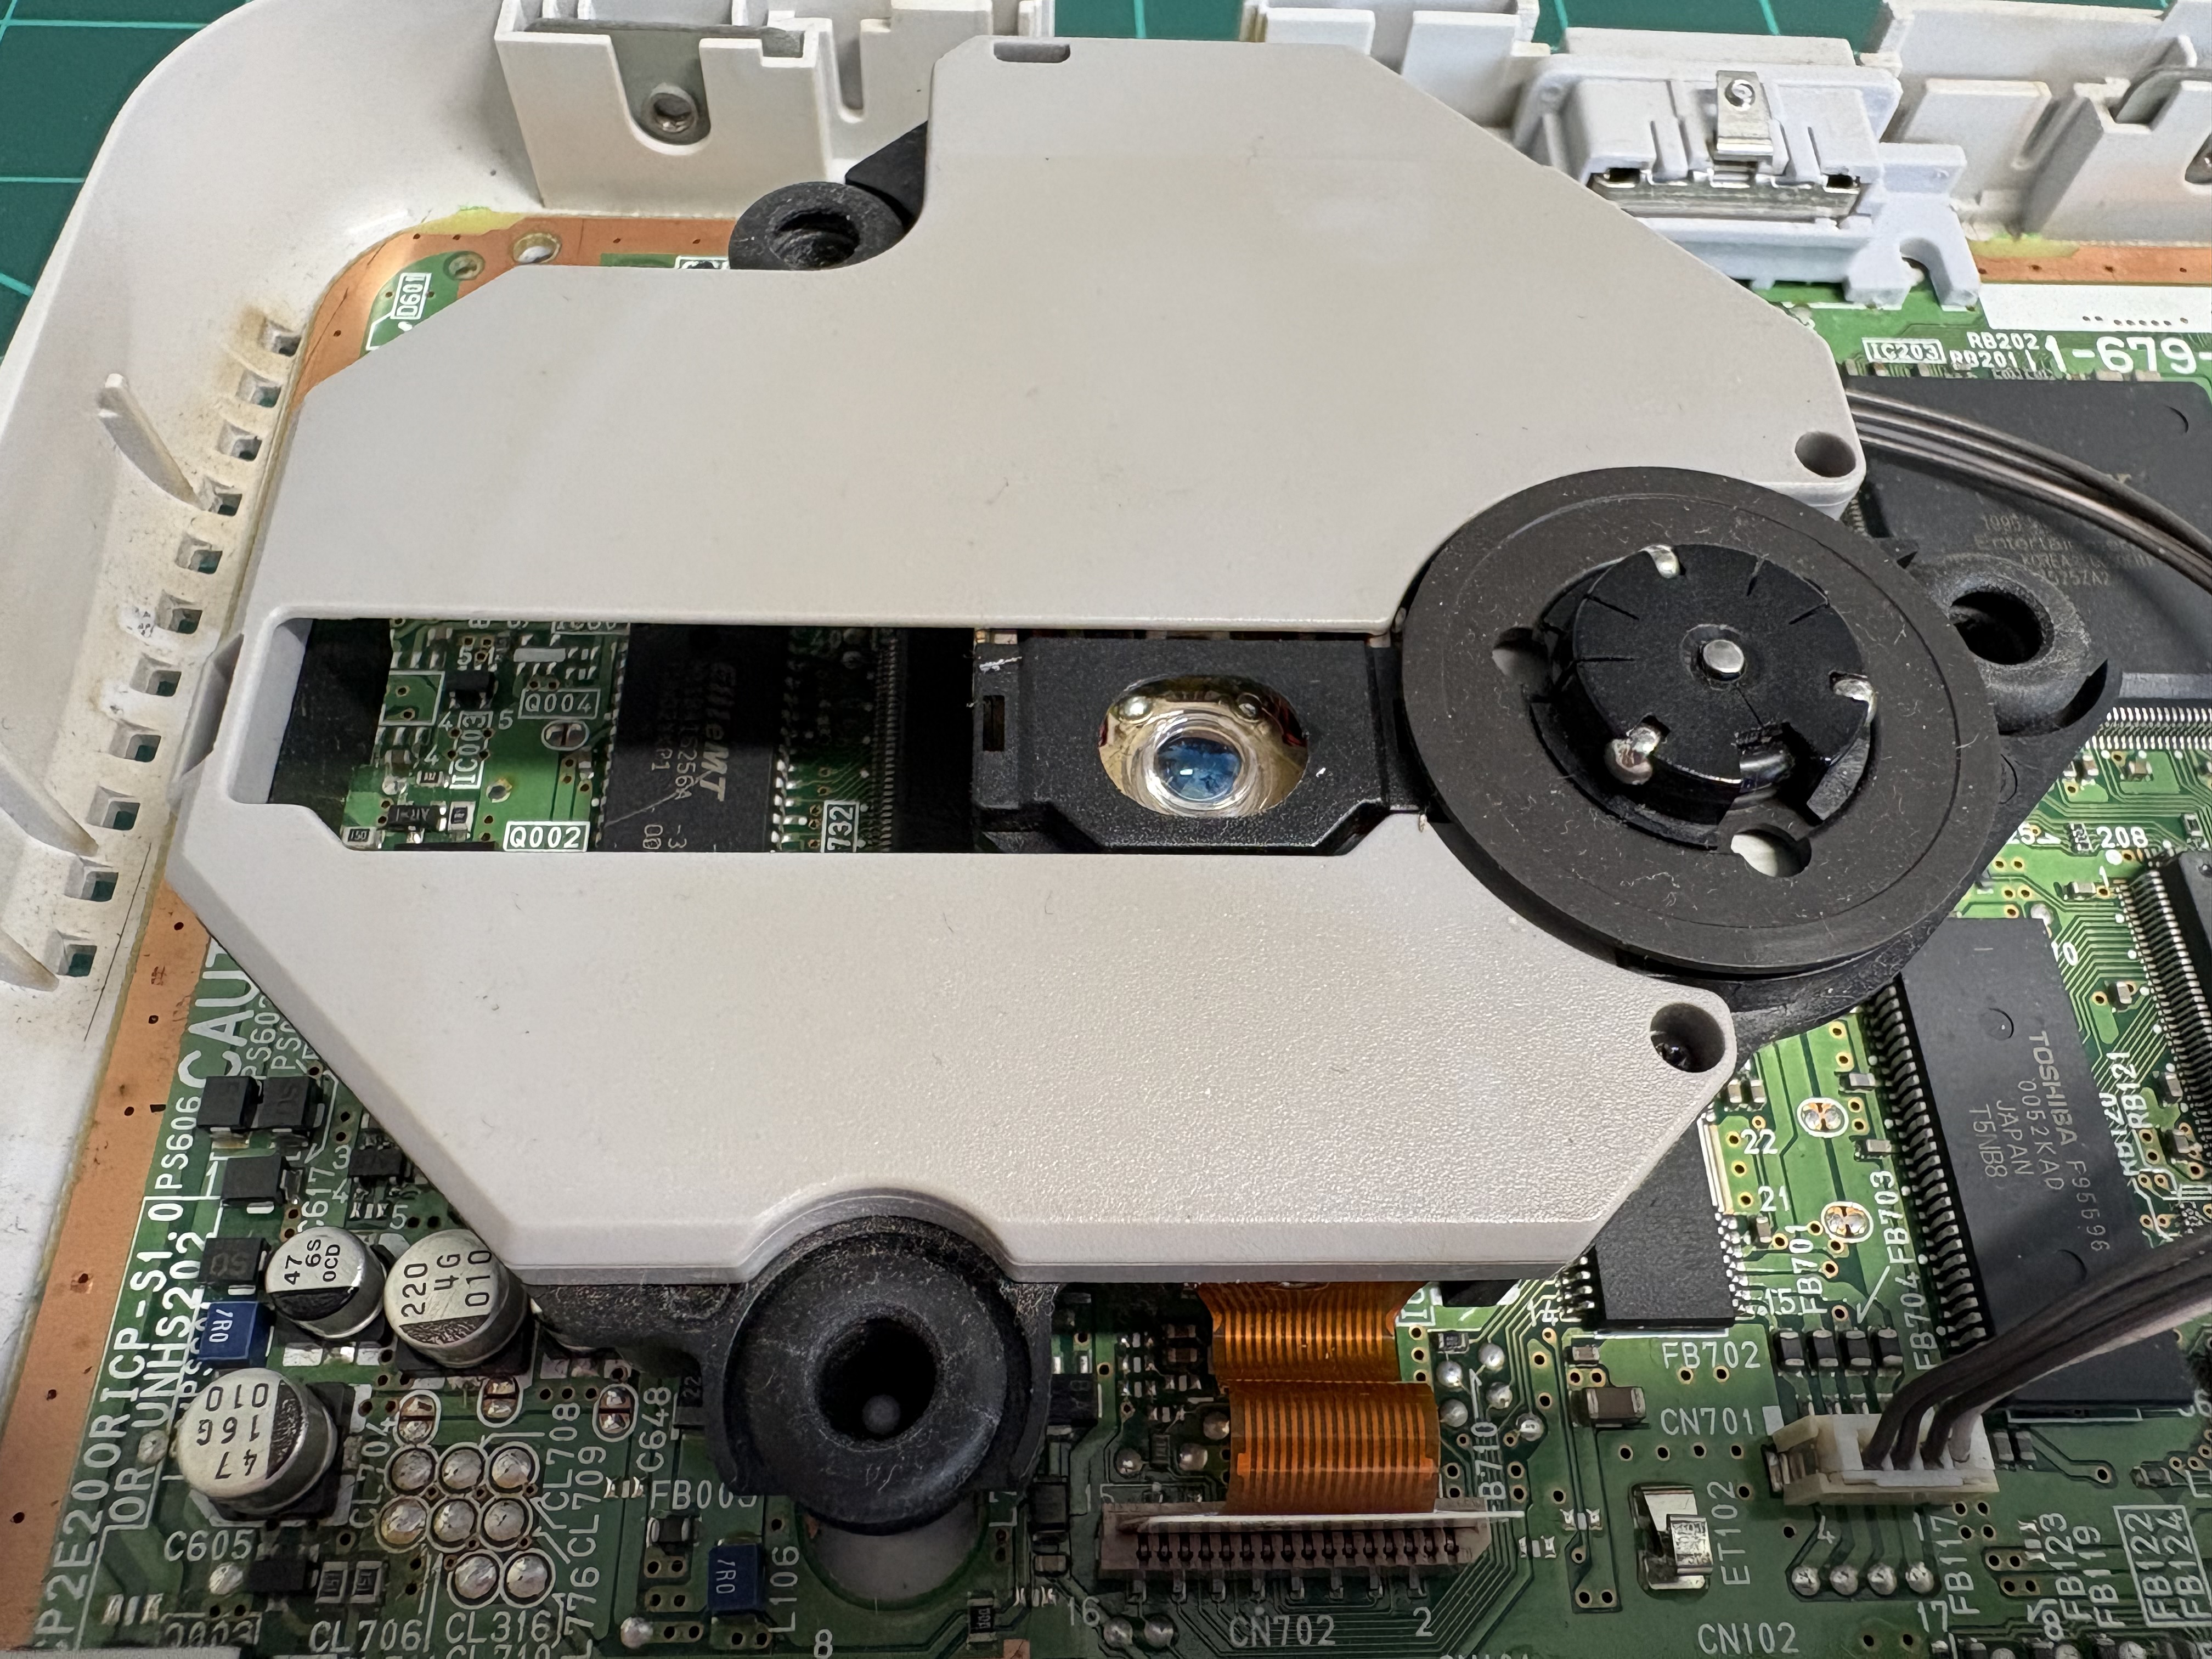
It’s common for the laser to wear out over time, resulting in discs not being read. There’s a method to prolong its life — adjusting the potentiometer on the laser assembly. I was ready to try that, but first I tried something simpler: cleaning the laser lenses.
I soaked a cotton bud in isopropyl alcohol and gently wiped the lenses. To my surprise, that was enough — the console now reads discs, and there’s no need to tweak anything.
In the pictures below, you can see the laser before and after cleaning. It wasn’t visibly dirty, and there’s not much difference in the photos, but even a little dust can cause problems.
Fixing the Shell
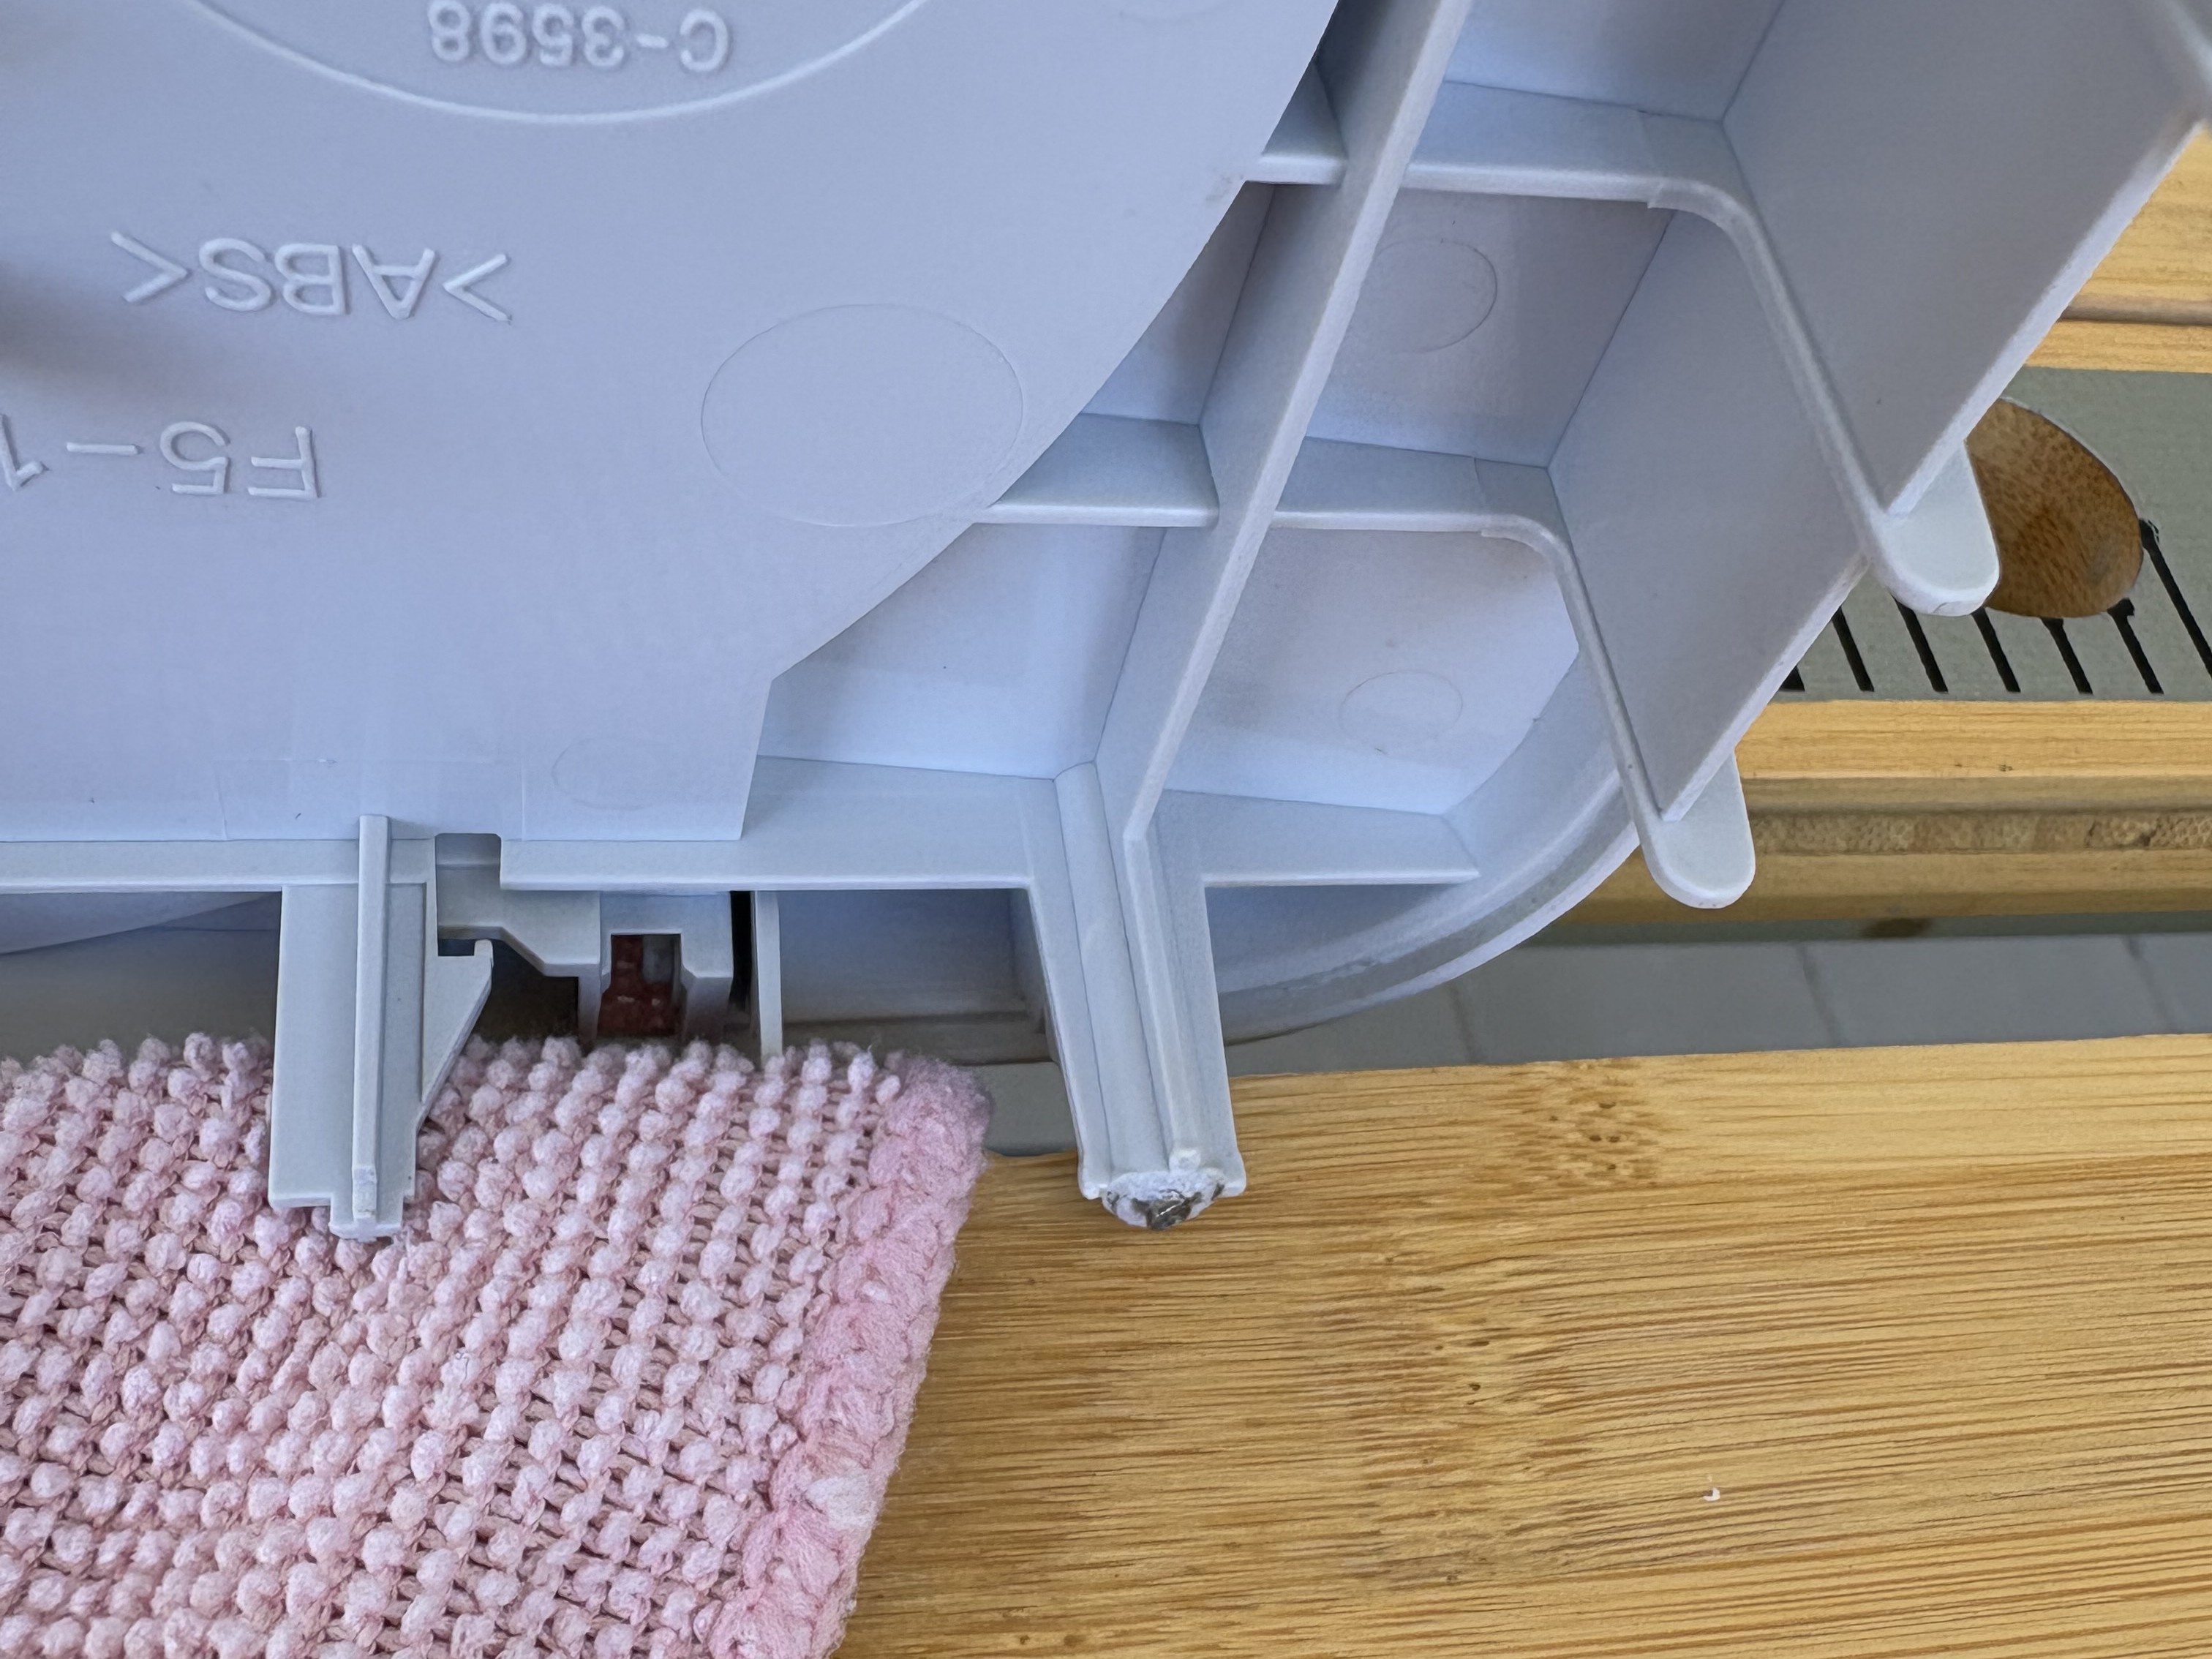
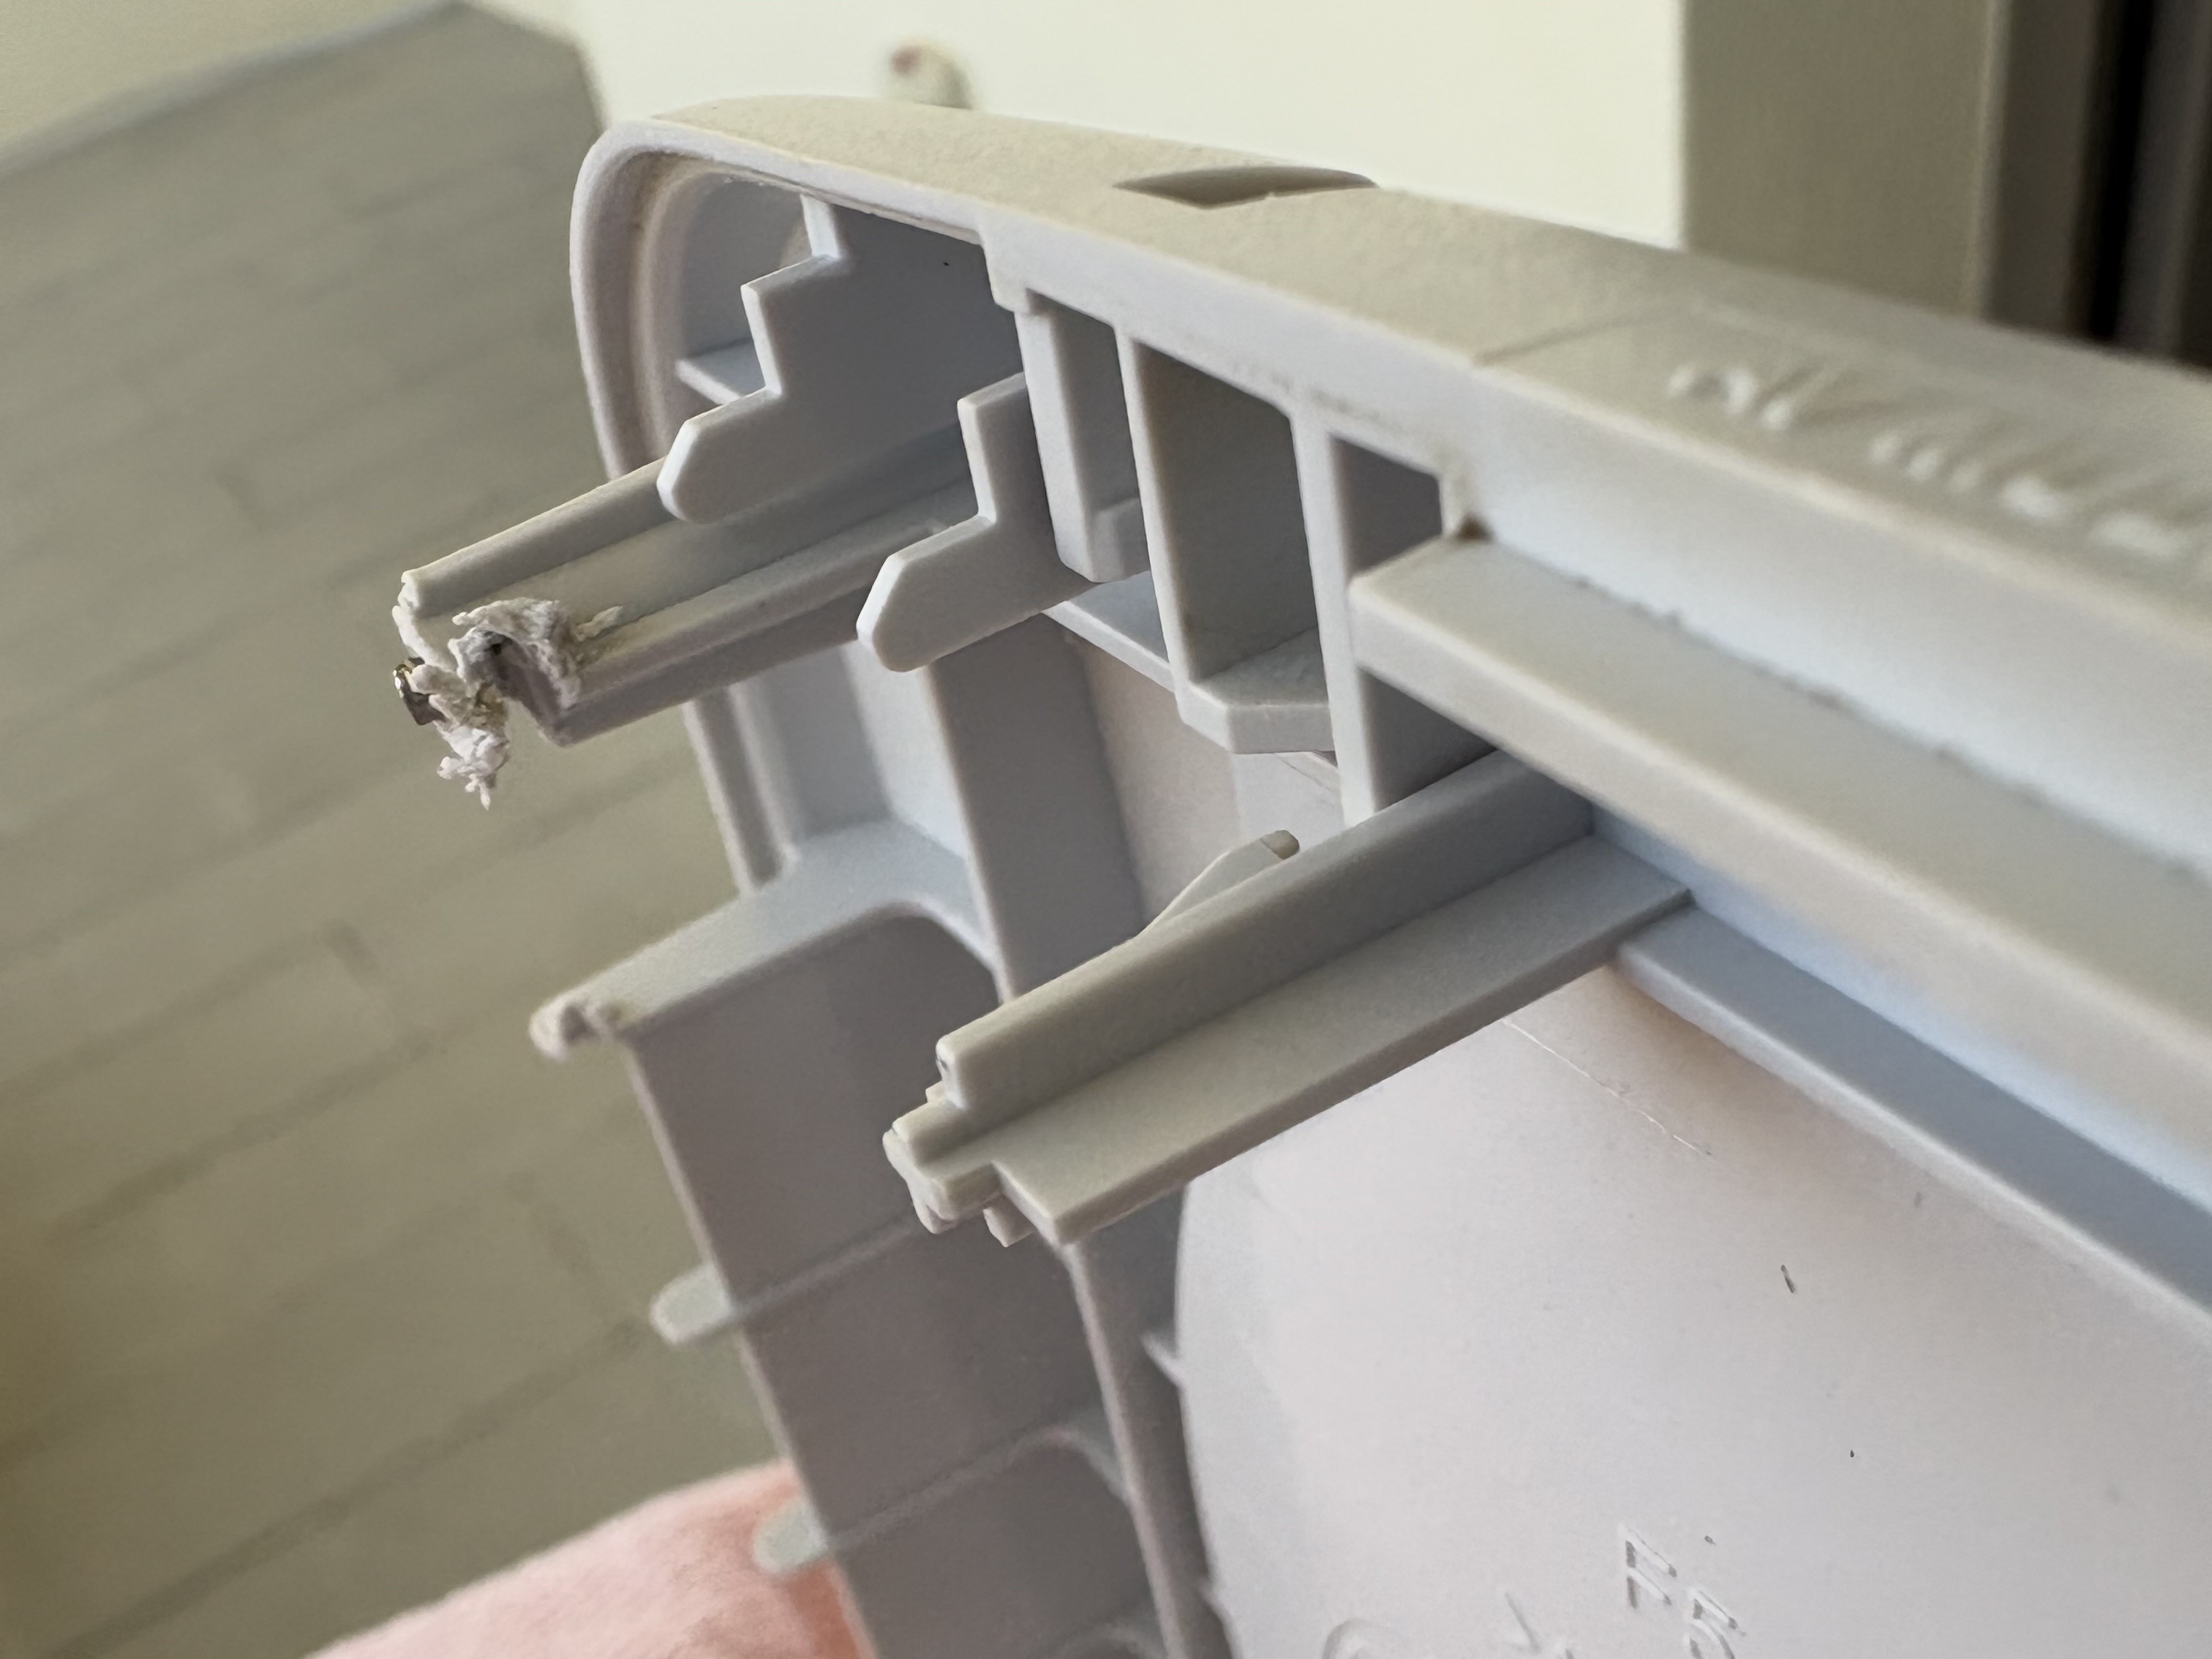
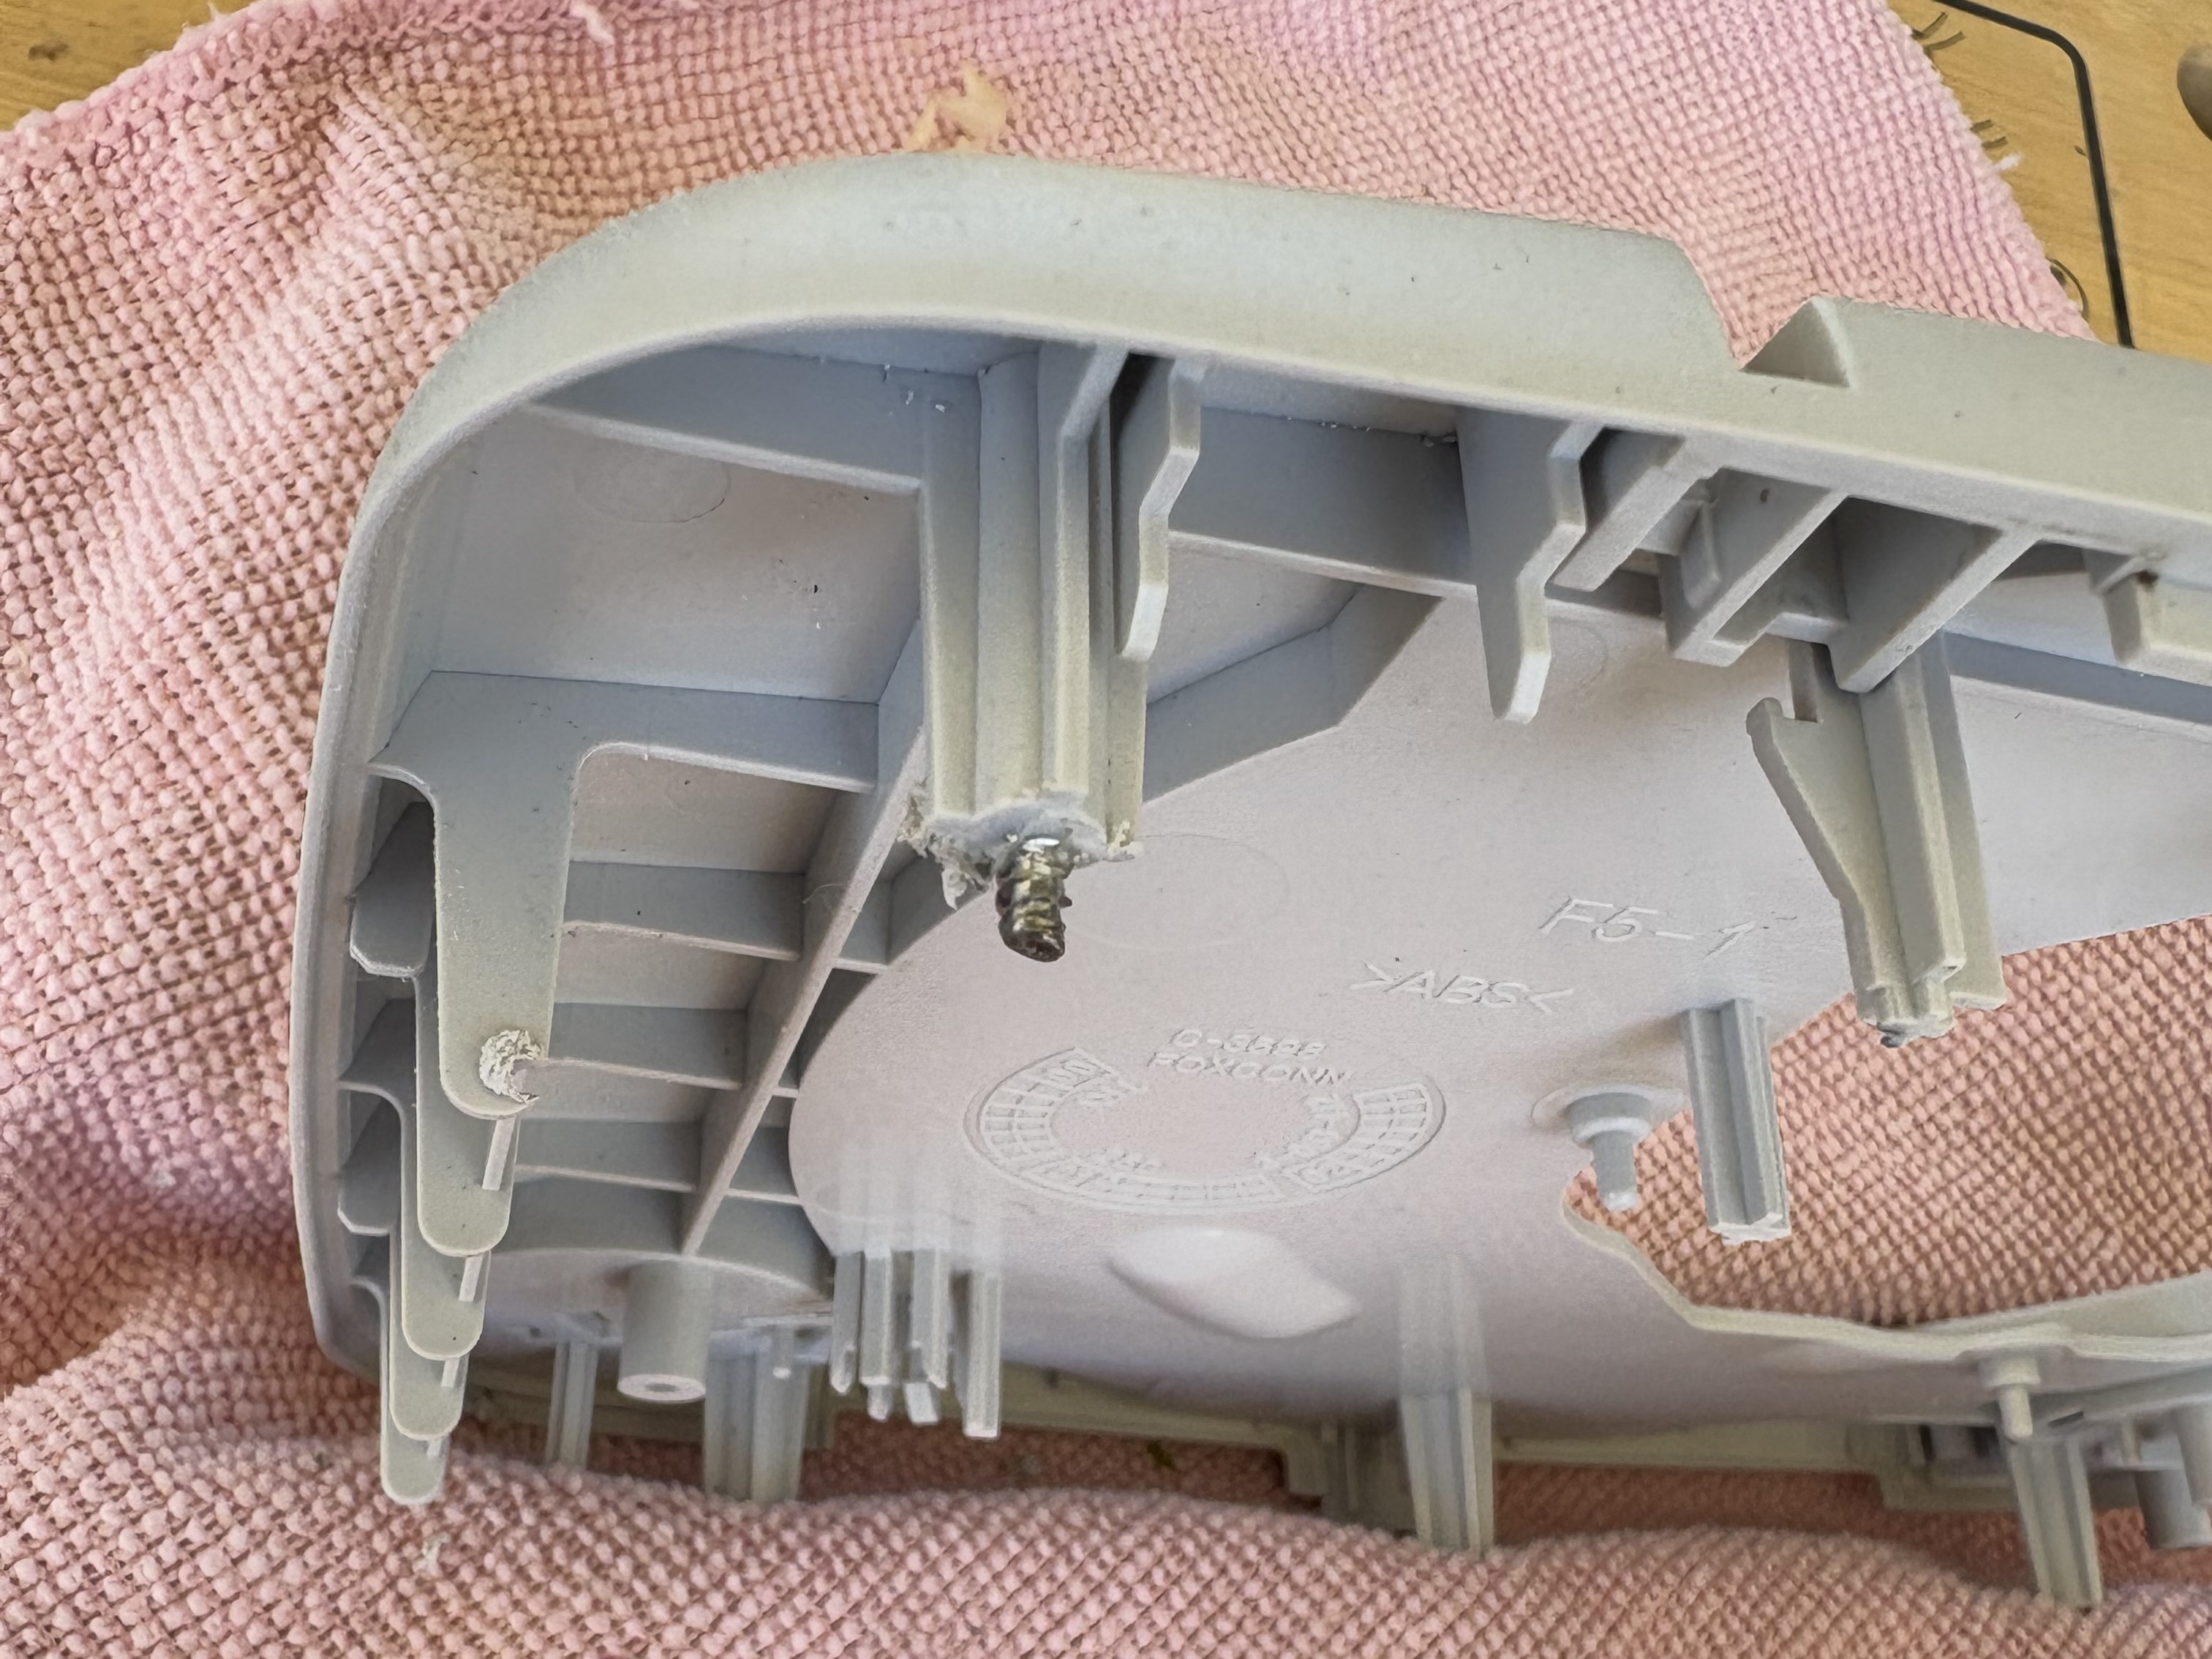
Removing Drilled-Through Screws
Drilling the screw heads off left the shafts embedded in their inserts. Some stuck out enough to grab with pliers and remove.
One screw didn’t stick out far enough. I had to cut about 1 mm off the insert to expose more of the shaft. It looks a bit rough, but it doesn’t affect the shell structurally.
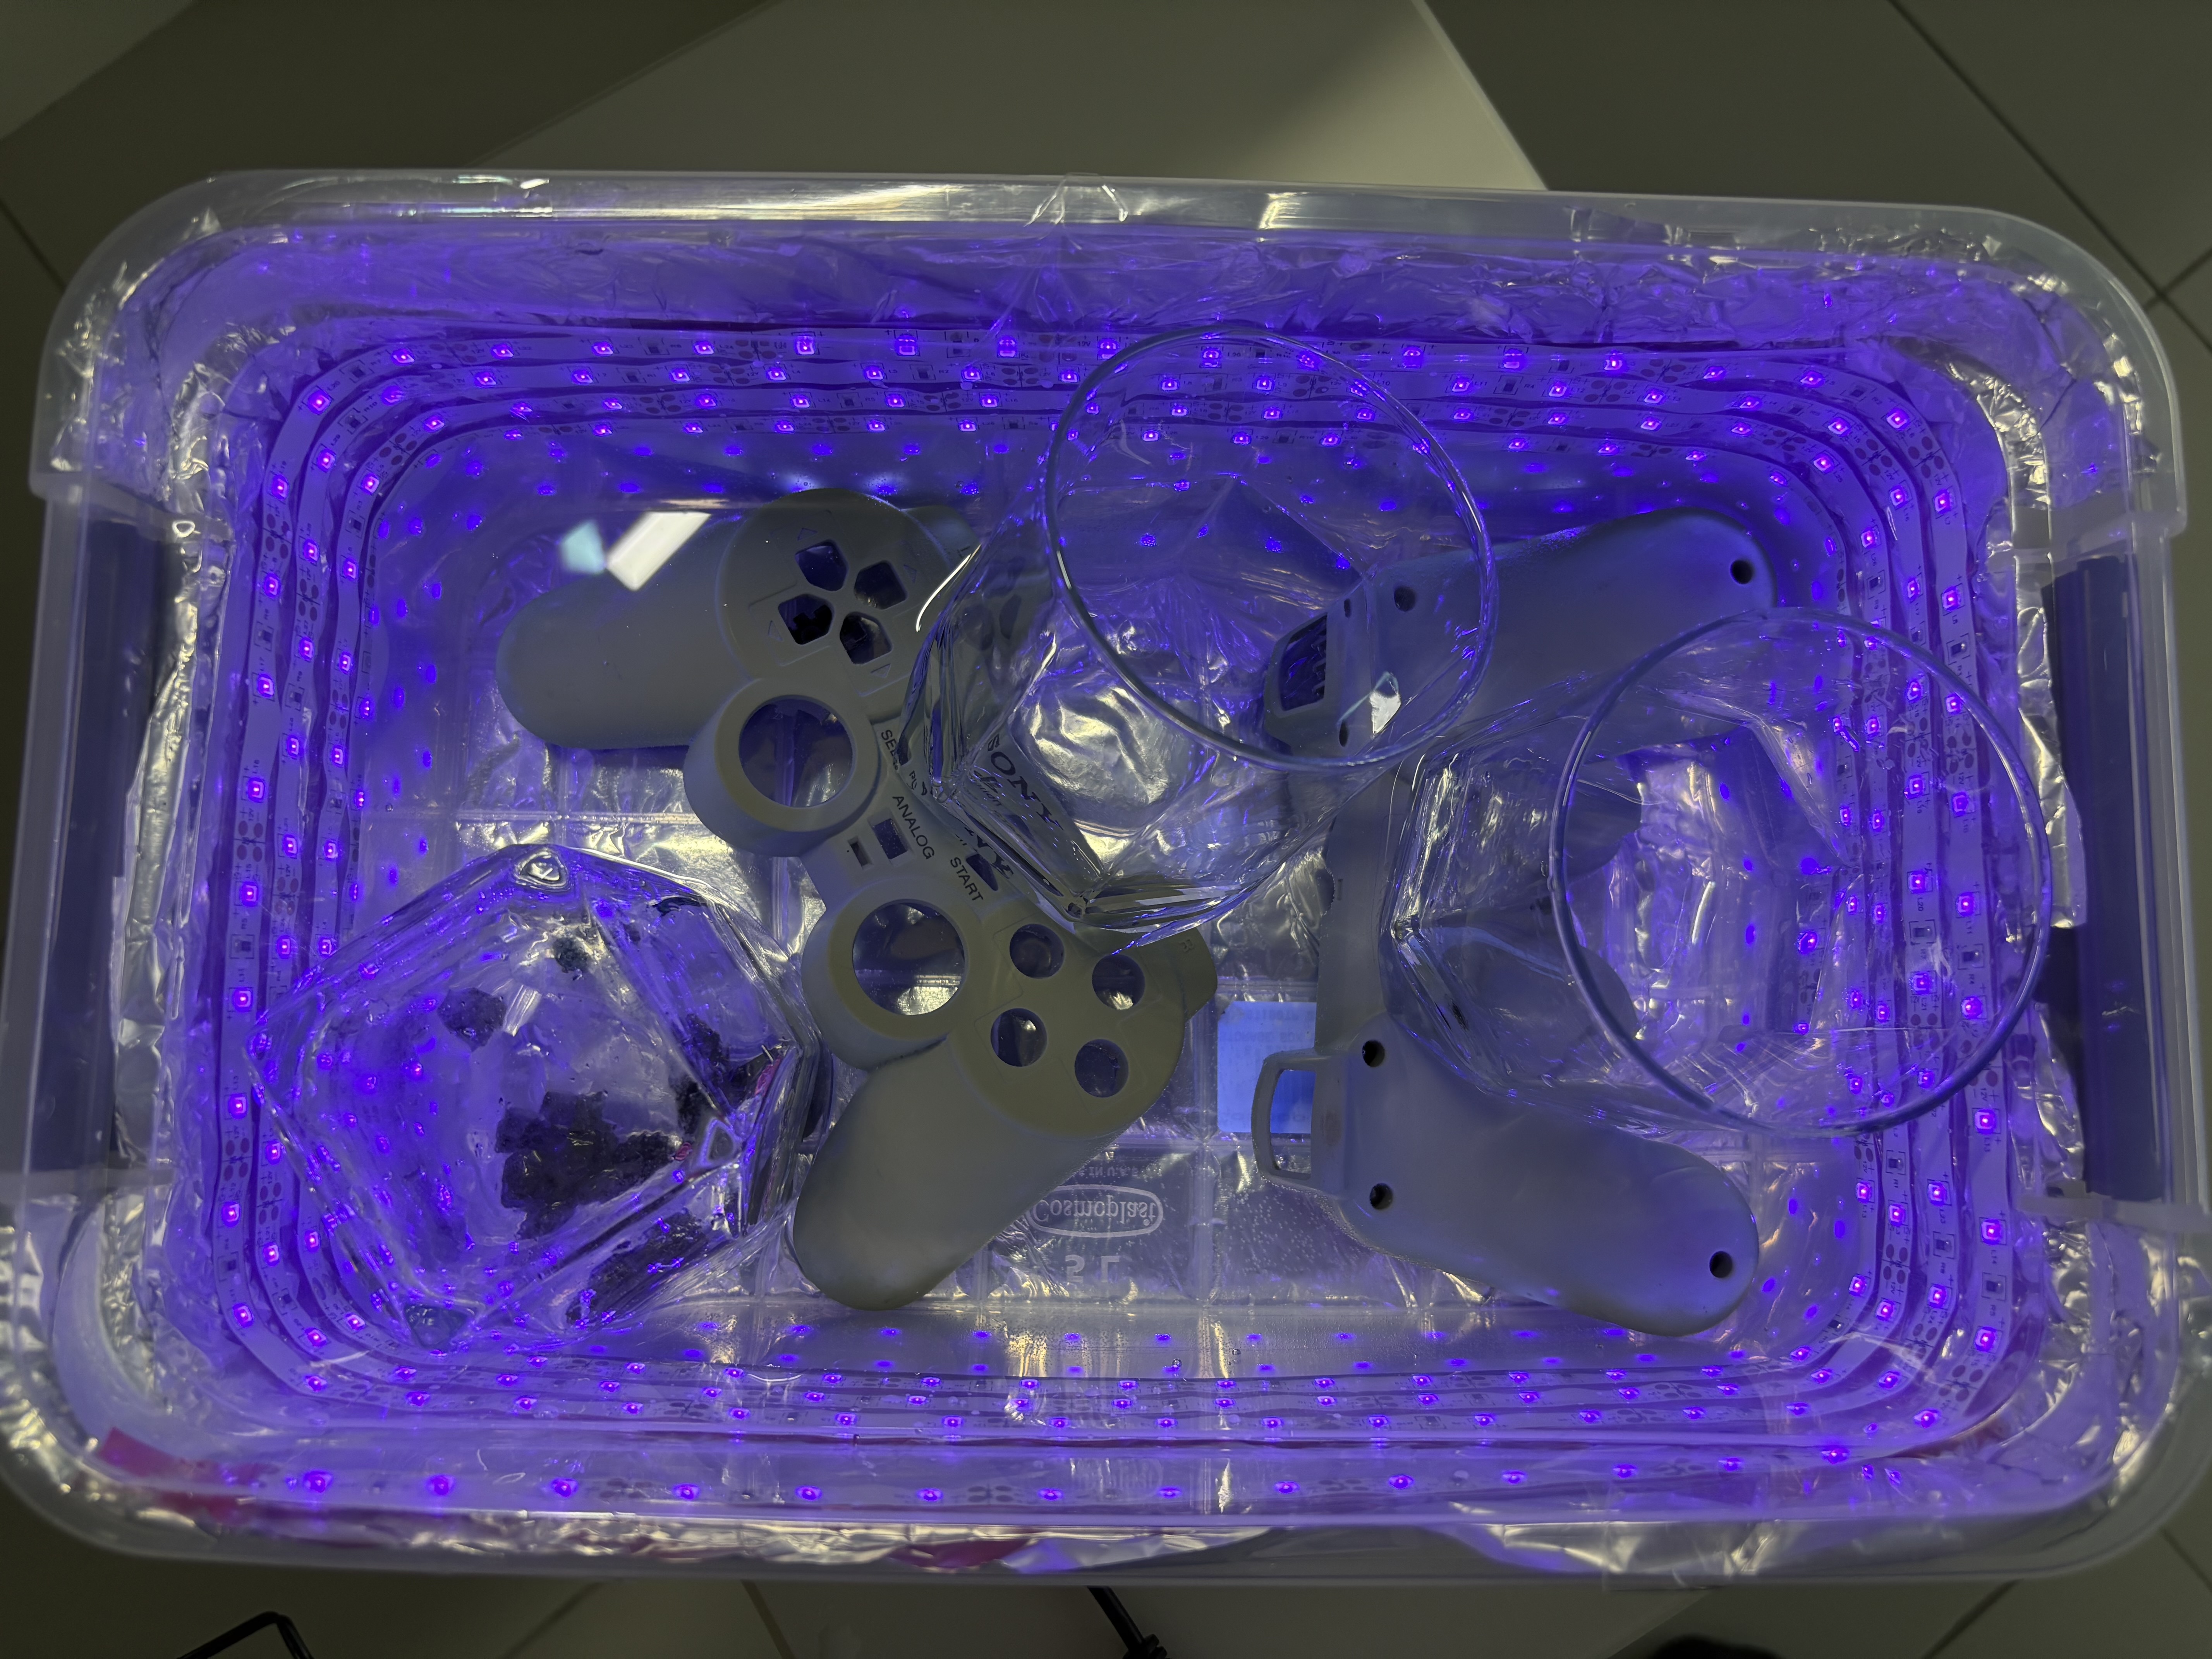
Cleaning
The shell was dirty and had lots of scuffs and marks. I cleaned it and all plastic elements with soapy water. More stubborn marks were removed using isopropyl alcohol. Now the console looks nice and clean.